
Regrouting a shower fixes grout that has worn out on the surface: stained, powdery, cracked in hairlines, or shrunken below the tile edge. It does nothing for a shower that leaks behind the tile, and it can make that problem harder to spot. The difference usually shows up in about ten minutes of poking, tapping and sniffing, before you buy a single bag of grout.
What grout does, and what it doesn’t
Cementitious grout is porous. Water moves into it, through it, and out again as it dries. That is why a shower wall can look darker for an hour after you step out and then lighten back up. The tile and grout are the shingles on a roof. The real waterproofing sits underneath, as a sheet membrane, a liquid-applied coating, or a traditional liner under a mortar bed on the floor. Fresh grout over a failed membrane is like new shingles over rotted underlayment: it looks great and keeps nothing out.
Plenty of showers still need regrouting, and for good reasons. Grout is the softest material in the assembly, and it takes the abuse. Soap scum, hard water and daily heat cycles break it down over 10 to 15 years in a well-built shower, sooner in one that was mixed too wet or never sealed. Black or pink discoloration on joints that scrubbing won’t touch is another common trigger. So is grout that has receded below the tile edge, which leaves little troughs that hold water on the surface.
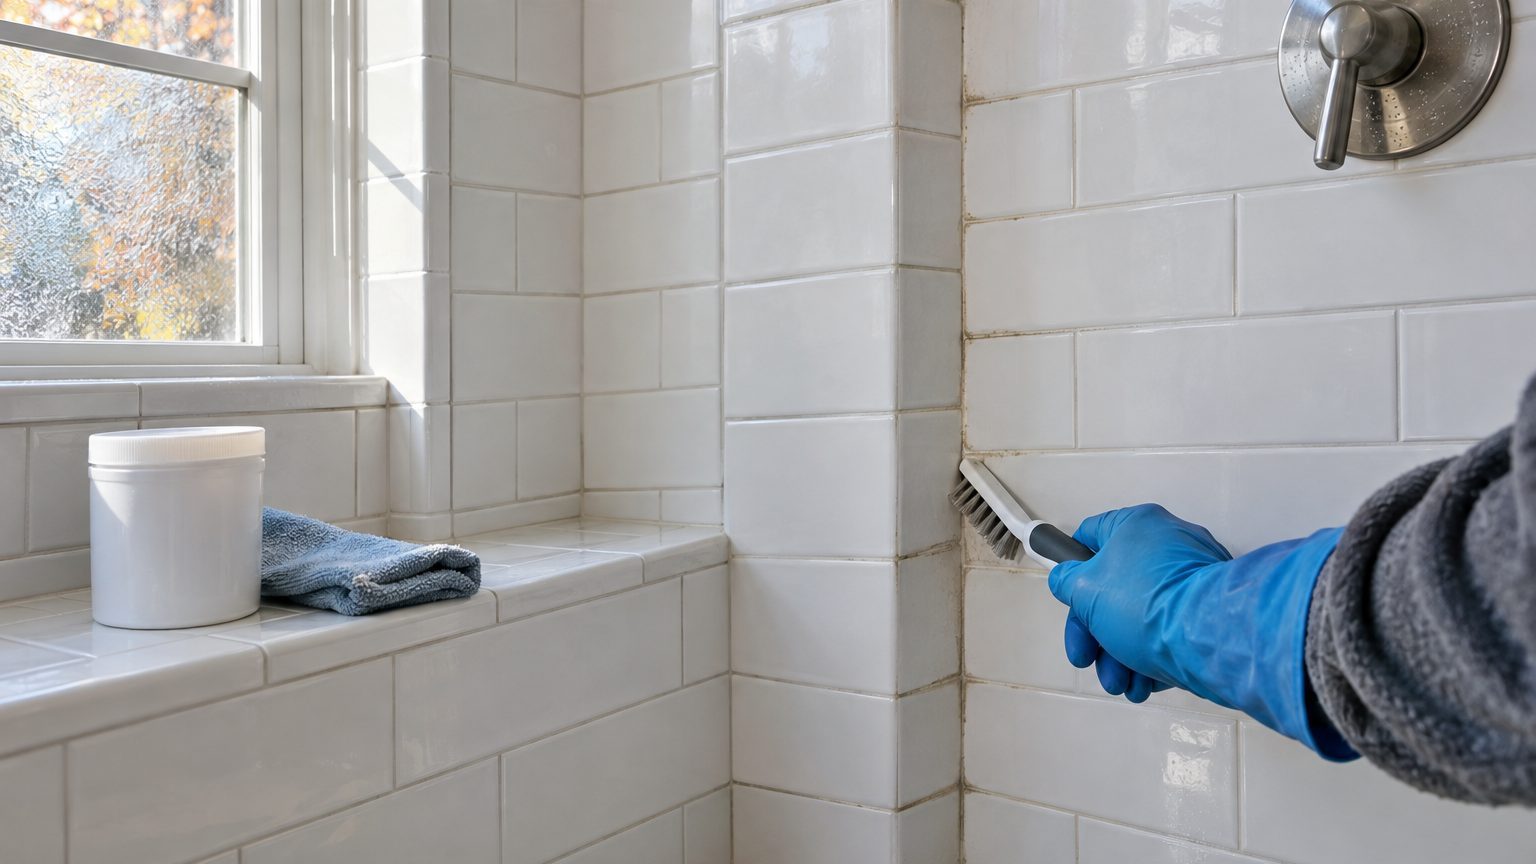
A quick test separates stain from decay. Scrub a small patch with an oxygen-based cleaner and a stiff nylon brush, let it sit per the label, and rinse. If the color comes back clean, you needed a cleaning, and regrouting would be money spent on the wrong fix. If the grout crumbles under the brush, sinks under a fingernail, or stays dark long after the rest of the wall has dried, the grout itself is finished.
Hairline cracks deserve a closer look than most people give them. A few fine cracks scattered across a wall often come from grout that was mixed with too much water and shrank as it cured. That is cosmetic. But a crack that runs in a straight line across several tiles, or follows the corner where the wall meets the floor, points to movement in the structure underneath. New grout will crack along the same line within a season or two.
Signs the problem is behind the tile
Before you touch the grout, spend ten minutes checking for signs that water is already getting past the tile. None of these requires special tools beyond a screwdriver, and a moisture meter helps if you can borrow one.
- Hollow or drummy tile. Tap tiles with a knuckle or the handle of a screwdriver, working along the lower third of the wall. A sharp, solid tap is good. A dull, hollow sound means the tile has lost its bond, often because the setting material or the wall behind it has gone soft.
- Soft spots. Press the tip of a screwdriver into the grout line near the tub or shower floor. If it sinks past the grout into something spongy, the backer or drywall behind it is wet or decayed.
- Movement. Press firmly on tiles near corners and the base. Tiles that shift, click or flex are not stuck to anything solid.
- Evidence on the other side. Look for stains, peeling paint or bubbling on the wall opposite the shower, on a ceiling below, or inside a vanity or closet that shares the wall.
- Smell and efflorescence. A musty odor that lingers after the fan has run, or white crusty deposits on grout lines, signals water carrying minerals out of the wall.
A pin-type moisture meter, pressed into a grout line or a small test hole in an inconspicuous spot, adds numbers to the suspicion. Wood framing sitting above roughly 20 percent moisture content is in the range where decay fungi can establish themselves. Drywall and cement board readings vary by meter and material, so compare the suspect area with a dry wall elsewhere in the house instead of trusting a single number.
One honest caveat: none of these tests can see inside a wall. A shower can pass every check and still hold a slow leak, particularly at the valve penetration or around a niche. If a stubborn smell or recurring mildew points that way, a small inspection hole behind an access panel or through the adjacent wall is cheaper than guessing.
Loose tiles are a separate repair with their own rules. If a handful have popped free but the wall behind them is dry and solid, the fix may be simpler than a full tear-out. The guide on A Loose Wall Tile: Re-Sticking It Without Taking the Wall Down covers when that works and when it doesn’t. Regrouting around tiles that are loose is the worst of both worlds, because the new grout has nothing stable to grip.
When regrouting is the right call, step by step
If the wall is solid, dry and the tiles are tight, regrouting is a reasonable weekend project for a patient DIYer. A typical shower takes a full day or more of work once you count removal, cleanup, grouting and the wipe-down passes, plus a cure period before the water goes back on.
Removing the old grout
Remove grout to at least two-thirds of the joint depth, or about 1/8 inch minimum, so the new material has enough thickness to bond and last. A manual carbide grout saw is slow but forgiving. An oscillating multi-tool with a carbide grout blade is faster and also much easier to slip with, which is how glazed tile edges get chipped. Go slowly on the tile faces and keep the blade centered in the joint.
Dust matters here. Sanded grout contains silica sand, and breathing respirable crystalline silica is a recognized health hazard that OSHA regulates on job sites. At home, that translates to a vacuum with a HEPA filter running alongside you, a respirator rated at N95 or better, and eye protection. Misting the joint lightly can cut airborne dust, though you don’t want to flood a wall that may already hold moisture.
Vacuum every joint clean afterward, then wipe the tile with a damp sponge. Any dust left in the joint weakens the bond of the new grout.
Choosing the grout and treating the corners
Joint width drives the choice. Sanded grout is meant for joints 1/8 inch and wider, where the sand prevents shrinkage cracks. Unsanded grout suits narrower joints and delicate surfaces such as polished marble, which sand can scratch. Check the width of your joints with a tape measure or a drill bit before you shop.
Beyond that, you are choosing among three families:
- Cementitious grout is the standard. It is inexpensive, forgiving and widely available, but it is porous and needs sealing.
- Epoxy grout resists stains and moisture far better, though it sets quickly, is harder to work, and rewards experience. For a first-timer in a large shower, it can go wrong fast.
- Pre-mixed urethane grout is easier to handle than epoxy, but formulations vary, so follow the manufacturer’s instructions on compatibility and cure.
Corners and the floor-to-wall joint are where many DIY regrouts fail. Tile Council of North America guidelines call for a flexible sealant, not rigid grout, wherever planes change or different materials meet. Walls expand, floors settle, and rigid grout in a corner will crack the first time they disagree. Scrape out old corner grout and use a 100 percent silicone sealant labeled for tile and bath use. Match the color to the grout so the line doesn’t stand out.
Never grout over grout. Skimming a new layer onto old joints looks tempting, especially in a shower where you’d like to avoid the dust, but the new material has little to grab and flakes out within months.
Work in small sections, pack the joints firmly with a rubber float held at a steep angle, and wipe the haze with a barely damp sponge. Overwet sponges pull grout out of the joint and weaken it. Cementitious grout generally needs 48 to 72 hours of cure before it should be sealed and before the shower sees heavy use, but follow your product’s label, since formulas differ. Seal with a penetrating sealer after the cure window, and plan to repeat it on the schedule the manufacturer states, commonly once a year or so.
Regrout, repair or open the wall
A simple way to decide is to sort what you found into three outcomes.
If the grout is tired but the wall is hard and dry, regrout, recaulk the corners, and seal. This is the right outcome in most cases, and it can add many years of life to a shower.
If the grout is failing in one spot only, directly beside the same fixture or in the same corner, treat that spot as a clue. A cracked joint at a shower valve, a niche edge or a curb often means water is entering there. Pull a few tiles, inspect, and repair the cause before regrouting anything.
If you find soft backer, black growth behind removed tile, rusted fasteners, or tiles that pop off with light pressure, regrouting would hide the evidence. Wet drywall or cement board that has been saturated for a long time generally has to come out, and the membrane and framing need inspection. That is a bigger job, and sometimes the point where the whole room starts to look like a remodel. Large projects like that often prompt other decisions, such as whether a swinging door still makes sense in a tight bathroom. The breakdown in A Sliding Door for a Bathroom: Pocket, Barn or Neither is worth reading before you finalize a layout, and more repair and planning guides are collected in the Bathroom section.
Cost is part of the picture, though prices vary a lot by region and by whether you hire out the work. Materials for a DIY regrout are modest compared with a pro’s labor, which is mostly the tedious removal. Tearing out a wet shower wall costs many times more. Spending an afternoon on the tap test before you commit is the cheapest step in the whole project.
One last nuance: new grout can change what you see for a few weeks. Fresh cementitious grout dries unevenly and can look blotchy or lighter in patches before it settles into its final color, so judge the result after it has cured fully, not on day one.
Sources : angi.com