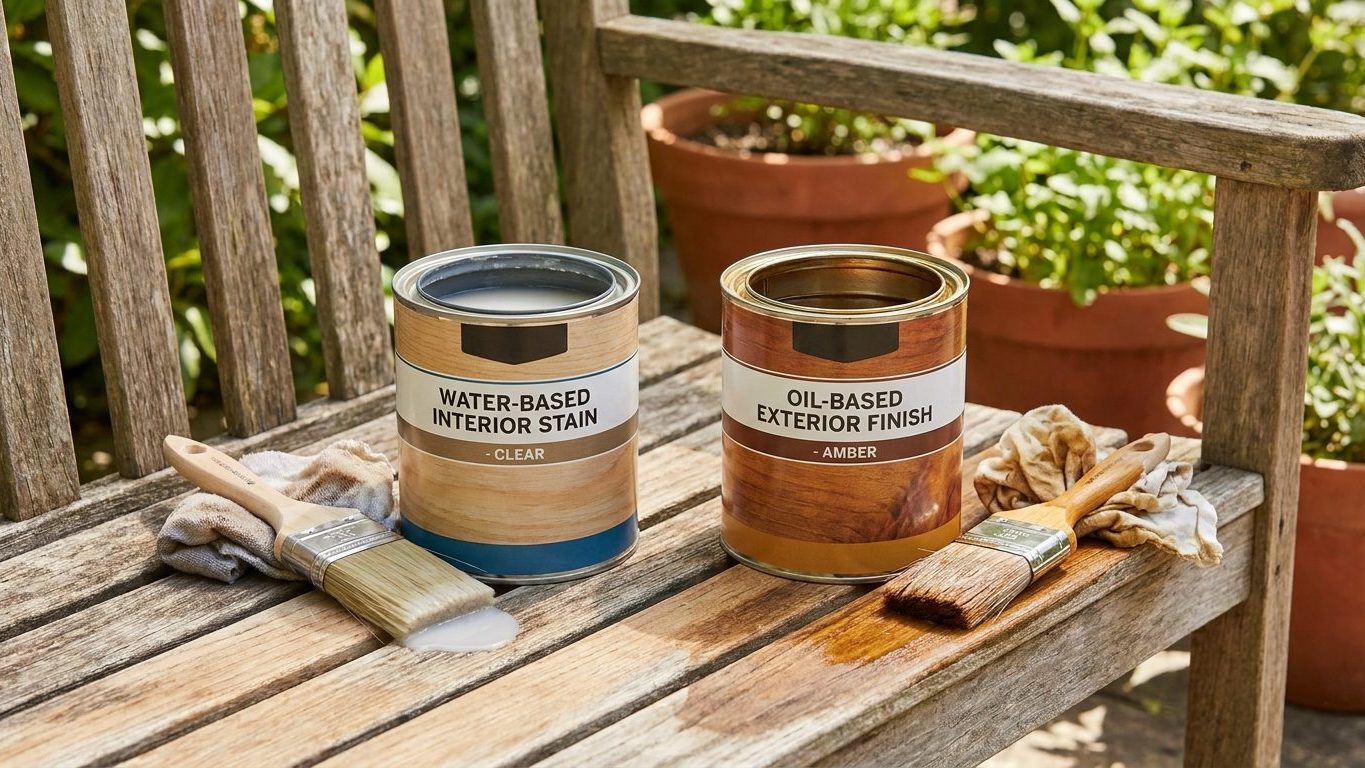

Oil-based enamel still lays down smoother than any water-based trim paint, and that’s about the only argument it wins outright anymore. On walls, ceilings and most doors, today’s acrylic and urethane-modified latex formulas match oil for hardness, and cleanup is easier with soap and water. Use water-based paint for nearly everything in the house, and save oil-based enamel for the rare surface, like a heavily used stair rail, where its leveling and hard cure actually earn their keep.
What is actually going on

The difference between the two paint types starts with how the wet film turns into a solid one. Water-based paint dries by evaporation: the water and a small amount of solvent leave the film, and the resin particles suspended in it fuse together as they lose that liquid. Oil-based paint doesn’t just dry, it cures by oxidation. The oil in the binder reacts with oxygen in the air over days and weeks, forming new chemical bonds as it hardens. That single difference explains almost everything else that follows.
Oxidation is a slow, ongoing chemical reaction, which is why an oil-based film keeps getting harder for a long stretch after it feels dry to the touch, and why it eventually gets brittle enough to crack on a surface that flexes, like a door that gets slammed daily. It’s also why oil-based paint yellows over time in rooms with little daylight: the same reaction that hardens the film also darkens the oil itself, so a white oil enamel behind a picture frame will visibly shift color compared with the exposed wall around it. Water-based paint doesn’t undergo that reaction, so a white acrylic wall stays close to its original color for the life of the coating.
Smell, cleanup and thickness
The fumes are a direct consequence of the same chemistry. Oil-based paint carries more volatile compounds to keep the oil binder liquid enough to apply, and those compounds off-gas as the paint cures, not just while it dries. That’s why a freshly painted room with oil trim can still smell faintly weeks later, long after a water-based wall has gone odorless. Ventilation is not optional whenever you’re applying or sanding oil-based paint indoors. Open windows on two sides of the room if you can, run a fan exhausting outside rather than recirculating air, and keep the space ventilated for as long as the smell persists, not just while you’re holding the brush.
Cleanup follows the same logic. A water-based film is still soluble in water while wet, which is why brushes rinse clean at the sink. Once an oil-based film starts curing, it’s no longer soluble in water at all, which is the whole reason it resists moisture and scrubbing so well once fully cured. That resistance is useful on a kitchen door and pointless on a bedroom wall, which is most of why the two paints have sorted themselves into different jobs rather than one replacing the other outright.
Most oil-based paint sold today is also reformulated with less solvent than the tins sitting in an old garage, driven by air-quality rules that vary from one state to another. Check the label on the specific can you’re using rather than assuming it behaves like something bought decades ago.
Doing it
Start by matching the paint to the job rather than to habit or what’s already on the shelf. Before buying anything, work out how much you actually need, since oil-based and water-based paint aren’t sold with identical coverage ranges can to can, a step covered in Working Out How Much Paint You Need. Everything below assumes the surface is already clean, sanded and primed, the groundwork covered in Interior Painting: Preparation Is Most of the Work.
Where each paint still belongs
| Surface | Better choice today | Why it wins there | What happens with the other one |
|---|---|---|---|
| Walls and ceilings | Water-based (acrylic/latex) | Flexes with the wall, resists yellowing, easy cleanup, low odor | Oil yellows over years and off-gasses longer for no real benefit on a surface no one touches |
| Doors, trim and baseboard | Water-based enamel for most homes, oil-based enamel where leveling matters most | Modern acrylic enamels level nearly as smooth and don’t yellow, but oil still self-levels marginally better on a flat panel door | A poorly applied acrylic enamel shows brush marks oil would have hidden; oil applied without ventilation leaves a lingering smell |
| Cabinetry | Either, both workable once fully cured | Both cure hard enough for daily handling, oil keeps a slight edge on initial flow-out | Rushing the recoat on either one leaves a soft film that sticks to itself at the hinges |
| Metal railings and radiators | Oil-based enamel, or a water-based paint labeled specifically for metal | Oil’s hard cured film resists the chipping and scuffing metal takes | A generic wall paint applied straight onto bare metal peels in sheets within a season |
| Previously oil-painted surface | Either, but water-based needs a deglossed, primed surface first | Water-based paint won’t grip a glossy cured oil film on its own | Skipping the deglossing step leaves the new coat lifting off in strips, sometimes within days |
When switching between the two
The row that trips people up most is the last one. Painting a water-based coat directly over old oil-based trim without deglossing the surface first is the single most common cause of a paint job failing within weeks rather than years. The fix isn’t a different paint, it’s mechanical prep: scuff-sand the old oil film dull all over so there’s no glossy patch left, wipe away the dust, and prime with a bonding primer made for that switch before the new coat goes on. Skipping that step doesn’t just risk a bad-looking finish, it risks a finish that peels off the moment something bumps it.
Working in the other direction, oil-based paint over an old water-based wall is far more forgiving, since oil bonds to almost anything with enough surface texture to grip. The wall still needs a light sanding and a wipe-down to remove grease and dust before the oil goes on, or the new film will telegraph every flaw already in the old one.
What it looks like when it goes wrong
Most paint defects trace straight back to the film-formation problem above, and a few of them can’t be fixed without going back to bare material.
Defects you can usually fix
- Brush marks and roller stipple, visible ridges left in a film that started setting before it could level out: sand lightly once fully cured and recoat thinner and slower.
- Orange peel texture, a pebbled surface from paint applied too thick or too fast with a roller: sand smooth and recoat with a thinner film.
- Drips and sags, where a heavy coat pulls downward before it locks in place. Oil-based paint’s slower set gives gravity more time to work, which is why runs show up more often on oil-painted doors than on a water-based wall. Catching them before they fully cure is covered in Drips, Runs and Sags: Catching Them in Time. Once fully cured, a run has to be scraped or sanded flat and touched up, never painted straight over.
Defects that mean starting over
Alligatoring, the cracked, reptile-skin pattern that shows up on old oil-based paint, happens when the film has hardened past the point where it can flex with the surface underneath it, often after a fresh coat goes over one that wasn’t fully cured or wasn’t compatible with the layer beneath it. There’s no fixing alligatoring in place. The cracked film has to be scraped and sanded back to a sound layer, with any loose material removed, before repainting. On a home old enough that layers underneath might contain lead, that scraping and sanding is exactly the kind of work that needs the right precautions rather than a quick pass with sandpaper.
Lifting and peeling, where a water-based coat separates from an old glossy oil-based surface in sheets, is the adhesion failure described earlier, and it means going back to bare, sound material and starting the prep sequence again, not touching up the peeled patch. Amine blush, a greasy or blotchy film that sometimes appears on water-based paint cured in cold, damp conditions, can often be wiped off with a damp cloth once the paint has fully cured, but if it’s already trapped under a recoat, sanding back is the only fix. Blocking, where a painted surface sticks to whatever touches it, like a cabinet door sticking to its frame, usually resolves once the film finishes curing, but it’s a sign the coat was closed up or handled well before it was ready.
What to settle before you open the tin
Before comparing paint types, settle the practical conditions the paint has to perform in, since both formulas fail for the same underlying reasons: a bad surface, bad air, or bad light.
The surface and its age
Check what’s already on the wall or trim before adding to it. A surface already painted with a full oil-based system generally needs to stay oil-based, or be properly deglossed and primed before switching, as covered above. If the home is old enough that earlier layers of paint could be present, have any paint that will be sanded, scraped or heat-stripped tested before you disturb it, and check the Environmental Protection Agency’s guidance on lead-safe work practices for older housing before starting. This is not a step to skip based on how the paint looks on the surface.
Ventilation and temperature
Decide how you’ll ventilate the room before you open either can, not after the smell builds up. Oil-based paint needs sustained airflow for as long as it’s curing, which runs well past the point it feels dry to the touch, so a plan that only opens a window while painting and shuts it that evening isn’t enough. Water-based paint needs far less of this, but still benefits from moving air while it dries, especially in a bathroom or any room with poor natural airflow.
Both paint types are sensitive to temperature and humidity at the point of application and while curing, and both perform worse in a cold, damp room than a mild, dry one. Check the temperature and humidity range printed on the specific can you’re using, since that range is set for that formula and will differ between an oil-based enamel and a water-based one, and sometimes between two cans of the same type from different manufacturers.
Light and finish
Look at the room in the light it’s actually used in before choosing a sheen. A flat or eggshell water-based wall paint hides surface imperfections that a semi-gloss oil-based enamel would show up under raking light from a window or lamp. The sheen you pick affects how forgiving the paint is of an imperfect surface as much as the base type does, so a wall with a lot of patched drywall usually does better in a lower sheen regardless of.
Common questions
Can I paint water-based over old oil-based trim without stripping it?
Yes, but only after the old surface is scuff-sanded dull and coated with a bonding primer made for that switch. Skip the deglossing and the new coat can lift off in strips within days.
Why does my oil-based paint still smell weeks after I finished painting?
Because it’s still curing, not just drying. Oxidation continues well after the surface feels dry to the touch, and ventilation should continue for as long as the smell is noticeable, not just while you’re painting.
Is oil-based paint being banned or phased out?
Rules on solvent content vary by state and change over time, so check with your state’s environmental agency for what’s currently sold and used locally rather than assuming a national answer applies everywhere.
Do I need oil-based paint for a bathroom or kitchen because of moisture?
Not usually. Modern water-based enamels formulated for trim and cabinetry handle humidity and washing well, and most kitchens and bathrooms are painted with them now rather than oil.