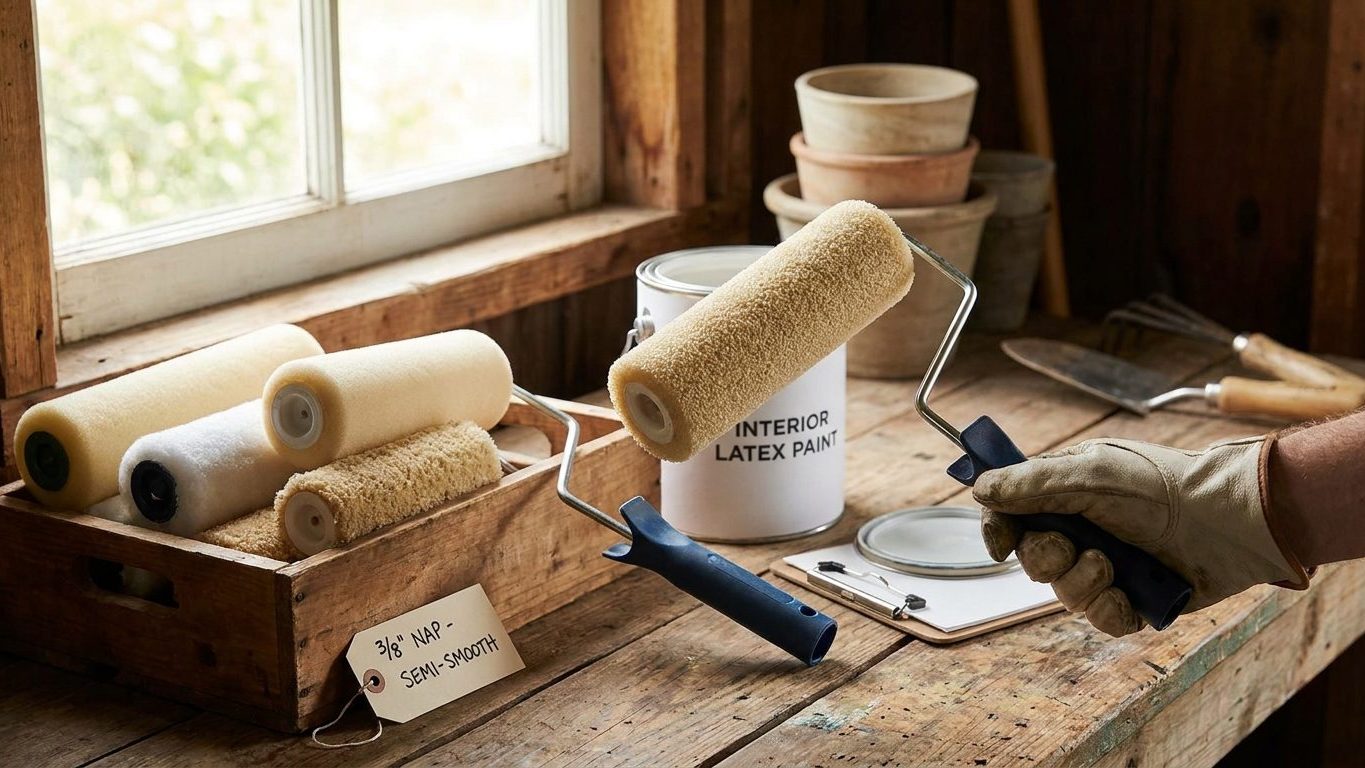

A smooth interior door and a stuccoed exterior wall get painted with the same brand of paint and the same amount of care, and still one comes out flat as glass while the other comes out orange-peeled and blotchy. The nap sleeve on the roller is the only variable that changed. Match the nap to the surface texture in front of you, not to whatever roller was already sitting in the garage, and most of that difference disappears before you dip the first coat.
What is actually going on

A roller nap is a pile of fiber wrapped around a cylindrical sleeve, and the length of that pile is what decides how much paint the roller can carry and how far it can reach into a surface. A short nap, something like a quarter inch, sits close to the sleeve and holds a thin, even film of paint that lays down flat on smooth drywall or trim. A long nap, closer to three-quarters of an inch, is built to reach into the low points of a rough or textured surface, stucco, brick, popcorn ceiling, cinder block, and deposit enough paint into those valleys that the finished color reads even from a normal viewing distance.
The mechanism is simple once you see it: paint volume and reach are the same trade-off. A longer pile holds more paint per pass, which is exactly what a deeply textured wall needs, but on a smooth surface that same extra volume shows up as a stippled, orange-peel texture in the dried film because the fibers are laying down more paint than the surface can absorb evenly. A short nap on a heavily textured wall does the opposite. It skims the high points and leaves the recesses under-covered, so the old color or bare substrate peeks through once the paint dries and the sheen catches the light.
Why the wall’s own surface decides the roller, not the paint
This is why nap selection is really a surface-reading exercise, done before the paint choice matters at all. The paint’s sheen and formula affect how forgiving the final finish looks, but they cannot undo a nap mismatch. A satin paint rolled with too long a nap on a smooth wall will still show stipple once the light rakes across it at an angle, because the texture is physical, built into the dried film, not a trick of color.
If you are working over old paint or plaster that predates modern coatings, treat the prep stage as its own job before nap choice even comes up. The surface has to be clean, dull, and free of loose material for any nap to lay down evenly, and that groundwork is covered in more depth on Interior Painting: Preparation Is Most of the Work. Keep the room ventilated with a window cracked and a fan moving air out whenever you are rolling paint in a closed space, since fumes concentrate fast in a sealed room regardless of nap size.
Doing it
Matching nap to surface is a short list once you separate walls by how much texture they actually carry, not by what room they happen to be in. The table below is the working rule painters use to size a roller before they buy it.
| Nap length | Best suited to | What happens if it’s too long for the surface | What happens if it’s too short |
|---|---|---|---|
| Short (around 1/4 inch) | Smooth drywall, trim, doors, cabinetry | Stippled, orange-peel texture visible in raking light | Not applicable, this is already the short end |
| Medium (around 3/8 inch) | Lightly textured walls, orange-peel drywall, most standard interior walls | Slight stipple on smoother sections of the same wall | Thin, patchy coverage that shows old color in low spots |
| Long (1/2 to 3/4 inch) | Stucco, brick, block, heavy popcorn ceilings | Not applicable, this is the long end for deep texture | Bare or under-covered recesses, uneven sheen once dry |
- Run a hand across the dry wall before you buy the roller. Skipping this and guessing by room type is the single most common cause of a mismatched nap, because a hallway and a living room in the same house can carry different texture depths.
- Load the roller evenly and roll it out on the tray ridges before the wall. Skip this and the first stroke on the wall deposits paint unevenly, heavy at the start and starved by the third pass.
- Work in sections no wider than an arm’s reach, finishing each with light, unloaded strokes in one direction. Skip the finishing strokes and lap marks show once the paint dries, especially under any light source that rakes across the wall at a low angle.
- Cut in the edges and corners with a brush before or after rolling the field. A roller cannot reach into a clean corner regardless of nap length, and trying to force it there is what produces the ragged edge covered in more detail on Cutting In: Getting a Clean Line Without Tape.
- Let each coat cure by feel and by the label, not by the clock. Temperature and humidity in the room change how long that takes far more than the number printed on the can, so treat the label figure as a starting point and check the surface before recoating.
What it looks like when it goes wrong
The two mismatches leave visibly different defects, and knowing which one you’re looking at tells you whether the fix is quick or whether you’re starting the coat over.
Too long a nap on a smooth surface
This shows up as a fine, bumpy stipple across the dried film, most visible when a lamp or window light rakes across the wall at a low angle rather than hitting it straight on. It reads almost like the surface of an orange peel. This is correctable without stripping the coat: a light sanding with a fine grit once the paint has fully cured, followed by a careful re-coat with a shorter nap, will flatten it out. It is slow and dusty work but it does not require going back to bare substrate.
Too short a nap on a textured surface
This looks like patchy, uneven color, with the low points of the texture reading darker or a different shade than the raised points because they never got enough paint to match the film thickness around them. On close inspection you can often still see the old paint color or the bare substrate peeking through in the deepest recesses. This one is not reliably fixed by another thin coat. A second pass with the same wrong nap just compounds the unevenness, so the wall needs a full re-coat with the correct longer nap, and sometimes a third coat in the deepest texture before the color reads even.
Shedding fibers and roller lines
A cheap or worn nap sheds small fibers into the wet paint, visible once dry as tiny raised specks you can feel with a fingertip. This is a roller quality problem rather than a length problem, and it is fixable the same way as stipple, a light sand and a careful recoat. Roller lines, visible parallel tracks in the dried film, usually mean the roller was overloaded or the finishing strokes were skipped, and they respond to the same light sanding and recoat rather than a full strip-back.
None of these defects, however severe, calls for chemical stripping. If a wall has enough buildup or history that mechanical sanding and recoating genuinely can’t recover it, that is a sign the job has grown past a weekend project, which is covered honestly on When Painting Is Not a Weekend Job.
What to settle before you open the tin
Before you buy a nap size, walk the room with a work light and hold it at a low, raking angle against each wall. This is the only reliable way to see how much texture you’re actually dealing with, because overhead light flattens texture and hides exactly the detail that decides your nap choice. A wall that looks smooth under a ceiling fixture can show real orange-peel texture the moment a lamp is held sideways against it.
Surface, light, and ventilation
Check the surface with your hand as well as your eyes, since some plaster and old paint textures are easier to feel than to see. Decide on ventilation before you start, not once the fumes are already noticeable, and keep a window open with air moving out of the room for the entire job, not just while the paint is wet.
If the walls or trim you’re about to roll over are original to an older building, treat any sanding or scraping step before painting as a separate decision. Disturbing old paint layers on a home built before the modern lead paint ban is a health question, not a cosmetic one, and it is worth checking guidance from the EPA or your local health department before you scrape, sand, or otherwise disturb that surface, regardless of what nap you plan to roll over it afterward.
Finally, buy one size larger nap than you think you need if the wall is borderline between two categories in the table above. A slightly-too-long nap on a mostly-smooth wall is a light sanding job. A slightly-too-short nap on a textured wall is a second full coat. The first mistake costs an afternoon. The second costs a gallon of paint and a weekend.
Common questions
What nap roller do I need for a popcorn ceiling?
A long nap, toward the three-quarter inch end, is what reaches into the deep texture of a popcorn ceiling without leaving the recesses under-covered. Expect to use more paint per coat than a flat ceiling of the same size, since the extra surface area of the texture soaks it up.
Can I use the same roller for walls and trim?
Not if you want the trim to look right. Trim and doors are almost always smooth, so they want a short nap for a flat finish, while the surrounding wall may need a medium nap if it carries any texture at all. Keep two rollers on hand rather than compromising on one nap size for both surfaces.
Why does my paint look bumpy after it dries even though I used a good roller?
That bumpy, stippled look almost always means the nap was too long for how smooth the wall actually is, not a problem with the paint itself. Check the wall with a raking light before assuming the paint was defective.
Do foam rollers work instead of a nap roller?
Foam rollers can lay down a very flat finish on smooth surfaces like doors and cabinetry, but they hold far less paint per load than a fiber nap and are not built to reach into any real texture. Save them for small, smooth jobs rather than full walls.