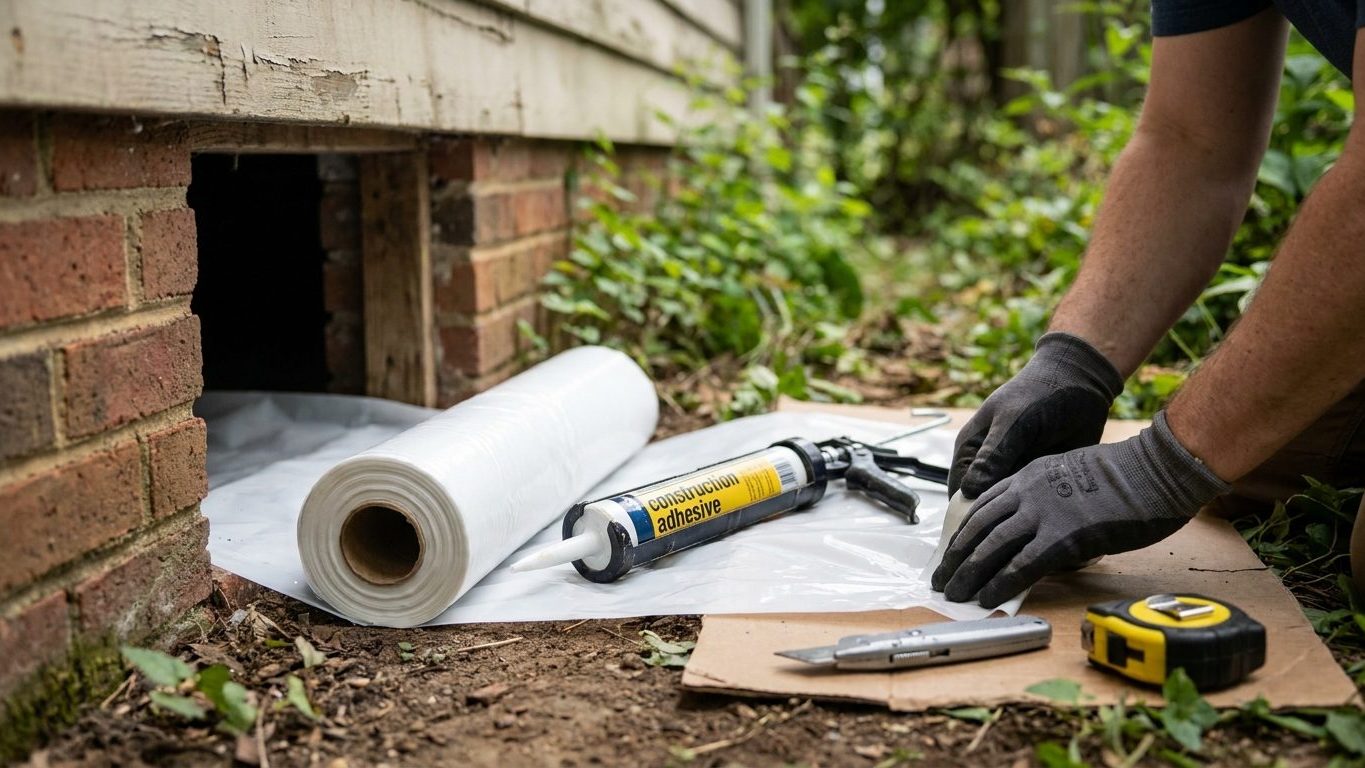

That vented crawl space under your living room floor stops being outdoor space the moment someone closes its foundation vents, lays a ground vapor barrier, and runs a dehumidifier inside it. Once sealed, the space becomes part of your house’s indoor air, for better and worse. Before any of that happens, walk the crawl space with a flashlight and check the ground for standing water, wet insulation, or rot, because encapsulation locks in whatever condition is under there when it closes.
What is actually going on

Every crawl space with open vents is built to behave like the outdoors. Air moves through it, humidity swings with the weather outside, and moisture that shows up in a wet season eventually has somewhere to dry out to. Sealing that space changes the boundary of the house. Instead of the vents and the dirt floor marking the edge of conditioned air, the foundation walls do. Insulation, ventilation, and moisture management all move onto the same side of that line at once, which is why a decision made at a crawl space vent shows up later as a humidity reading in the kitchen above it. The ventilation that used to dry the space out in summer is gone once the vents close, so the vapor barrier and the dehumidifier now have to do that job permanently.
Why interior sealing can’t fix an exterior water problem
A vapor barrier on the ground and a coated foundation wall manage humidity in the air and hide old water staining. Neither one does anything about water arriving under pressure through a crack or a footing. Covering that wall with a bright liner is exactly how a bulk water problem gets missed for a season before it shows up as a buckled floor or a failed barrier. Drainage work outside always comes before interior sealing, never the other way around.
Mold and radon: two things sealing does not settle
If the crawl space has been wet, there is very likely some mold on the framing or the old insulation. There is no way to put a number on how much of it is acceptable. No federal agency sets a safe square footage of mold in a house, no home test kit settles the question on its own, and people’s physical reactions to the same amount of growth vary enormously from one person to the next. Someone with asthma or another respiratory condition should not be the one pulling out moldy insulation or scrubbing a joist, regardless of how small the patch looks.
Sealing a crawl space also changes how radon gas behaves in the house, because a tighter envelope can let soil gas concentrate instead of leaking away. The EPA and the U.S. Surgeon General recommend testing every home for radon, not just homes with symptoms or a known geological risk. The action level is 4 pCi/L, radon is usually highest in the lowest part of the building, which in many houses is the crawl space itself, and the EPA recommends considering action even between 2 and 4 pCi/L. No level of radon is known to be safe. Testing is the only way to know what’s actually in the air, and installing a mitigation system afterward is a job for a certified radon professional, not something to bolt onto an encapsulation contract.
What to look at, and in what order
Encapsulation is not one product. It’s a sequence of separate jobs, and doing them out of order wastes the work or hides a problem instead of fixing it. Work from the cheapest, least invasive check first, because each step either clears something off the list or points straight at the next one. Homes built on a slab instead of a crawl space face the same underlying moisture mechanism without the option of a ground barrier, and that’s covered separately in our guide to moisture coming up through a slab.
Seven checks, cheapest first
| Step | What it involves | What the result tells you |
|---|---|---|
| Walk the crawl space | Flashlight inspection for standing water, wet insulation, wood rot, pest entry, visible mold | Rules out nothing on its own. Locates where moisture is coming from before you spend on anything else. |
| Check grading and gutters outside | Confirm downspouts discharge away from the foundation and soil slopes away from the walls | If this is already correct, surface water isn’t the source. If not, fixing it may solve the problem before you seal anything. |
| Install a ground vapor barrier | Heavy plastic or reinforced sheeting sealed over the soil and up the foundation walls | Rules out soil evaporation as an ongoing humidity source once it’s continuous and sealed. Does not rule out water entering through the foundation itself. |
| Close vents and air-seal the rim joist | Vent covers and sealing gaps where the floor framing meets the foundation | Cuts off humid outside air as an intake. Only safe once drainage is confirmed adequate, otherwise it traps water vapor inside instead of letting it dry out. |
| Add interior perimeter drainage and a sump pump | A channel at the footing that collects groundwater and pumps it out | Rules out standing groundwater at the perimeter. Doesn’t address water still arriving from gutters or grading outside. |
| Insulate the crawl space walls | Rigid foam board on the foundation walls instead of, or in addition to, floor joist insulation | Shifts the crawl space fully inside the thermal envelope and stops floor joist condensation from below. |
| Run a dehumidifier sized to the space | A unit set to hold a target humidity, drained to the sump or outside | Keeps humidity from climbing back up once every source above has actually been fixed. Run early, it just spends electricity on a problem it can’t solve. |
Skipping the vapor barrier because the vents are already closed, or closing vents without fixing the grading first, is how encapsulation jobs go wrong. Each step depends on the one before it holding up, which is why a partial encapsulation can perform worse than the vented crawl space it replaced.
Watch it, or get someone in
What you can watch yourself
A homeowner can reasonably keep an eye on a few things without calling anyone in: a humidity gauge left in the crawl space, the smell when you open the access hatch, whether condensation is forming on ductwork or cold water pipes, and whether the vapor barrier is staying flat and sealed at its seams. Track these across a full season, not on a single visit, because crawl space conditions swing with the weather outside far more than the rooms above them do.
Who to call, and why it matters which one
Some things need a professional the same week you notice them, and which professional depends on what you’re looking at. A structural engineer is the right call for a foundation crack that’s growing, a floor that’s noticeably out of level, or a bowing wall, because an engineer assesses the problem without having anything to sell you afterward. A drainage contractor handles grading, gutter extensions, and exterior water management once a source has been identified. A waterproofing salesperson quoting a full encapsulation is a different conversation entirely. That inspection is a sales pitch attached to a specific product line, and it’s reasonable to get a second, disinterested opinion before signing anything based on it.
Extensive mold, standing water that keeps coming back after it’s cleared, or a smell that never fully leaves once the space dries out are reasons to bring in a remediation contractor rather than handle it yourself, especially if anyone in the house has asthma or another respiratory sensitivity. Radon is a separate test entirely, not something to guess at from the house’s age or a neighbor’s result. If a test comes back at or above the EPA’s action level, mitigation is work for a certified radon professional, not something folded into an encapsulation job.
What has to happen first
Outside before inside, water before finish
The single most expensive mistake in this subject is sealing before the outside water problem is actually solved. Grading, gutters, and downspout extensions have to be right before a vapor barrier and a closed vent system get to do their job, because otherwise you’ve sealed a container around the same water that used to at least have somewhere to evaporate to. If the foundation basics haven’t been sorted yet, our guide to “/foundations/”>foundations and basements is the place to start, since this page assumes drainage and grading are already handled.
Tree roots close to the foundation can disrupt that grading and those drainage lines over time by lifting soil or cracking a buried drain pipe, which is worth ruling out before assuming the water is coming from somewhere else entirely. Our piece on trees near a foundation walks through that mechanism in more detail.
Once drainage is handled, the order inside follows the same logic: water sources fixed first, then the vapor barrier, then vents and air sealing, then insulation, then a dehumidifier to hold the result steady. Our roofing guides cover gutter sizing and downspout placement, the plumbing guides cover sizing a sump pump correctly, the insulation guides cover what goes on basement walls once they sit inside the thermal envelope, and the flooring guides cover what’s safe to install over a slab. Skipping ahead to the finish work before the diagnosis is done is the most common reason an encapsulation job fails and has to be redone.
Common questions
Does encapsulating a crawl space stop radon too?
Not on its own. Sealing changes how soil gas moves through the house, but only a radon test tells you if there’s actually a problem, and if there is, mitigation is a separate system installed by a certified radon professional, not a side effect of vapor barriers and vent covers.
Can I put down the vapor barrier myself and skip the professional?
You can, if the ground is dry and drainage outside is already handled. The barrier itself is straightforward sheeting work. Where people run into trouble is skipping the drainage check first and sealing plastic over a moisture source that keeps producing water underneath it.
How do I know if the mold in my crawl space is dangerous?
There’s no test that answers that definitively, and no square footage that’s officially declared safe. Treat any mold you find as something to remove once the water source behind it is fixed, and have someone else handle the removal if you or anyone in the house has asthma or another respiratory condition.
Will closing the vents make my house too humid?
It can, if the vapor barrier and drainage underneath aren’t actually solving the moisture problem. Closed vents on their own don’t cause humidity. Closed vents on top of an unresolved water source hold that moisture inside instead of letting it dry out the way a vented crawl space would.