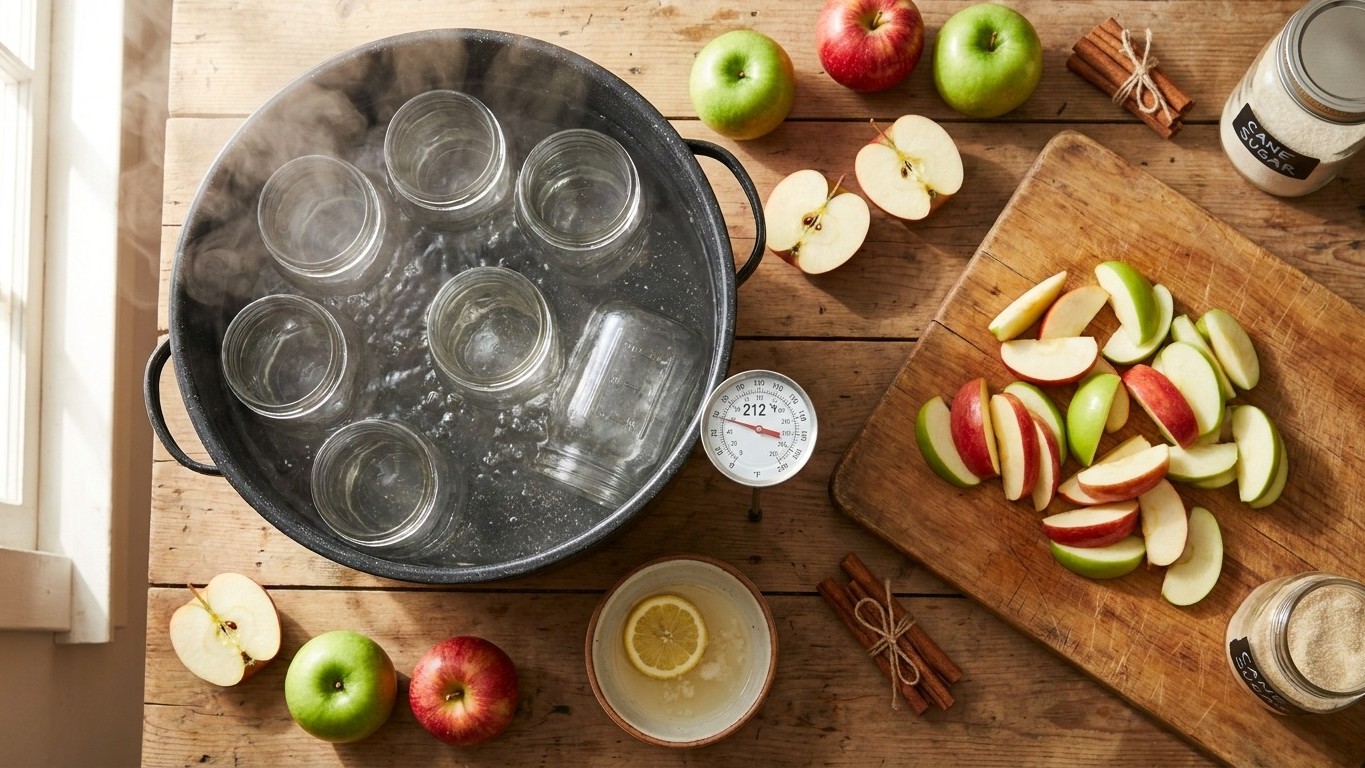

Apples sit safely on the acid side of the line that matters most in home canning. Their natural pH falls at or below 4.6, the threshold the National Center for Home Food Preservation (University of Georgia) uses to sort every food into one of two camps. That placement is why a boiling-water canner, reaching 212 F at sea level, does the job. No pressure canner required.
The short answer
Every canned food gets sorted by one number: pH 4.6. Above it, a food is classified low-acid and needs a pressure canner running between 240 and 250 F to be safe. At or below it, the food is acid, and the much gentler 212 F of a boiling-water bath is enough to destroy the organisms that matter. The National Center for Home Food Preservation lays this out plainly in its guidance on Ensuring Safe Canned Foods, and apples land firmly in the second group.
The NCHFP’s own grouping makes this concrete. Red meats, seafood, poultry, milk, and almost all fresh vegetables (tomatoes being the well-known exception debated case by case) are low-acid. Fruits, pickles, sauerkraut, jams, jellies, marmalades, and fruit butters are acid. Apples check every box on the acid side twice over: they’re a fruit on their own, and when cooked down into apple butter they stay classified as a fruit butter, still acid, still safe in a boiling-water canner.
That’s a meaningful piece of news if you’ve spent a season growing your own trees and now have bushels to put up. Whether you’re canning apple slices in syrup, applesauce, or a batch of apple butter, the acidity of the fruit itself does the heavy lifting. You don’t need a pressure canner sitting on the counter, and you don’t need to guess at a gauge. What you do need is a tested recipe and a boiling-water canner large enough to fully submerge your jars, because “acid food” doesn’t mean “no rules.” It means a different, less intense set of rules than the ones governing green beans or venison.
If you grew the fruit yourself, the work you did in the orchard already shaped how this batch behaves at the stove. Fruit that’s ripe but not overripe tends to have the acidity and texture that tested recipes assume; if you’re still deciding what to plant or how to manage your trees, the apple growing guide covers that ground.
Why it falls where it does
Acidity isn’t a formality on a label. It’s a direct check on whether a dangerous organism can grow in the jar. Clostridium botulinum, the bacterium behind botulism, is the reason the pH 4.6 line exists at all. Below that threshold, the acid environment stops the bacterium from producing its toxin, even if a few spores happen to survive processing. Above it, heat alone has to do all the work, and 212 F isn’t hot enough to guarantee that in a sealed, oxygen-free jar. That’s the entire reason pressure canners exist: they reach the higher temperatures needed to compensate for the absence of that acid barrier.
Botulinum spores are common in soil and dust, tough enough to survive ordinary boiling, and completely undetectable once they’ve produced toxin in a jar. There’s no smell, no off taste, no visible sign. That’s precisely why the acidity of the food matters so much. Botulism doesn’t announce itself at the dinner table; it’s prevented earlier, in the choice of canning method.
The bacterium needs three conditions present at the same time to grow and produce toxin. Remove any single one, and the risk collapses:
- A moist, low-acid food — acid foods like apples remove this condition outright, which is exactly why a boiling-water canner is sufficient for them.
- A temperature between 40 and 120 F — proper canning processing and then storage outside that window (either hot during processing or cold on the shelf) removes this condition.
- Less than 2 percent oxygen — this condition is created by the sealed jar itself, which is why the seal and the processing method have to be trusted together, not separately.
This is the mental model worth carrying into any other food you might can. A jar of home-canned chicken broth, for instance, is moist and low-acid, and a sealed jar removes oxygen automatically. It’s missing only the acid barrier that fruit has built in, which is exactly why broth needs a pressure canner instead. Apples never trigger that need in the first place, because the first condition on the list is already off the table.
What that means at the stove
The mechanism translates into a fairly straightforward sequence at the stove. None of the following steps carries a number attached to it here on purpose; the actual figures come from a tested recipe, covered in the next section.
- Start with a tested, written recipe specific to the apple product you’re making, whether that’s sliced apples in syrup, applesauce, or apple butter.
- Wash, peel, core, and cut the apples as the recipe specifies, since particle size affects how heat moves through the jar during processing.
- Prepare the fruit exactly as directed, which for apples often means a light syrup or a cooked-down puree rather than raw packing.
- Fill clean, heated jars, leaving the headspace called for in the recipe rather than eyeballing it.
- Remove air bubbles and wipe the jar rims clean before adding lids, since trapped debris can prevent a proper seal.
- Apply lids and bands according to the manufacturer’s instructions for the lids you’re using.
- Lower the filled jars into a boiling-water canner with the water already at a boil, making sure jars are fully covered.
- Process for the time specified in the tested recipe, adjusting for your altitude as instructed.
- Remove the jars and let them cool undisturbed, then check that each lid has sealed before storing.
The order matters more than any single step in isolation. Skipping the headspace check or rushing the rim-wiping step is how an otherwise correct recipe ends up with a failed seal, even though the acidity of the apples themselves was never in question.
What goes wrong
- Using a raw-pack method the recipe doesn’t call for. Apples that float or pack unevenly can leave air pockets that slow heat penetration; stick to the packing method (raw or hot) specified in the tested recipe rather than substituting one for the other.
- Guessing at headspace instead of measuring it. Too little headspace can force food out during processing and break the seal; too much can leave excess air that prevents a proper vacuum. Measure it every time with a proper headspace tool or ruler.
- Skipping the altitude adjustment. Water boils at a lower temperature as elevation increases, which means the same processing time delivers less heat at altitude. Tested recipes include adjustment tables for exactly this reason; use them rather than assuming sea-level timing applies everywhere.
- Reusing old canning lids or checking seals by taste. A seal has either formed or it hasn’t, and that’s checked by looking and listening (the lid should be concave and not flex when pressed), never by opening a jar and sampling it. Botulinum toxin, if present, has no taste and no smell, so tasting a suspect jar tells you nothing and risks everything.
- Adding extra fruit or thickener not listed in the recipe. Bulking up a batch of apple butter with more fruit than tested, or adding flour or cornstarch to thicken it, changes the density of the product enough that a tested processing time may no longer reach the center of the jar reliably.
Where the exact figures come from
Processing times, jar sizes, and syrup ratios depend on the specific apple product you’re making and have to come from a source that has actually tested them under lab conditions. The National Center for Home Food Preservation publishes a dedicated page for canning apples with the exact times and preparation steps verified for home use. That’s the page to open before you start filling jars.
An untested time or ratio pulled from memory, a family notebook, or a general “rule of thumb” can look reasonable and still fail to heat the center of a jar enough to matter. Since the results of a failure are invisible until someone gets sick, the safe path is the same every time: match your recipe and your processing time to the specific product on the NCHFP’s tested list, not to a number that sounds close enough.
Common questions
Do I need a pressure canner for applesauce?
No. Applesauce is a fruit product on the acid side of pH 4.6, so a boiling-water canner is sufficient according to the National Center for Home Food Preservation’s classification of acid foods.
Is apple butter treated differently from other apple products?
Apple butter falls under the NCHFP’s “fruit butters” category, which is grouped with acid foods, so it’s also processed in a boiling-water canner rather than a pressure canner.
Can I tell if a jar of canned apples has gone bad by smelling or tasting it?
No. Botulinum toxin has no taste and no smell, so a jar can look and taste normal and still be unsafe. Safety comes from following a tested recipe and checking that the seal formed properly, not from sampling the contents.
Does altitude change how I can apples?
Yes, water boils at a lower temperature at higher elevations, which affects processing. The exact adjustment for your altitude is listed in the tested recipe on the National Center for Home Food Preservation’s page for canning apples, not something to estimate on your own.