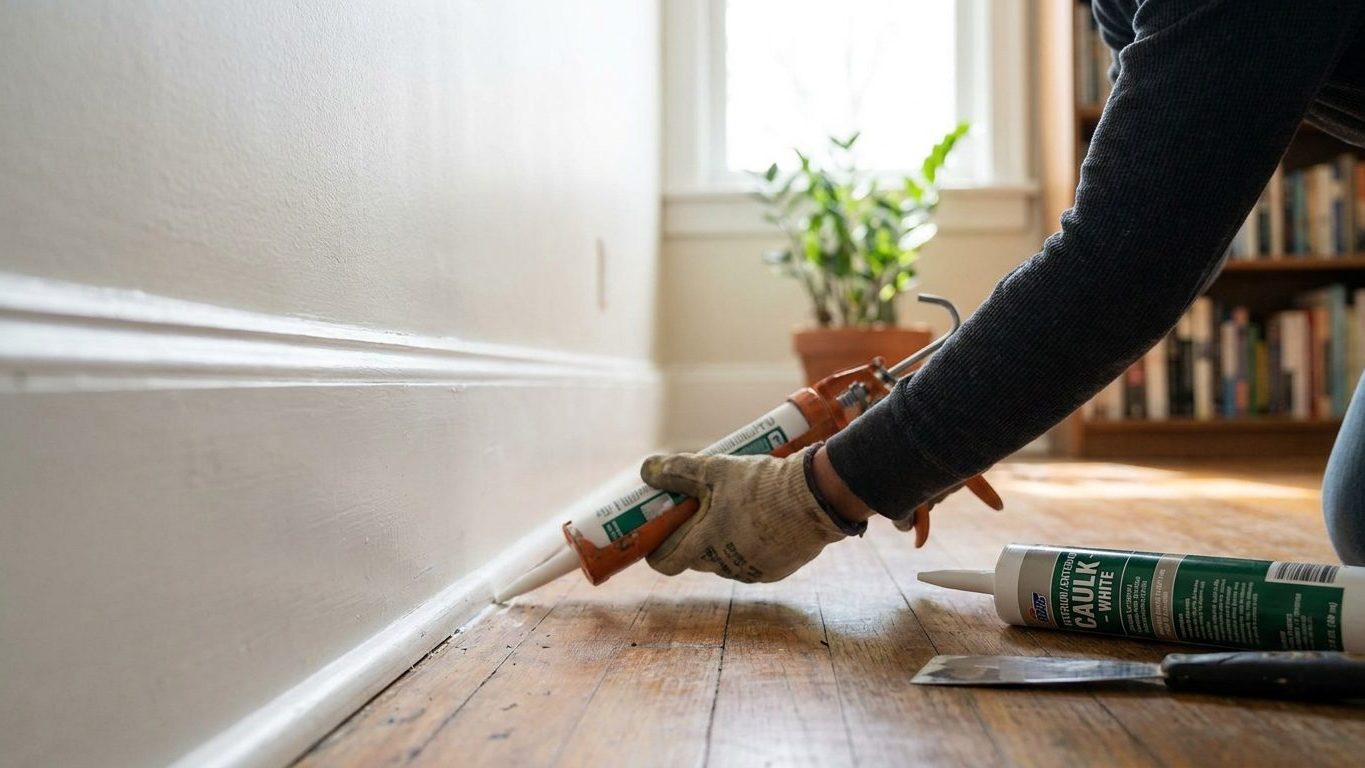

Trim caulk and tub caulk get bought off the same shelf, but they’re not doing the same job. Bathroom caulk fights water. Trim caulk fights light: it erases the dark hairline where baseboard, casing, or crown meets the wall, which is the single detail that makes a paint job look finished or not. Buy paintable acrylic latex caulk, not silicone, and run it only where trim meets wall or ceiling, not at every joint you see.
What is actually going on

The thing to understand here is shadow lines. A gap between trim and wall doesn’t read as a gap so much as a dark line, and caulking removes the shadow, not just the gap. Nail trim tight against drywall and there’s still a groove left over, because neither surface is perfectly flat and the two materials were never meant to meet edge to edge. That groove catches light from the side, a lamp, a window, a hallway fixture, and throws a thin dark line down the whole run. Paint the wall and the trim the same color and the line is still there, because it was never a color problem. Caulk doesn’t hide the gap so much as remove the edge that makes the shadow possible, filling the groove flush so light passes over a continuous surface instead of falling into a trench.
Why trim caulk isn’t tub caulk
Ask for caulk at a hardware store and you’ll likely be handed silicone before acrylic, because silicone is what most people think of first: the bead around a tub or sink that keeps water out. That’s a different problem with a different answer. Silicone stays flexible and sheds water, which is exactly what a wet joint needs, but it never fully hardens and most types won’t accept paint at all, so a bead of silicone at a trim seam shows through as a ridge and a texture change even under two coats. Trim work calls for paintable acrylic latex caulk, sold specifically as such on the label. It skins over, takes paint the way the surrounding wood and drywall do, and is built to flex rather than crack.
Wood moves, caulk has to move with it
Trim is wood or a wood composite, and it expands and contracts with humidity through the year. A rigid filler at a long seam, wood filler or spackle pressed into a gap, cracks along that seam within a season because it can’t flex with the board. Acrylic latex stays elastic enough to close and open by a hair without splitting, which is the actual reason it’s the material for this job and not just a habit passed down. This matters most on long horizontal runs: baseboard along an exterior wall, crown in a room with a fireplace, anywhere the temperature swing across the year is bigger than average.
None of this requires a sealed room, but caulking is usually the last stage before painting, and painting is not a job to do with the windows shut. Keep the room ventilated while you work and while the caulk skins over, whether that means an open window and a fan or the door propped with a cross breeze. This holds even for a single small patch. It isn’t only about caulk fumes, it’s the habit you want in place before the paint and whatever sanding dust came before it. If you’re setting up the whole room for painting rather than a single patch, the sequencing of caulk against everything else falls under the preparation stage that decides how the finished job looks, and it’s worth reading that step in order rather than caulking in isolation.
Doing it
Which gaps to fill
Caulk the seams where trim meets a surface that isn’t supposed to move independently:
- Baseboard against the wall
- Casing against the wall around a door or window
- Crown molding against both wall and ceiling
- Mitered corners where two pieces of casing meet
These are gaps caused by imperfect fit, not by design, so closing them is pure improvement. Leave alone the seam where baseboard meets the floor. That gap is doing a job: it lets the floor expand and contract, especially over solid wood or a floating floor, without pushing the baseboard off the wall. Caulking a floor-to-baseboard joint is one of the more common overcorrections, and it usually cracks within a year as the floor moves underneath it. The same logic applies to any joint between two materials meant to shift at different rates, such as a run of trim crossing an expansion joint in the wall. If you’re not sure whether a gap is a flaw or a designed joint, leave it and ask rather than caulk over something that needs to breathe.
Getting a clean line
- Clean and dry the gap first. Dust, cobwebs, and old flaking paint stop caulk from bonding to either surface. Skip this and the bead looks fine on day one, then peels away in strips within a few weeks because it was never actually stuck to anything.
- Cut the tip small, at an angle, sized to the gap rather than to the tube. A wide cut wastes caulk and leaves a fat bead that’s hard to tool flat, and you’ll spend the next step fighting a ridge three times bigger than the gap needed.
- Run the bead at one steady speed and pressure. Stopping and starting, or squeezing harder in places, leaves a line that’s thick in some spots and starved in others, which reads exactly like the original gap did, just relocated.
- Tool the line immediately, before it starts to skin, with a fingertip, a caulk tool, or a damp rag pulled in one continuous motion. Wait too long and the surface has already begun to set, so tooling drags and tears it instead of smoothing it.
- Wipe your tool and finger between passes. Dragging old caulk forward smears a faint ridge along the whole run, subtle enough that you won’t see it until the wall is painted and lit from the side, which is the one condition you were trying to fix.
If you want a perfectly crisp line where trim meets a wallpapered wall or a wood surface you’re not painting, run a strip of tape along the edge before you caulk rather than trying to cut a straight line freehand. That’s a case where tape helps rather than costing you time, since you pull it away right after tooling instead of scraping a mistake off a finished surface later. Once the bead has skinned over you can paint it, but caulk that’s dry to the touch isn’t the same as caulk that’s fully cured, and understanding the difference between dry and cured matters before you load the next coat on top of a bead you ran an hour ago.
What it looks like when it goes wrong
Most caulking mistakes don’t show up until the wall is painted and the light hits it at an angle, which is frustrating but also useful: it’s the same light that would have shown the original gap, so a failed fix announces itself from across the room.
Defects you can still correct
A bead that sits proud of the surface, a rounded ridge rather than a flat fill, usually means it wasn’t tooled before it began to skin. Catch this within the working window while the caulk is still soft and you can go back over it with a damp finger or tool and flatten it. Once it has fully skinned this stops working, and pressing on a skinned bead just tears the surface rather than smoothing it. At that point the only fix is to slice the ridge down with a sharp blade, which leaves a slightly duller texture where the surface was cut, correctable with an extra coat of paint but not with more caulk.
A faint sunken line down the center of the bead, visible mainly under raking light, is usually shrinkage in a gap that was wider than the caulk was meant to fill in one pass. This is fixable: let the first bead fully cure, then run a thin second pass over it. Adding more caulk before the first layer has cured just mixes the two into one bead that shrinks again.
Defects that mean starting over
A bead that has split down its length after a season, especially on a long horizontal run, means either the wrong product went in, a rigid filler instead of a flexible caulk, or the joint needed to move and shouldn’t have been caulked at all. There’s no patch for this. The old bead has to be cut out and removed entirely, the gap cleaned, and the right material run in its place, or the joint left open if it turns out to be an expansion joint.
Caulk that has pulled cleanly away from one side, leaving a hairline gap between the bead and the wood or the wall, is an adhesion failure, almost always from dust, grease, or old paint film left on the surface before application. Painting over it won’t help, since paint doesn’t bond gaps the way caulk does. It has to be dug out and reapplied to a clean surface. And if a run of caulk shows a stain or a yellow line bleeding through fresh paint, that’s usually residue in the wood or old smoke film underneath, not the caulk’s fault, and it calls for a stain-blocking primer under the topcoat rather than more caulk.
What to settle before you open the tin
Before you run a single bead, look at the trim in raking light, a lamp held low and to the side, and mark every gap that actually throws a shadow. It’s tempting to caulk on assumption, but a joint that looks fine under a flat overhead light can turn out obvious in daylight and the reverse is just as common, so let the light you’ll actually live with decide the list rather than habit.
Surface and ventilation
Check that the trim and wall are clean and dry at the seam, not just free of dust but free of the greasy film that builds up on kitchen and bathroom trim over years. Caulk applied over that film looks fine going on and fails within weeks. If the existing paint is glossy, a light scuff with fine sandpaper gives the new caulk and the topcoat something to grip, and that scuffing step is exactly where ventilation stops being optional. Sanding dust in a closed room does more thanunpleasant — itdust you don’t want to breathe or track through the house, so open a window and run a fan before you start, not after you notice the dust in the air.
The age of the building
If the trim you’re about to sand, scrape, or otherwise disturb has been painted for decades, treat it as a lead paint question before it’s a caulking question. Older paint layers can contain lead, and disturbing them with sanding or scraping carries a real health risk that a fresh coat of caulk and paint won’t undo. Check the EPA’s guidance on lead-safe work practices for older homes before you touch the trim, and if you’re at all unsure how old the paint underneath is, treat it as if it does.
Common questions
Can I use caulk instead of wood filler on nail holes in trim?
Not really. Caulk stays slightly flexible, which means it never sands to a perfectly flat, hard surface the way wood filler does, so nail holes filled with caulk often show a small dimple once painted. Save caulk for the seam between trim and wall, and use a proper wood filler for holes and gouges in the trim itself.
Should I caulk before or after priming?
After the first coat of primer, before the topcoat, is the usual order. Primer seals bare wood so the caulk bonds to a consistent surface rather than soaking unevenly into raw material, and it also makes gaps easier to see, since a primed surface shows shadow lines more clearly than raw wood does.
What do I do about gaps at outside corners, where two pieces of trim meet at an angle?
Don’t caulk them if you can avoid it. An outside corner has no wall behind the bead to support it, so caulk there is both more visible and more prone to cracking than caulk on a flat seam. A gap at an outside corner is almost always a miter cut that needs to be recut and glued tighter, not filled.
My caulk line turned yellow after I painted over it. What happened?
That’s usually not the caulk at all. A yellow or brown line bleeding through fresh paint is typically old stain, nicotine residue, or tannin in the wood working its way up through the topcoat, and it will keep happening until you put a stain-blocking primer under the paint. If the discoloration is only in the caulk line itself and nowhere else, it can mean a low-quality caulk that wasn’t fully cured before it was painted over.