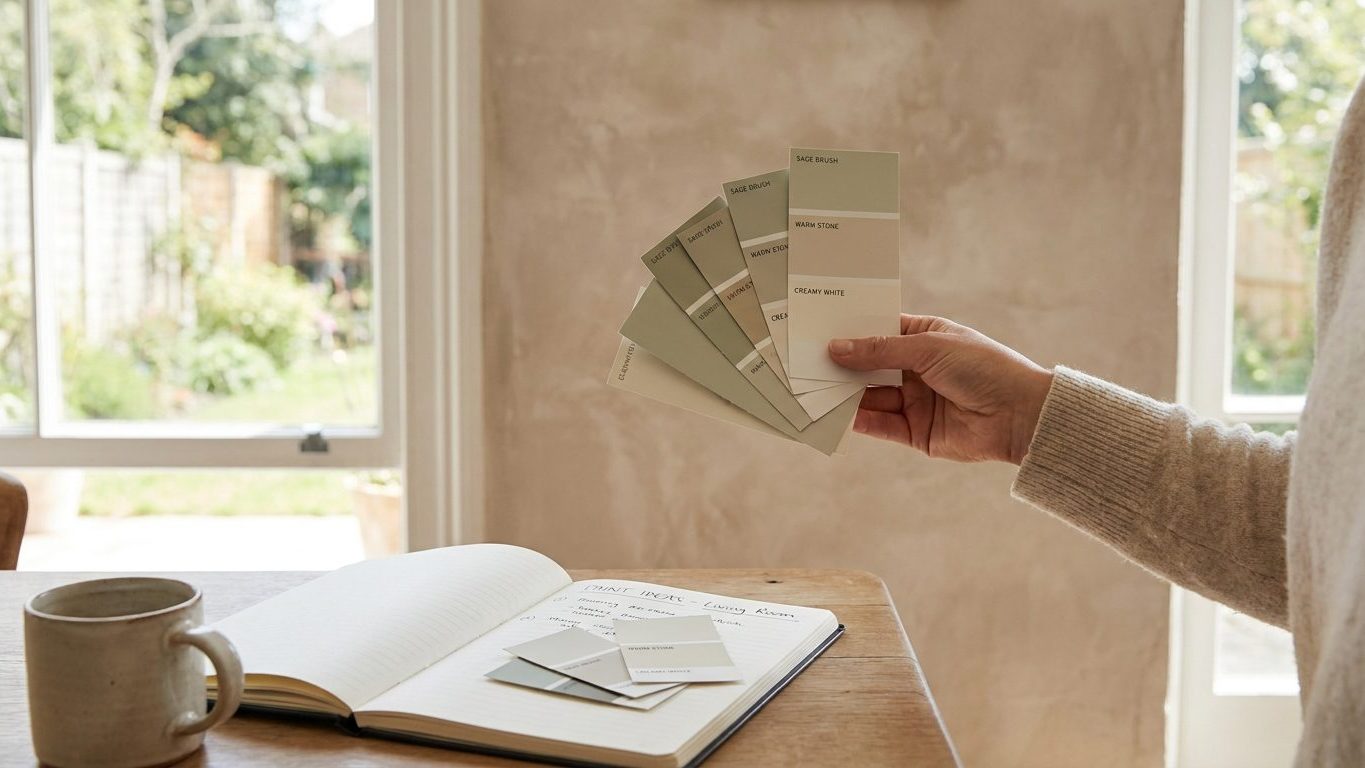

That swatch curling in your hand under the paint aisle’s cool white tubes will look nothing like itself once it’s home. Color is not fixed. It shifts with the light source hitting it and with how much wall is carrying it, so a two-inch chip under fluorescent tubes tells you almost nothing about a room lit by a window facing a particular direction. Buy a sample pot, paint an actual section of the wall, and look at it morning, midday and evening before you buy anything by the gallon.
What is actually going on

Two things are working against you at the paint counter, and neither has to do with taste. The first is the light. Daylight changes color temperature through the day, cooler and bluer in the early morning and evening, warmer around midday, and it changes again depending on which way a room faces. A north-facing room gets flatter, cooler light most of the day. A south-facing one gets warmer, more direct light that shifts more dramatically as the sun moves. Add a lamp with an incandescent-style bulb or an LED at a different color temperature after dark, and the same wall can look like two different colors depending on the hour, without a single thing about the paint changing.
The second is area. A color viewed on a two-inch chip and the same color covering a whole wall are not read by the eye the same way. Paint chemists and decorators both talk about this as the area effect: a color tends to look lighter and less saturated on a small sample and darker or more intense once it covers a large surface, because a bigger surface bounces more of its own reflected light back at you rather than being diluted by the wall around it. This is why a soft gray-blue that looked barely-there on the chip can read almost navy once it is rolled across four walls.
Why a swatch board never settles it
A painted board propped against the wall suffers from both problems at once. It is small, so the area effect hasn’t kicked in, and it usually sits at an angle to the window rather than receiving light the way the actual wall does. It also tends to get judged in one visit, at one time of day, under whatever light happens to be in the room right then. None of that resembles how you will actually experience the color for the next several years. The only way around it is to put the paint where it is actually going to live, in a big enough patch, and let the room’s real light do the judging over more than one sitting.
None of this is about drying times or coverage rates, which vary by product and are printed on the can you’re holding. It is about giving the color a fair test before you’re committed. If you’re testing in a closed room, especially with a door shut and the heat or air conditioning off, open a window or run a fan while the sample is open and wet. Paint fumes build up fast in a small space and ventilation matters here just as much as it does for a full repaint.
Doing it
Testing color properly is a short list of habits, but skipping any one of them is exactly how people end up standing in a finished room wondering what went wrong. Work through these in order.
- Note the room’s orientation before you buy anything. A wall that faces north will read cooler and grayer than the same paint on a wall that faces south. Skip this and you’ll blame the paint for something the compass explains.
- Buy an actual sample pot rather than relying on a printed chip or a fan deck. A printed chip is ink on paper reproducing a color, not the paint itself, and the two can differ more than people expect. Skip this and you’re testing a picture of the color, not the color.
- Paint a patch at least two feet square, not a stripe or a corner. The area effect only shows itself once there’s enough surface for light to bounce around inside the color. A postage-stamp test patch hides the very problem you’re trying to catch.
- Put patches on at least two different walls in the room, including one that gets direct sun at some point in the day and one that doesn’t. A single patch on the darkest wall will look wrong in a way the sunnier wall won’t, and vice versa.
- Look at the patches at three points in the day: morning, midday and evening. Skipping the evening check is the single most common reason a color that looked fine all day suddenly looks murky or flat once the lamps go on.
- Check the patches again after dark, under whatever artificial lighting you actually use in that room. A color can shift noticeably depending on whether the bulbs in the room run warm or cool, and this is invisible until the sun goes down.
- Hold the sample next to anything fixed in the room that isn’t moving: the flooring, the trim, a countertop, a piece of furniture staying put. A color that looks fine in isolation can still clash badly with a wood floor or a stone surface once they’re side by side.
- Give the sample time to reach its true, cured color before judging it final. Wet paint and freshly dried paint often look different from fully cured paint, and how long that takes depends entirely on the product, so check the can rather than a clock.
Do all eight and you’ll know, honestly, whether the color works in that particular room. Skip the evening check or the fixed-object comparison and you’re gambling with a whole room’s worth of paint.
What it looks like when it goes wrong
Most color mistakes trace back to one of the two mechanisms already covered, and they show up in a handful of recognizable ways.
Chip drift is the most common: the wall reads noticeably darker, muddier or more saturated than the little chip promised. This is the area effect doing exactly what it does, and it is entirely avoidable next time by testing on a full patch rather than trusting the sample card. If it’s already happened and the room is unlivable, the honest fix is to go a shade or two lighter than you’d otherwise pick, tested properly on a real patch, and repaint. There’s no shortcut that preserves the existing coat.
Metamerism is subtler and harder to diagnose. Two colors, or two batches of the same nominal color, can match perfectly under one light source and visibly disagree under another. This is why a wall painted to match a chip tested only under store fluorescents can look off the moment it’s lit by an incandescent lamp or by daylight. It isn’t a flaw in the paint. It’s a mismatch between the light the color was chosen under and the light it actually lives in, and the only real fix is retesting under the room’s own lighting, at the times you’ll actually use the room.
Sheen mismatch and patchwork testing
A less obvious failure comes from testing with the wrong sheen. A flat sample and a satin or eggshell final coat reflect light differently even in the identical color, so a swatch tested in the wrong finish can mislead you about how glossy or flat the final wall will read, especially near a window. Test in the sheen you actually intend to use.
Leaving too many test patches on the wall causes its own small problem: patches of different sheens and thicknesses can telegraph faintly through the final topcoat, especially under raking light from a side window. This is cosmetic and correctable with an extra coat once you’ve settled on a color, not a reason to start over. What can’t be corrected without repainting the whole surface is a full room painted in a color chosen from a chip alone that turns out wrong at scale. That is a redo, not a touch-up.
What to settle before you open the tin
Before any paint goes on a wall for real, there are a few things worth nailing down.
- Confirm the room’s true light sources: which way the main windows face, and what kind of bulbs are in the fixtures you’ll actually use after dark.
- Decide on sheen before testing color, since flat, eggshell, satin and semi-gloss all reflect the same pigment differently.
- Check the surface is clean, dry and sound before you commit a test patch to it. Loose or flaking paint underneath will throw off how any new color reads, and if the walls already show signs of lifting or bubbling, that’s worth sorting out first, covered in Paint That Peels: Reading Where It Lets Go.
- If you’re planning to test or repaint the ceiling as part of the same room, treat it separately. Ceiling paint reads differently because it reflects light downward rather than sideways, and testing a wall color tells you nothing about how it will behave overhead, a topic covered in Painting a Ceiling Without Ruining Your Neck or the Walls.
- Make sure the room can be ventilated while you’re testing and painting. Open a window, run a fan, and don’t rely on a closed door to keep fumes manageable.
If any of this involves sanding, scraping or otherwise disturbing paint that’s already on the walls, especially in an older house, stop and check the lead paint guidance on this site before you touch anything with an abrasive tool. That’s a separate hazard from anything covered here and it needs its own precautions before prep work starts.
Most of this groundwork, from surface condition to the order you tackle a room in, is the part of a paint job people skip in their hurry to get to color, and it’s covered in full in Interior Painting: Preparation Is Most of the Work. Get the surface and the light sorted first, and the color test you run on top of it will actually mean something.
Common questions
How many test patches do I actually need per wall?
One good patch per wall that gets meaningfully different light is enough, so a room with one sunny wall and one shaded wall needs at least two. More than that becomes hard to track and starts creating the patchwork problem described above.
Can I just test on white foam board and move it around the room instead of painting the actual wall?
You can, and it’s better than nothing, but it still misses the area effect that shows up once a color covers a full wall rather than a small board. Treat a foam board test as a rough first pass, not the final word.
Why does the same color look different in two rooms of my house?
Almost always it’s the light. Different orientation, different window size, different bulbs, or a neighboring wall color bouncing its own tint into the room can all shift how identical paint reads from one room to the next.
Do I need to retest if I change the light bulbs in a room after painting?
It’s worth a look, especially if you’re switching between warm and cool-toned bulbs. That’s the metamerism problem described above, and a color that matched perfectly under the old bulbs can shift noticeably under new ones even though nothing changed on the wall.