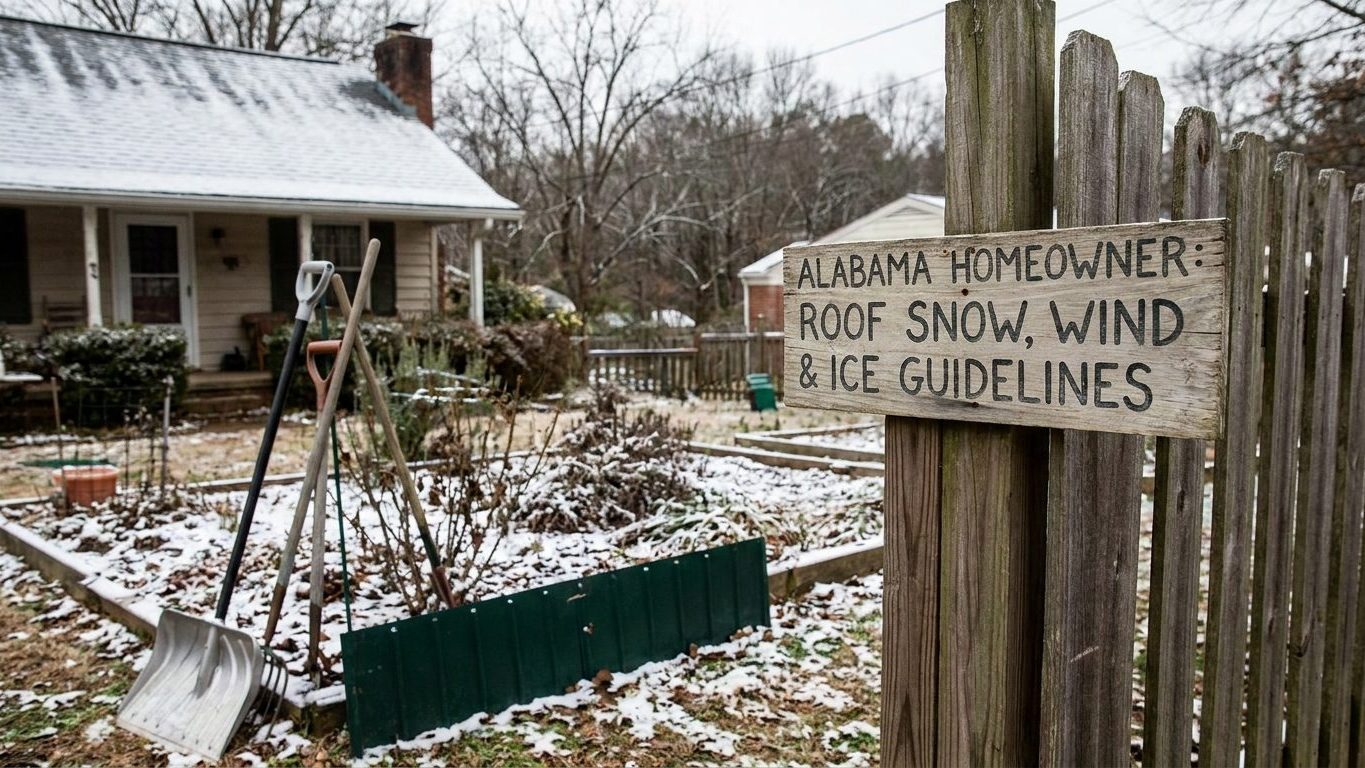

Milwaukee’s ground snow load sets the benchmark most Wisconsin permits work from: 30 pounds per square foot, measured at the ground and then converted before it ever reaches a rafter. That’s the figure a plan reviewer checks against your truss drawings, not a promise about your particular roof. Call your county building department for the design value at your address before you order materials, since elevation and local exposure move that number around the state.
What is the ground snow load in Wisconsin?

At Milwaukee, the reference point for this figure, the design ground snow load is 30 pounds per square foot (psf) under ASCE 7-16. That’s the edition IRC/IBC 2021 makes applicable in most states for structural design values, though it’s the number engineers and truss manufacturers plug into their calculations rather than a rule pulled straight from a model code chapter. It is not the number your roof itself has to bear.
Ground load and roof load are different numbers
Ground snow load is exactly what it sounds like: the weight of snow measured sitting on open, flat ground near a weather station. The building code does not hand that number straight to your rafters. It runs it through exposure, thermal and slope factors first, because a roof sheds heat and wind in ways open ground does not. For an ordinary heated, sloped house roof, that conversion typically lands around 0.7 of the ground value, and it drops lower still on a steeper pitch. That distinction matters because it’s the single most common mix-up on this subject, and everything in the next section builds on having it straight.
Where the number actually gets used
This 30 psf figure is what shows up on a permit application, what a plan reviewer checks the truss drawings against, and what a structural engineer starts from when sizing rafters or engineered trusses for a new build or a re-roof that changes the load path. It is a design input, not a field measurement of what fell on your roof last January.
A newer edition, ASCE 7-22, maps the same Milwaukee point at 55, and a few jurisdictions are beginning to adopt it. That is not more snow and not a sign your existing roof is undersized. The two figures are built on different bases: ASCE 7-16 is a nominal value paired with a 1.6 load factor, while ASCE 7-22 is a strength-level value paired with a 1.0 load factor. Comparing the two numbers directly is comparing apples counted two different ways. The 30 psf figure is what’s in force for the vast majority of current Wisconsin permits, and it’s the one to cite when you talk to a building department or a truss supplier.
Wisconsin’s actual permit process runs through its own code rather than a straight adoption of a national model. Structural values like this one feed into that process, but the rules governing how a Wisconsin dwelling gets built, inspected and permitted come from the state’s own Uniform Dwelling Code, which the next sections return to.
How much snow can a roof hold in Wisconsin?
There’s no single inches-of-snow number that answers this, because the same snowfall can weigh wildly different amounts depending on what it’s become by the time it’s sitting on your shingles. What answers it instead is a combination of the design load, the shape of your roof, and where snow has had a chance to pile up.
Fresh snow, wet snow, and ice are not the same load
Fresh, light snow runs roughly 5 to 7 pounds per square foot for every foot of depth. Settled or wet snow runs two to three times that. A layer of ice on top of either adds more weight again, in a much smaller volume. That’s why a foot of snow that fell in a dry January cold snap is a very different structural event than a foot that fell wet in March, even though both look identical from the driveway.
Drift, not the flat field, is where roofs get overloaded
The 0.7-of-ground-value conversion described above assumes a fairly uniform load across an open, sloped roof. Real roofs are rarely that simple. Snow drifts against a parapet or a taller adjoining wall, piles up below a dormer, and collects in valleys where two roof planes meet. A lower roof sitting next to a taller section of the same house can end up carrying several times the load of the open field nearby, because wind is constantly redepositing snow from the taller roof onto the lower one. This drift loading, not the flat design figure, is where most snow-related roof failures actually start.
Watch for interior signs that a roof is being asked to carry more than it comfortably can:
- Doors or windows that suddenly stick or stop closing properly
- New cracks appearing in ceiling drywall or at wall-ceiling joints
- A ridge line that looks like it’s developed a dip or sag
- Popping or creaking sounds from the attic under heavy snow
If you see any of that, the safe response is to rake snow off from the ground using a long-handled roof rake, working from the eaves, not to climb onto a loaded roof to shovel it by hand. A loaded roof is exactly the surface you don’t want extra weight, footsteps and shifting balance added to. If you’re genuinely concerned about structural capacity, that’s a call for your local building department or a licensed engineer, not a guess made from the ladder.
What wind speed must a roof withstand in Wisconsin?
At Milwaukee, the reference point for this figure, the basic design wind speed is 106 mph under ASCE 7-16, for Risk Category II buildings, which covers ordinary houses. That number is a 3-second gust measured at 33 feet in open (Exposure C) terrain. It is not a sustained wind speed, and it isn’t comparable to the headline number you hear in a hurricane forecast, which describes something different measured a different way. ASCE 7-22 maps the same Milwaukee point at the same 106 mph, so this is one of the rarer cases where the two editions agree.
Wisconsin’s inland location keeps it out of the wind-borne debris and hurricane-prone region provisions that apply along stretches of the Gulf and Atlantic coasts, where the code requires impact-rated glazing or approved shutters on new construction. That’s a real, costly obligation where it applies, and it does not apply to a Milwaukee-area building at this wind speed.
What the number actually governs on a roof
The design wind speed feeds into shingle wind ratings, nailing patterns, sheathing fastener schedules, and the uplift connections tying the roof structure down to the walls below it. On paper it’s one number. On the roof it shows up as dozens of small decisions about fastener spacing and connection hardware. Edges, rakes and ridges fail first in a wind event, because that’s where uplift pressure concentrates most. A roof that’s fine in the field of a slope can still lose shingles or sheathing right along those edges if the fastening there doesn’t match the design wind speed.
Other snow-belt states land on very different combinations of these same figures. New Hampshire’s roof snow load, wind speed and ice barrier rules run through the same ASCE process but arrive at different numbers for its own reference city, which is exactly why these figures always need to be looked up locally rather than assumed to travel from one state to the next.
Does Wisconsin require an ice barrier under the shingles?

An ice barrier is a self-adhering waterproof membrane installed under the shingles, run from the edge of the eave up past the interior line of the exterior wall. Its job isn’t to stop snow from sitting on the roof. It’s to stop water from getting into the roof deck when an ice dam forms and backs meltwater up under the shingles above the eave, where a normal shingle overlap is no longer enough to keep it out.
Why ice dams form here
Milwaukee’s coldest month has a mean daily minimum of 17.2°F, according to NOAA’s 1991-2020 climate normals. That’s cold enough, combined with a roof carrying real winter snow load, for the classic ice dam cycle to run repeatedly through a Wisconsin winter: heat escaping from the living space into the attic warms the underside of the roof deck, melts the bottom layer of snow sitting on it, and that meltwater runs down until it hits the cold overhang past the exterior wall, where it refreezes into a ridge of ice. Snow above keeps melting and pooling behind that ridge instead of draining off the roof.
That mechanism is also why the membrane is a backstop rather than the actual fix. Air sealing and attic insulation are what stop an ice dam from forming in the first place. The membrane just protects the deck if one forms anyway. A roof with a properly installed ice barrier and a warm, poorly sealed attic will still grow ice dams every winter. It just won’t leak into the ceiling below while it does.
The rules governing what’s required, and where, on a Wisconsin roof come from the state’s own Uniform Dwelling Code (Wisconsin Administrative Code, chapters SPS 320 to 325), written by the state itself rather than adapted from a national model code, and administered by the Wisconsin Department of Safety and Professional Services. It’s a uniform code that a municipality cannot enforce a weaker standard against, though the permit itself is still issued and inspected locally. Confirm the specific ice barrier provision that applies to your project with your local building department before a re-roof, since that’s the office actually applying this state code to your address.
The same freeze-and-refreeze mechanism drives ice dam damage across the border as well. Homeowners in similarly cold, snowy regions face the identical problem, covered for that territory in the New Brunswick’s roof snow load and wind rules, though the code and figures there run on a separate system entirely.
What roofing material suits Wisconsin best?
The honest answer depends on which of the loads above you’re weighting most, because Milwaukee’s roughly 30 psf ground snow load, 106 mph design wind speed, and the state’s split between IECC climate zone 6A (42 counties) and zone 5A (30 counties) don’t all point toward the same material. For background on how a roofing project generally comes together before you get into material selection, see our roofing overview.
Comparing the main categories
| Material | Wind performance | Snow behavior | Added dead load |
|---|---|---|---|
| Architectural asphalt shingles | Carries a published wind rating, performance depends entirely on matching the fastening pattern to it | Holds snow on the surface rather than shedding it quickly | Relatively light |
| Standing-seam metal | Strong uplift resistance when properly seamed and fastened | Sheds snow readily, sometimes suddenly, in sheets | Light |
| Slate or concrete tile | Heavy units resist uplift on their own weight, but require engineered fastening at the edges | Holds snow rather than shedding it | Substantial, adds directly to the structural snow load the roof must carry |
Standing-seam metal’s snow-shedding behavior is worth planning around rather than treating as a bonus. A metal roof that sheds cleanly can drop a sheet of snow and ice directly over a doorway, a walkway or a driveway below, which is a placement decision to make at the design stage with snow guards or a redirected roof edge, not something to discover the first time it happens.
Slate and concrete tile add their own weight on top of whatever snow load the roof already has to support, which means a structure specified for one of those materials needs to be engineered for that combined load from the start, not retrofitted under it later.
Where wind speed governs, the fastening and underlayment matter more than the material choice itself. A shingle rated for a high wind speed that gets nailed with the wrong pattern, spacing, or fastener type performs to the standard of that installation, not to the number printed on the product wrapper. That’s true across every material in the table above: the published rating describes what the product can do when installed to spec, not what it will do regardless of how it’s put down.