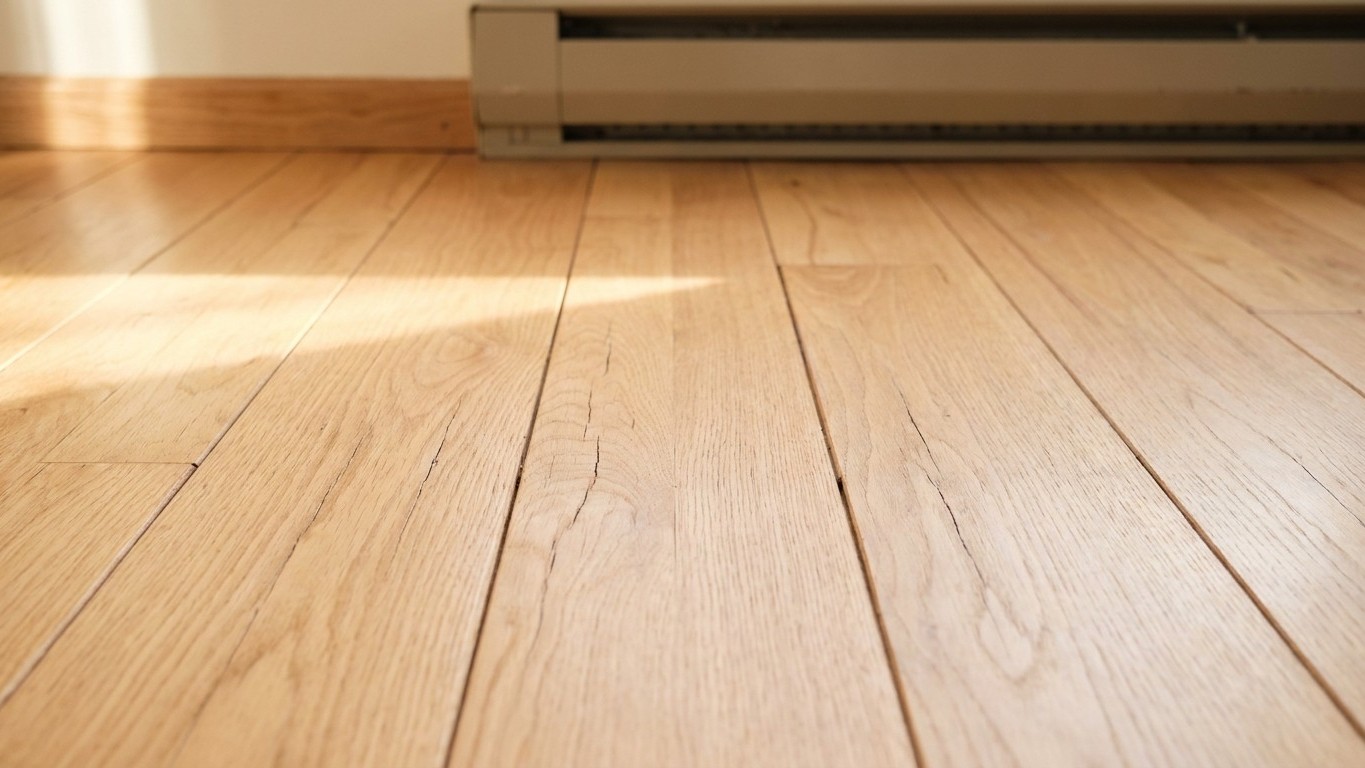

A gap that opens between hardwood boards every January and disappears by June is not damage. It is wood doing exactly what wood does: losing moisture to dry heated air, shrinking slightly, then swelling back as summer humidity returns. The only gaps worth worrying about are the ones that stay open past spring, or that show up alongside cupping, squeaks, or a smell coming from below.
What is actually happening

Wood is hygroscopic. It pulls moisture out of the air when the air is humid, and it gives that moisture back when the air dries out. Nothing mystical about it, just cellular structure doing what it has always done, long before anyone milled it into flooring.
Winter is when furnaces run hardest, and forced-air heat is brutally efficient at stripping moisture from indoor air. A house that feels comfortable at 70 degrees in January often has air drier than a desert afternoon. Wood flooring sitting in that air responds by shrinking across the grain, which is the direction boards are narrowest and most responsive to change. Multiply that tiny shrinkage across a whole room of boards and you get visible gaps, usually a consistent hairline width, running between most or all of the boards in a similar pattern.
Come late spring, windows open, humidity climbs, and the wood reabsorbs what it lost. The boards swell back toward their original width and the gaps close, sometimes so completely that a floor looks seamless again by early summer. This cycle repeats every year in a well-installed wood floor, and it is often more noticeable in the first one or two heating seasons after installation, while the flooring is still settling into the home’s actual humidity swings rather than the more controlled conditions of a warehouse or showroom.
Board width and material matter
Wider boards show more seasonal movement than narrow strip flooring, simply because there is more wood mass shrinking and swelling per board. A 5-inch plank will open a wider seasonal gap than a 2-inch strip installed in the same room under the same conditions. Engineered wood, built with cross-layered core plies, resists this movement better than solid wood because the layers work against each other’s expansion. That does not make engineered floors immune. It just narrows the range. Homes without any humidification system, and homes in regions with harsh dry winters, tend to see the widest and most predictable seasonal gapping of all.
The covering, or what is under it
Most winter gaps belong entirely to the flooring itself, responding normally to the air around it. But some patterns point past the surface, down to the subfloor, the framing, or moisture that has nothing to do with the season at all. Telling these apart before doing anything to the floor saves a lot of wasted sanding and Refinishing.
| What you observe | What it usually means | Which layer |
|---|---|---|
| Uniform hairline gaps across most boards, closing by summer | Normal seasonal response to dry heated air | Flooring surface only |
| Gaps that stay open into summer or keep widening year over year | Flooring still acclimating, wrong flooring choice for the climate, or the subfloor itself is drying and shrinking | Could be either, needs checking |
| Gaps concentrated in one room or along one wall, not the whole floor | A localized humidity source: a duct, a drafty window, a cold exterior wall | Environment or subfloor near that area |
| Gaps paired with boards that cup or crown | Uneven moisture between the top and bottom face of the board, often driven by moisture rising from below | Subfloor or slab moisture, showing up on the surface |
| Gaps in the flooring and visible separation between subfloor panels | The Structural layer itself is moving, not just the finish flooring | Subfloor |
| Gaps accompanied by squeaking when walked on | Fasteners loosening as the subfloor shifts; the flooring is just showing it | Subfloor and fastening |
The rule worth keeping in mind through all of this: the boards you can see are a symptom, not always the source. A floor that cups can be sanded flat, but if the moisture driving that cup is still coming from underneath, the same cup will return within a season or two. Fixing what shows without checking what is feeding it is the single most common mistake in flooring repair.
What to check, in order
None of these checks require lifting a board or opening a room. They start with observation and end at the point where a professional test becomes necessary.
- Look at the pattern across the whole floor. Uniform gaps in every board, in every room with the same flooring, rule out a localized problem and point toward ordinary seasonal movement. Gaps concentrated in one room rule out a whole-house explanation and narrow the search.
- Check the timing against the heating system. If the gaps opened right as the furnace kicked on for the season and nothing else changed, that timing alone rules out a plumbing or grading problem and supports the seasonal explanation.
- Compare against a similar room. Same flooring, same installation date, different location in the house. If one room gaps and the other does not, something specific to that room, a duct run, a window, an exterior wall, is worth investigating before blaming the floor.
- Check for cupping or crowning by feel. Run a hand or a straightedge across a few boards. Flat boards with a simple gap support the seasonal explanation. Boards that dip or arch across their width suggest moisture working unevenly on the wood, which shifts suspicion toward what is underneath.
- Look at the space below, if it is accessible. A basement or crawlspace gives a visual read on standing water, damp insulation, or grading problems outside that push moisture toward the foundation. This is a visual inspection, not a measurement, but it often explains a localized gap pattern on its own.
- Bring in a moisture meter test. This is where a flooring professional compares the moisture condition of the subfloor against the flooring above it, to see whether the two are behaving as a matched pair or working against each other. It is the last step before anyone touches the floor itself, and it is the point where a homeowner’s own inspection reasonably stops and a professional reading takes over.
When this stops being a flooring job
Three things move this problem out of flooring territory entirely, and recognizing them early saves both the floor and the budget behind it.
The first is anything structural. Joists that sag, beams that have shifted, or posts that show damage are framing problems, and framing problems do not get solved by anyone who works on floor coverings. That call goes to a structural engineer, and no amount of sanding or refinishing addresses what is happening below the subfloor.
The second is active water. A supply line leak, a failed drain connection, or water intruding from outside needs a plumber, not a flooring fitter, and it needs that plumber before any flooring work happens. Refinishing a floor over an active leak is refinishing a floor that will need refinishing again.
The third is a floor cavity that has been wet long enough to smell. That odor is often the first sign of rot or mold taking hold in a space no one can see directly, and it calls for a remediation specialist or general contractor familiar with structural drying, not a sanding crew. A flooring professional can replace boards and refinish a surface once the moisture source has been resolved, but resolving that source is someone else’s trade entirely.
Readers chasing moisture back to its origin, rather than its symptom on the floor, will often find the real answer sitting in a roof, a gutter system, or a plumbing line elsewhere in the house, topics covered in this site’s separate plumbing and roofing guides rather than here.