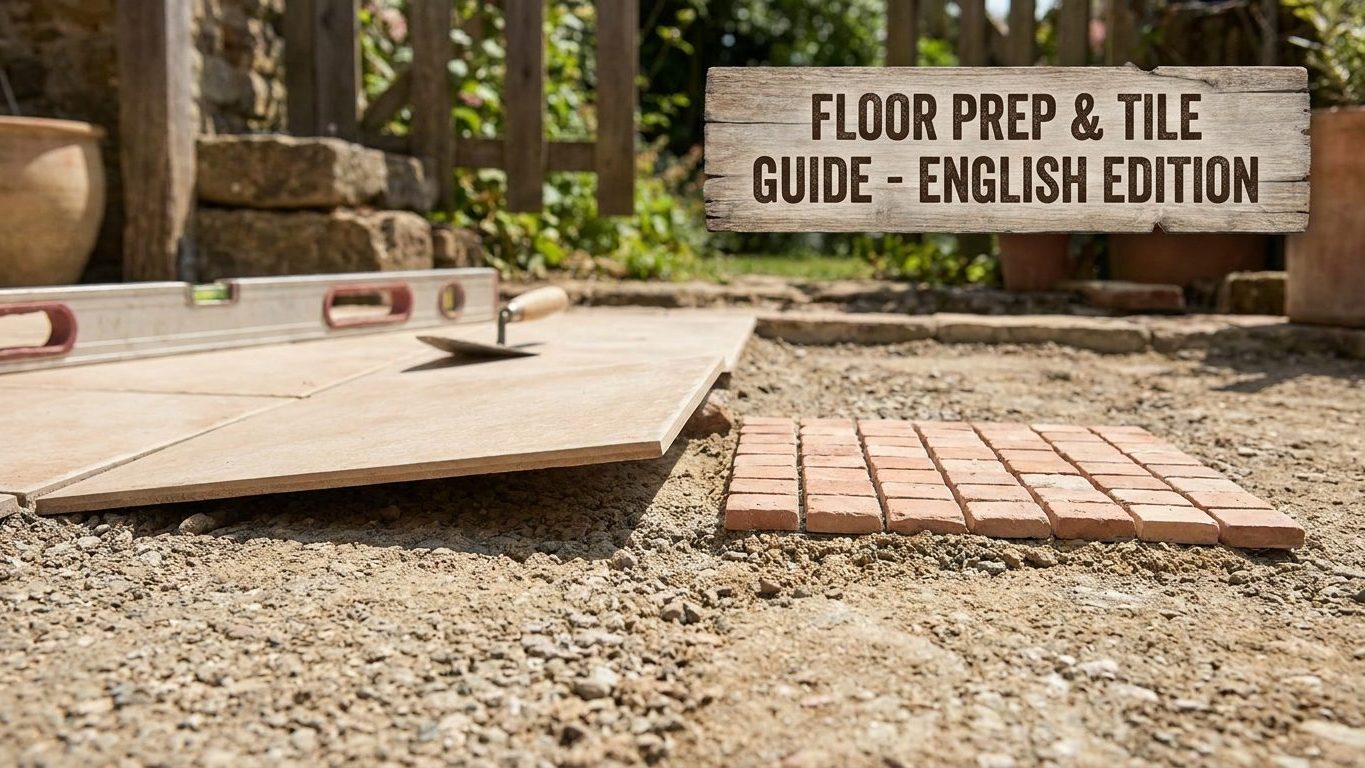

A 24-inch porcelain plank sitting flat on a saw horse looks perfectly true, but set it down on a floor that dips a sixteenth of an inch under one corner and the far edge lifts enough to stub a bare foot. Large tile does not bend to follow a wavy subfloor the way a small mosaic does. Before you order anything longer than 15 inches on any edge, put a straightedge across the room and find out how far the substrate actually swings over 10 feet.
The two tolerances, and the tile size that separates them

ANSI A108.02, section 4.1.4, sets the number before anything else: for any tile with an edge 15 inches or longer, the substrate must be flat within ⅛ inch in 10 feet and 1⁄16 inch in 2 feet. That two-part rule is deliberate. The 10-foot figure catches the long, slow bow across a room. The 2-foot figure catches a short, sharp hump right under where a tile edge will land. A substrate can pass the first test and still fail the second if it has a tight ridge instead of a gentle wave.
Smaller tile gets more slack. The same section 4.1.4 allows ¼ inch in 10 feet for tile that does not meet the 15-inch threshold, double the long-span tolerance for large format, with no matching 2-foot requirement written into the small-tile rule at all.
The measurement itself is simple to describe and easy to botch. You lay a straightedge across the bare substrate, not across finished tile, and measure the gap underneath it at the low points. The gap is read from the bottom of the straightedge to the surface of the substrate, whether that is the concrete slab, the plywood, or the self-leveling compound the tile is about to be bedded into. It is not measured from the top of one tile to the top of the next, and it is not measured after a mortar bed has already been troweled into ridges that could mask a low substrate underneath.
The 15-inch line is not about square footage or weight. A 24-inch by 24-inch tile and a 12-inch by 24-inch tile both trigger the tighter tolerance, because the rule is written around the longest edge, not the total area. A 12-inch square tile stays under the small-tile allowance. That distinction matters when a room mixes formats, because the strictest tolerance in play applies to whichever tile in that room has the longest edge.
Lippage: why a flat-looking floor still catches a toe
Lippage is the vertical mismatch you feel with a bare foot or see as a shadow line where one tile edge sits slightly higher than its neighbor. It happens because tile itself does not flex to follow the substrate underneath it. A small mosaic tile can rock a little and settle into a shallow dip without anyone noticing. A tile with a 15-inch or longer edge is rigid over its whole length, so if one corner rests on a high spot in the substrate, the opposite corner is levered up and away from the floor by the same amount, magnified by the tile’s own length. The stiffer and longer the tile, the more a small substrate error at one point turns into a visible edge somewhere else.
This is the physical reason the 2-foot tolerance in ANSI A108.02 section 4.1.4 exists alongside the 10-foot one. A gentle, long wave across a room can be leveled out by the mortar bed as the setter works, because the trowel has room to build up thickness gradually. A sharp hump packed into a 2-foot span cannot be corrected that way without leaving a visibly thick or thin mortar bed right at the joint, which is exactly where lippage shows up first.
The joint as the other variable
The installer’s other tool for hiding a slight height mismatch is the grout joint itself. ANSI A108.02 section 4.3.7 ties allowable lippage directly to the width of that joint: a joint under 1⁄16 inch leaves no room to absorb a high spot, because there is no gap for the eye or the toe to be gradually walked down into. A wider joint creates a small ramp between two tile edges instead of a sudden step, and the same substrate error reads as far less noticeable.
None of this means a wider grout joint fixes an out-of-tolerance substrate. It changes how forgiving the finished floor is of an error that is already within the ANSI 4.1.4 flatness limits. A substrate that fails 4.1.4 outright will still show lippage no matter how the joint is set, because at that point the rule is not about disguising a height difference, it is about not creating one large enough to need disguising.
The trend toward narrow grout joints on large-format tile is largely an aesthetic one. Homeowners and designers often want the joint-free, slab-like look that a thin joint gives a big porcelain plank. That preference runs directly against the mechanism ANSI 4.3.7 describes: the thinner the joint, the less it can absorb, so the flatness requirement in section 4.1.4 becomes the only thing standing between a substrate error and a floor that catches a sock at every doorway.
The grout joint that absorbs what the floor does not
ANSI A108.02 is a national standard, not a law. It becomes enforceable only where a local building department, a project specification, or a signed contract references it directly, and jurisdictions can adopt it with amendments layered on top. Before assuming the ⅛ inch in 10 feet figure governs a specific job, check with the local building department or the contractor’s spec sheet, because the number that actually applies is whichever version was written into the contract documents.
Within the ANSI A108.02 model itself, there is no exception written into section 4.1.4 for large tile installed with a wider grout joint, or for tile set over an existing floor instead of new substrate. The 15-inch threshold and the flatness numbers that follow from it apply the same way regardless of what the finished grout joint ends up being. Joint width is a separate decision, usually driven by the tile manufacturer’s installation instructions or the project specification. Section 4.3.7 only describes how that joint width interacts with lippage after the fact. It does not loosen the flatness requirement in exchange for a wider joint.
That distinction catches people planning a renovation. A wider grout joint is sometimes suggested as a way to disguise a floor that will not quite pass flat, but that is not how the two rules relate. The flatness tolerance in 4.1.4 has to be met on its own. Whatever the grout joint does afterward, per 4.3.7, is about how forgiving the finished look is of whatever tiny variation remains inside an already-flat substrate, not a substitute for meeting the number in the first place. If a substrate is genuinely out of tolerance, the fix is leveling compound or a subfloor repair, not a bigger joint.
Grout joints also have to handle ordinary building movement, not just substrate height differences, which is why perimeter joints and joints over control joints in the slab are typically caulked rather than grouted. Mixing up which gap gets flexible caulk and which gets rigid grout is a separate and common mistake, covered in Caulk or Grout? Where Each One Goes, and Why It Cracks, but it matters here because a rigid grout joint packed into a spot that needs to move will crack regardless of how flat the substrate underneath it was.
Checking flatness with a straightedge before ordering

You do not need a laser to find out roughly where a substrate stands, though a long aluminum straightedge or a taut mason’s line gives a more reliable read than eyeballing it. Set up on the bare substrate, before any tile, mortar, or leveling compound has been added, and check both the long span and the short span described in ANSI A108.02 section 4.1.4.
Steps to measure it yourself
- Lay a straightedge at least 10 feet long across the widest run of the room, resting on two high points.
- Slide a feeler gauge or a folded tape measure under the straightedge at the lowest-looking spot and record the gap in inches.
- Repeat the same 10-foot check along at least one more direction, since a substrate can be flat one way and bowed the other.
- Lay a 2-foot level or a short straightedge directly over every spot where a tile seam will land, not just the middle of the room, and record the gap there too.
- Write down every reading, not just the worst one, since a single good number elsewhere does not offset a bad one under a seam.
The most common measurement error is checking only the long 10-foot span and skipping the short one. A substrate can read comfortably within ⅛ inch in 10 feet and still have a tight ridge that blows through 1⁄16 inch in 2 feet right where a large tile’s edge will sit, because the two numbers measure different things. One is the overall wave, the other is the local hump, and checking only the room-wide reading misses exactly the defect that causes the most visible lippage under long tile.
Bring the readings to whoever is setting the tile, or to the local building department if the project needs a permit and inspection. Neither this measurement nor this page can tell you whether a specific floor passes ANSI A108.02, only what the actual gap is at the points checked.
The large-format floor that has to come back up
When a substrate does not meet the flatness numbers in ANSI A108.02 section 4.1.4, the problem usually does not show up at inspection, since flatness is rarely the single line item checked with a straightedge on a residential job. It shows up months later, as lippage at a handful of seams, or as a cracked tile that was bridging a hollow spot instead of bearing evenly across its whole back. On large-format tile that hollow spot is worse than on small tile, because the same unsupported area sits under one continuous rigid piece instead of being broken up by several smaller tiles that can each find their own bearing.
Fixing it after the fact almost always means pulling the tile back up, not just re-grouting. A grout joint can absorb a small amount of leftover unevenness, per section 4.3.7, but it cannot fix a substrate that never met the ⅛ inch in 10 feet and 1⁄16 inch in 2 feet standard to begin with. The mortar bed under a large tile is not thick enough to correct a genuine substrate flaw, so the real fix is grinding down high spots or adding self-leveling underlayment, then resetting the tile.
If a large-format floor is planned and the substrate’s flatness is uncertain, that is a conversation for the tile installer doing the work, and for the local building department if the job is permitted, before the tile is ordered rather than after it is set. If the same renovation opens up ceiling or wall access, it is also a practical time to check other rough-in items that are harder to reach once finishes go back in, like whether the bathroom fan duct is sized and routed correctly.
Common questions
What size tile counts as “large format”?
Under ANSI A108.02 section 4.1.4, any tile with an edge of 15 inches or longer falls under the tighter flatness rule, regardless of the tile’s shape or total square footage. A 15-inch by 15-inch square and a 12-inch by 24-inch plank are both large format under this definition, while a 12-inch square tile is not.
Does self-leveling compound automatically fix a flatness problem?
It can, but only if it is applied to actually meet the numbers in section 4.1.4, not just poured and left to find its own level. Self-leveling compound still needs to be checked afterward with a straightedge the same way the original substrate would be, since a thin or uneven pour can leave the same kind of local hump the rule is written to catch.
Can a bigger grout joint let me skip the flatness check?
No. Section 4.3.7 describes how joint width affects visible lippage after the substrate is already within the section 4.1.4 tolerance. It is not a substitute for meeting that tolerance. A wider joint can make a small remaining variation less noticeable, but it does nothing for a substrate that is genuinely out of range.
Who do I ask if my floor actually meets these numbers?
The tile installer doing the flatness check, or the local building department if the project is permitted and inspected, are the two people who can answer that for a specific floor. This page can only explain what the two ANSI A108.02 numbers are and how to measure toward them, not whether any particular substrate passes.