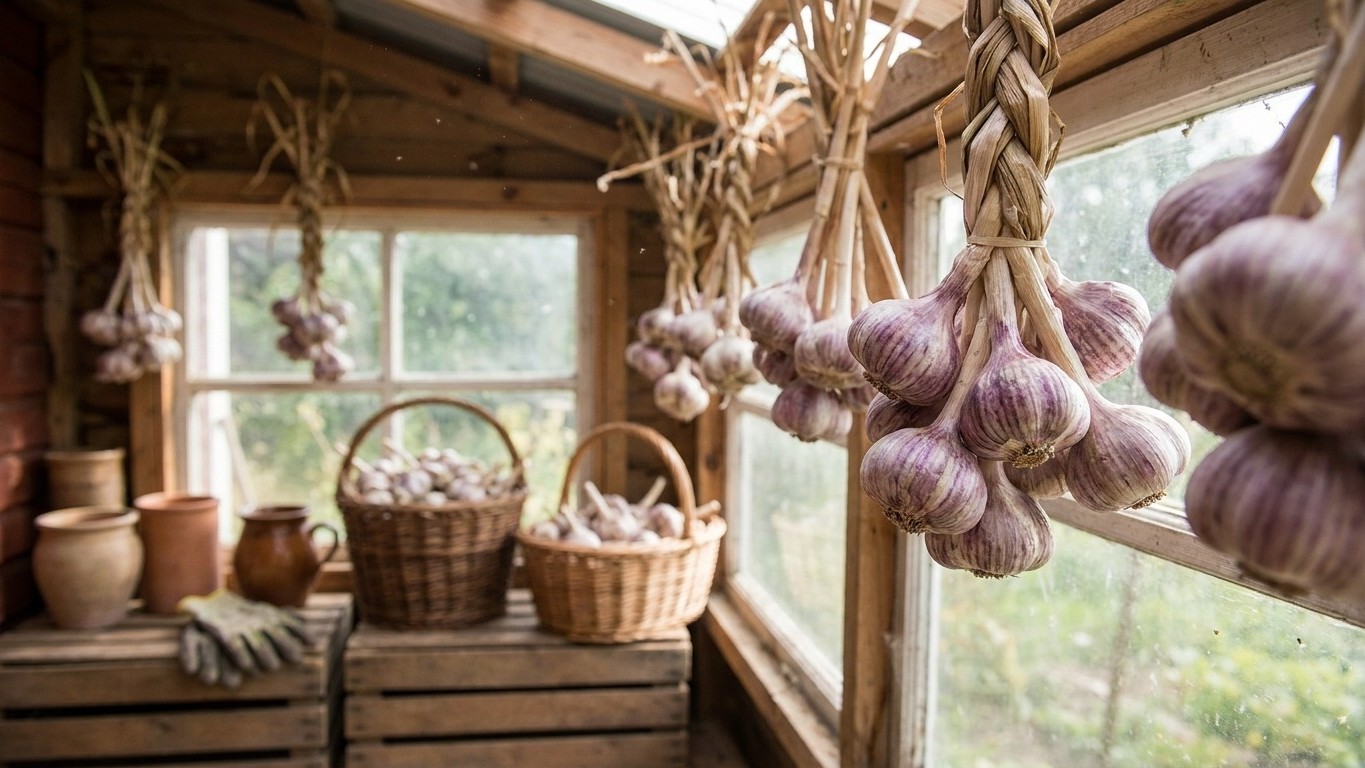

Garlic keeps for months in storage, or rots within weeks, depending almost entirely on what happens to it right after harvest. There is no single date that marks a good cure. It ends when the outer wrappers have gone dry and papery and the neck above the bulb has tightened down, not on a fixed number of days. Pull your bulbs, brush the soil off dry without washing them, and move them straight to a shaded, airy spot out of direct sun.
Why this matters for garlic

A rushed cure doesn’t show its damage in the garden. It shows up in the pantry, when a bulb that looked fine on the shelf turns soft and brown in one or two cloves within weeks of being put away. Garlic that goes into storage with moisture still trapped in the neck or the wrapper leaves has already started to rot from the inside, and there is no fixing that once the bulb is in a bag or a braid.
Skipping the cure is common because bulbs look finished as soon as they’re pulled. The outer skin can feel dry to the touch while the neck underneath is still green and full of sap. A bulb handled this way often keeps for a few weeks instead of the many months a properly cured head can manage. Once you’ve pulled your crop (the leaf-color test for knowing when to harvest is covered in our guide to Growing Garlic), the clock on curing starts immediately, and how you spend the next stretch of weeks decides whether that harvest earns its keep through winter or spoils before the holidays.
Curing also forces a decision most gardeners forget to make until the bed is already empty: what goes in behind the garlic. It vacates the bed while there’s still growing season left in most regions, and a bare bed invites weeds and loses nutrients to rain. Our guide to What to Plant With Garlic, and What to Keep Well Away covers which follow-on crops work in that space and which ones set back next year’s planting.
When to do it
Curing begins the moment bulbs come out of the ground, not after they’ve sat around waiting. Harvest itself is judged by growth stage, not a date: pull when the lower leaves have browned and died back while several upper leaves are still green, since the count of intact leaves roughly tracks the count of intact wrapper layers protecting the bulb underneath. Wait past that point hoping for extra size and you risk cloves that have already split open inside their wrapper, and a split bulb cures poorly no matter how carefully it’s handled afterward.
Sources do not agree on exactly how the curing period should be handled once bulbs are out, and the disagreement tracks climate rather than preference. In drier regions, curing outdoors in open shade for a few weeks is standard practice and needs little intervention. In humid regions, growers are often steered toward curing indoors from the start, since outdoor humidity can encourage mold at the neck before the bulb has had a chance to dry. The finish line is the same everywhere even when the setting differs: wrapper leaves gone papery, roots dry and brittle, neck tightened down against the bulb.
How to do it
The process is simple, but a few details decide whether it works. Skip the urge to wash the bulbs. Brush off loose soil with a dry cloth or soft brush and leave the roots and stems attached for now. Cutting either off immediately after harvest opens a wound that dries unevenly and gives rot a place to start.
Step by step
- Lay bulbs in a single layer, or tie them into small bundles of a handful of stems, for curing.
- Move them to a spot that is shaded, dry and has real air movement, never direct sun or rain.
- If the air feels still or damp, run a small fan nearby rather than waiting it out.
- Leave undisturbed until the neck feels tight and dry and the outer wrapper crackles rather than bends.
- Trim roots to a short stub and cut stems to an inch or two once curing is finished, unless you’re braiding a softneck variety, which needs braiding while the stems are still pliable and before the cure is complete.
- Set aside your largest, cleanest bulbs before storage if you plan to replant cloves next season.
Method matters mostly for airflow and the space you have to give up for a few weeks.
Curing methods compared
| Method | Airflow | Space needed | Best suited to |
|---|---|---|---|
| Hanging bundles | Good, especially with a fan running nearby | Vertical, minimal floor space | Hardneck and softneck varieties |
| Mesh or screen trays | Good if raised off the ground with air moving beneath | Horizontal, more floor space needed | Large harvests, bruised or oversized bulbs |
| Braiding | Reduced where stems overlap and pack tightly | Vertical once braided and hung | Softneck varieties only, braided before stems fully dry |
Once bulbs pass the neck-and-wrapper test, they’re ready to move off the curing rack and into whatever holds them for the winter. That next step has its own set of mistakes, covered in our guide to Storing Garlic: Why the Fridge Ruins It, and What to Do Instead.
What goes wrong
The tells to watch for
Sunscald is the fastest failure to catch and the easiest to prevent. Bulbs left in direct sun during curing, or simply left lying in the field too long before being moved to shade, cook slightly under the skin. Cloves turn soft and faintly translucent, and this shows up within days, as soon as you peel back a wrapper leaf to check on progress.
Mold from trapped humidity moves slower but does more damage. Bundles hung too tightly together, or curing in a damp basement without airflow, grow gray or black fuzz at the neck first. Caught early, it stays on the surface and can be brushed off or that bulb set aside for early use. Missed for a couple of weeks, it works into the clove itself, and by the time bulbs reach storage the rot has spread to the heads around it.
The mistake that’s hardest to trace is storing garlic before the cure is actually finished. A bulb with a slightly soft neck and wrappers that feel dry enough can seem ready. The trapped moisture inside doesn’t show up until two or three months later, when a clove that should be firm and white comes out gray and collapsed instead, sometimes with a sour smell. Because the failure surfaces so late, it usually gets blamed on the variety or on bad luck, when the real error happened months earlier on the curing rack.
How this changes across the country
Regional differences
Humid, warm-summer regions along the Gulf Coast and through much of the Southeast face heavier ambient moisture right at harvest time, which makes outdoor curing riskier there than elsewhere. Growers in those areas more often move bulbs straight to a covered porch, garage or shed with a fan running, rather than trusting open shade outdoors to finish the job.
Arid regions, including much of the interior Southwest and the high plains, can cure garlic outdoors in open shade with very little intervention, since the dry air does most of the work on its own and mold pressure is low to begin with.
Cold-winter, short-season growers across the Upper Midwest, New England and the neighboring Canadian provinces work with a narrower harvest window, and the curing period there can overlap with the first cool, damp nights of early fall. That overlap slows drying even in a normally moderate climate and makes indoor curing with active airflow worth setting up as a default rather than a backup plan. Because the exact timing behind all of this runs on local frost and humidity patterns rather than a national calendar, check with your regional Cooperative Extension office for the specifics that apply to your county, since conditions that work two counties over can behave differently where you garden.
Common questions
How do I know when garlic is actually done curing?
Squeeze the neck just above the bulb. If it still feels soft or slightly springy, it needs more time. A cured bulb has a neck that feels dry and tight, and the outer wrapper leaves crackle rather than bend when you press on them.
Can I speed up curing with a dehydrator or a low oven?
It’s not recommended. Garlic needs slow, ambient air drying over several weeks, and forced heat dries the outer wrapper before the inside of the bulb and neck have actually finished losing moisture, which defeats the point and can partially cook the outer cloves.
What do I do with bulbs that got nicked or bruised at harvest?
Set them aside from the rest of the crop and use them first. Damaged bulbs cure less reliably and rot faster in storage, and mixing them in with intact bulbs risks spreading that rot to their neighbors.
Is it normal for curing garlic to smell strong?
A mild, sweet garlic smell in the curing space is normal. A musty, sour or moldy smell is not, and it usually means airflow is too low or bulbs are packed too tightly together. Spread them out and add a fan before checking for visible mold.