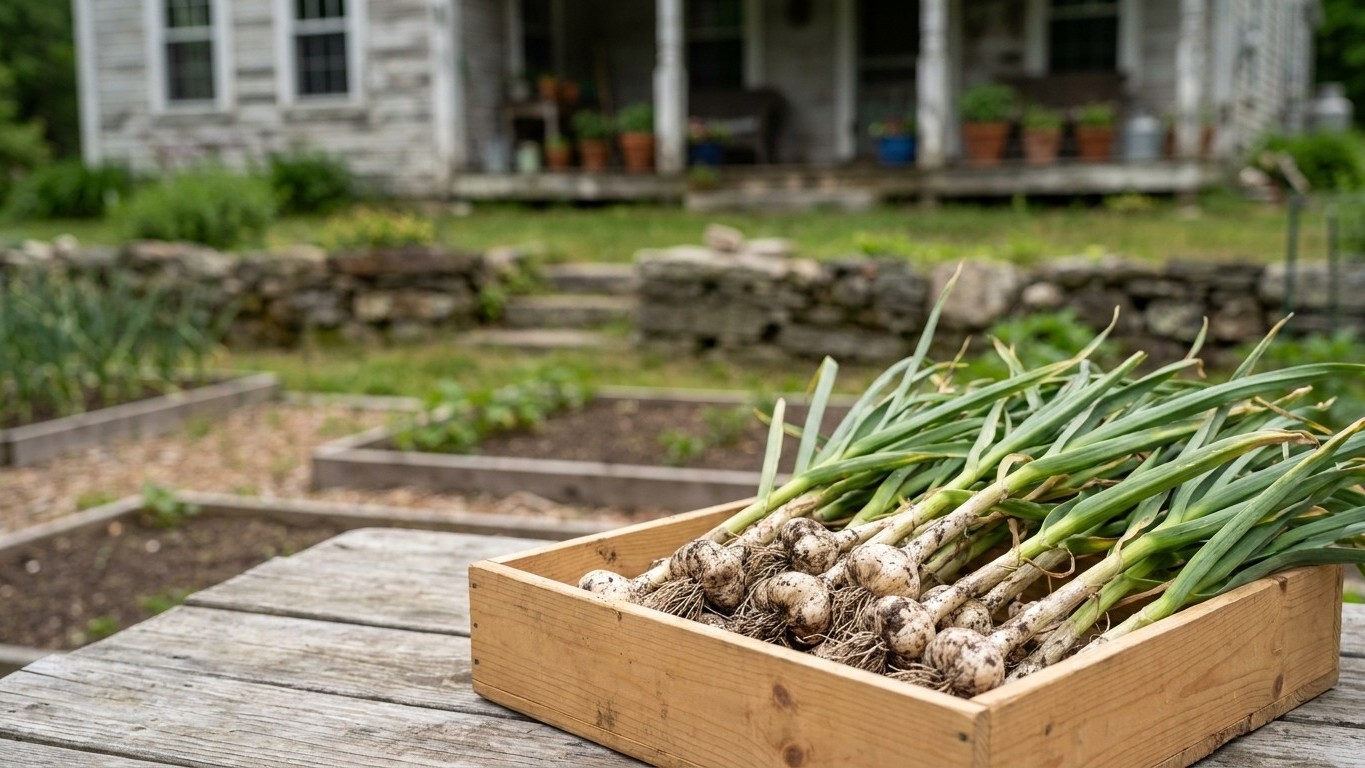

Montana garlic is ready to lift when the lower third to half of the leaves have browned off while the top leaves stay green, usually landing in July across most of the state’s valleys, though elevation and variety shift that window. Bulbs get pulled, cured in a dry, airy spot out of direct sun for a few weeks, then stored someplace cool and dark. Here’s what changes that answer from garden to garden.
When garlic is ready to lift in Montana
Garlic grown here follows a long, quiet cycle. Cloves go into the ground the previous fall, sit through winter dormant under whatever snow cover shows up, then push growth through spring and into early summer. By the time harvest rolls around, that bulb has spent close to nine or ten months in the ground, which is part of why timing the lift matters so much. Pull too early and the bulb hasn’t finished dividing into cloves. Pull too late and the wrapper layers that protect it in storage start to split and rot.
The most reliable signal isn’t a date on a calendar. It’s the plant itself. Watch the leaves: garlic typically has around eight to ten of them, and each leaf corresponds roughly to a layer of papery wrapper around the bulb. When the bottom four or five leaves have turned brown and dried while the upper ones are still green, that’s the plant telling you the bulb has sized up and the protective layers are still intact. Wait for total collapse of the foliage and you’ve likely lost some of those wrapper layers to soil moisture and decay already.
Do a test dig first
Before committing to a full harvest, pull one or two bulbs and check them. Cut one in half. The cloves should be plump and well-defined, with clear separation between them and the surrounding wrapper. If the cloves look small or the bulb is still mostly a single fused mass, give it another week or two and check again. Soil in Montana can vary a lot between a sandy garden bed in the Gallatin Valley and heavier clay soils east of the Continental Divide, and that affects how quickly bulbs finish sizing up even within the same general timeframe.
Weather in the days before harvest matters too. Try to pull garlic when the soil is on the dry side rather than right after a heavy rain. Wet soil clings to the bulbs, makes them harder to clean without damaging the skins, and can introduce moisture that complicates curing later. If a stretch of dry weather is forecast, that’s usually the better window to dig, even if it means going a few days earlier or later than you’d otherwise plan.
Lift the bulbs gently with a garden fork rather than yanking by the stalk, which tends to snap the neck and separate it from the bulb. Loosen the soil around each plant first, then lift from underneath. Bruised or nicked bulbs won’t store as well, so handle them the way you’d handle anything you plan to keep for months rather than eat that week.
Curing it, and where to hang it here
Curing is the step that turns a freshly dug bulb into something that will actually keep. It’s not optional and it’s not quick. The goal is to dry down the outer wrapper layers and the neck until they’re papery and tight, sealing the cloves inside against moisture and rot. Skip this step, or rush it, and garlic that looked perfect at harvest can go soft or moldy within weeks in storage.
The setup that works is simple: hang the bulbs, stalks and all, in a spot with good airflow, low humidity, and no direct sun. A garage with the door cracked, a covered porch, a barn, or a shed all work, as long as air can move through and rain can’t get in. Direct sun during curing can actually cook the bulbs or cause uneven drying, so a shaded, ventilated space beats a sunny one every time. Bundling several plants together and hanging them upside down works well, or laying them on a screen or drying rack in a single layer if hanging space is tight.
How long, and how you’ll know
Curing generally takes a few weeks. You’re watching for the outer skins to go from moist and slightly green-tinged to dry, papery, and often a bit crackly. The roots should dry out and stiffen. The neck, where the stalk meets the bulb, should tighten down and feel firm rather than soft or fleshy. Once that’s happened, the garlic is cured and ready for the next step, which is trimming and cleaning for storage.
Montana’s dry summer air is generally an advantage here compared to more humid climates, since low ambient humidity speeds up the drying process and reduces the risk of mold setting in before the bulbs finish curing. That said, a stretch of unusually humid or rainy weather during curing season can slow things down, and it’s worth checking bulbs periodically rather than assuming a fixed number of days will always be enough. When in doubt, give it more time rather than less. For general growing and post-harvest guidance specific to Montana conditions, Montana State University Extension is the go-to regional resource.
Storing it through a Montana winter
Once garlic is cured, trim the roots close to the base and cut the stalks down to an inch or two above the bulb, unless you’re braiding softneck varieties, in which case the stalks stay on. Brush off loose dirt but don’t wash the bulbs. Water at this stage undoes the work the curing period just did.
Storage after that is about consistency: cool, dry, dark, and away from freezing. A pantry shelf, an unheated but insulated closet, or a cellar-like space all work, as long as temperatures stay stable rather than swinging widely. What doesn’t work is a spot that’s warm and humid, like near a kitchen stove or in a damp basement corner, since both conditions encourage sprouting or rot well before winter is over.
This is where Montana’s shift into fall matters for planning, not for the harvest itself but for how the storage season unfolds around it. In Billings, the first fall frost typically falls between October 1 and October 14, according to NOAA’s 1991-2020 climate normals for that station. That’s a midpoint, not a guarantee, so in roughly half of all years the first frost actually arrives later than that window, sometimes well later. Billings also sits in one of the milder valleys in the state; mountain valleys elsewhere in Montana can see frost in any month of the year, so this figure describes one location, not a statewide rule.
What that frost timing signals for garlic storage is the point at which unheated outbuildings, garages, and porches stop being mild and start swinging toward freezing overnight. If bulbs are curing or freshly moved into storage in an unheated space, that first frost window is a reasonable cue to check on them and consider whether they need to move somewhere with more temperature buffering before winter sets in hard. Garlic that freezes solid in storage often turns soft and unusable once it thaws, so the shift from a mild fall to a freezing one is worth tracking loosely rather than ignoring.
What goes wrong here
Most storage failures trace back to one of two things: garlic that wasn’t cured long enough, or garlic that got stored somewhere too warm or too humid. Softneck varieties are generally more forgiving in storage and can hold for several months under decent conditions; hardneck types, which many Montana growers favor for cold hardiness, tend to have a shorter storage life and are worth using up earlier in the winter rather than saving for spring.
Pests are a smaller but real concern, both in the garden before harvest and around stored bulbs afterward. Montana State University Extension’s Urban IPM program documents brown marmorated stink bug, grasshoppers, miller moths, social wasps, and thrips as pests present in this territory. Thrips in particular can affect garlic foliage during the growing season, feeding on leaves and potentially stressing plants before harvest, which is worth watching for if leaves look silvered or stippled rather than simply browning naturally as the bulb matures. The other pests on that list are less specific to garlic itself but are documented as present in the broader landscape here, and social wasps or miller moths showing up around a garage or shed used for curing and storage isn’t unusual, since those spaces offer the same shelter the pests are seeking.
A less obvious failure point is handling. Bulbs that get bruised, nicked, or have their necks torn during harvest or trimming are far more likely to develop soft spots in storage, even if the curing process itself went fine. Inspect bulbs periodically through the winter and pull any that show softening or discoloration before it spreads to neighboring bulbs in the same storage container. A single soft bulb left in a bin of otherwise good garlic can bring down more of the batch than the loss of that one bulb alone would suggest.
Common questions
Can I harvest garlic early if the leaves haven’t started browning yet?
It’s possible, but the bulb likely hasn’t finished dividing into full-sized cloves, and the wrapper layers won’t be as developed, which shortens how long it will keep in storage.
Does garlic need to be washed before curing?
No. Brush off loose soil by hand and let the curing process dry everything down; adding water at this stage slows drying and increases the risk of mold.
How do I know if my storage space is too warm?
Bulbs that start sprouting green shoots or feel soft to the touch mid-winter are usually signaling a storage spot that’s too warm, too humid, or both.
Is the first fall frost date relevant to when I harvest garlic?
Not directly. Harvest happens in summer, well before fall frost. The frost timing matters more for storage planning once bulbs are cured, since it marks when unheated spaces start cooling toward freezing.