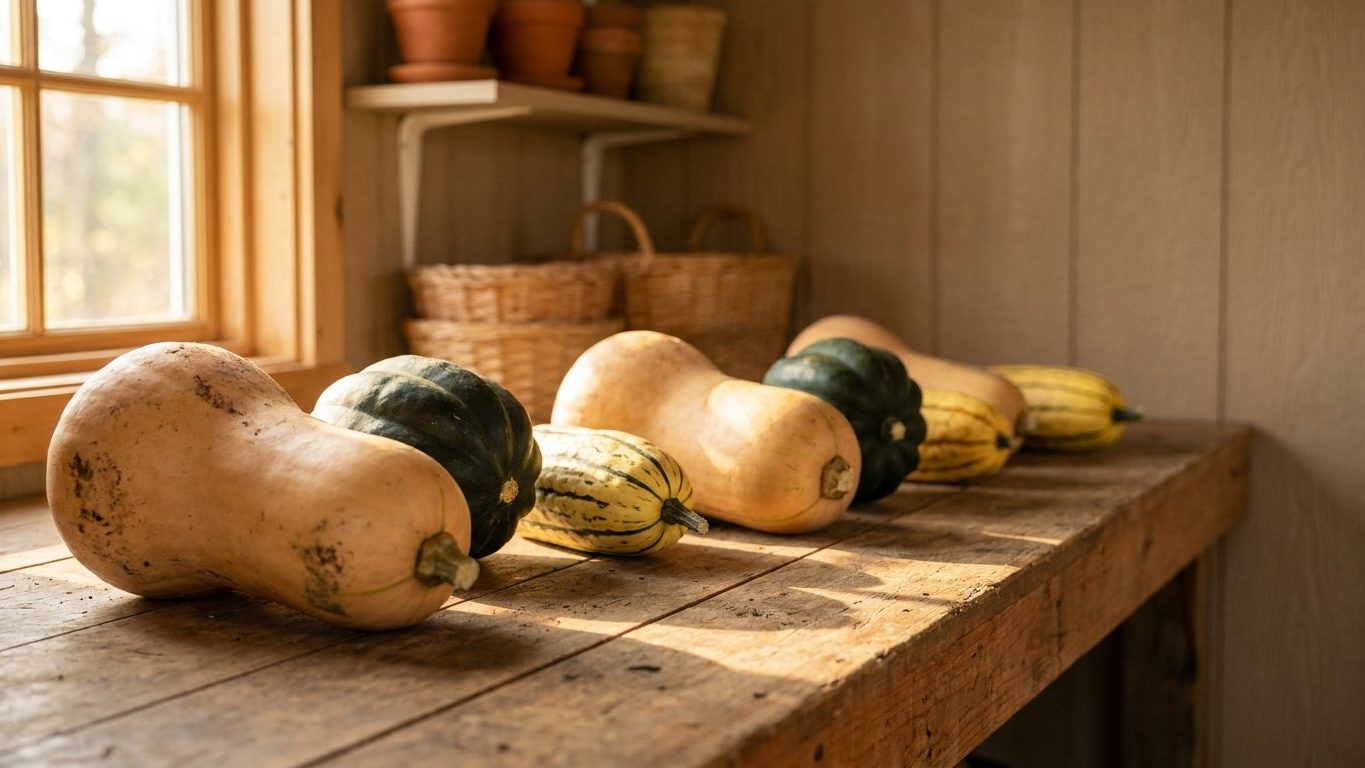

Curing is the warm, dry rest period right after harvest that hardens a squash’s skin and seals over small nicks from the vine. Skip it, and a squash that could have lasted through winter starts softening or molding within a few weeks in the basement instead.
What is actually going on

A squash coming off the vine is not finished growing, biologically speaking. The skin is still relatively thin, the stem end is an open wound, and any place where the fruit brushed against a trowel, a fingernail, or a rock in the garden bed is a tiny breach in its outer layer. That layer is the squash’s only real defense against the fungi and bacteria that cause rot in storage. Curing gives the squash time to finish that defense before you put it somewhere dark and stack other squash on top of it.
Warm air, kept dry, does two things at once. It encourages the skin to thicken and cork over, the same way a scab forms on a scrape. And it lets moisture evaporate slowly from the surface, which discourages the surface molds that need dampness to get started. Growers sometimes describe this as the squash “setting” its rind. A squash that goes straight from garden to a cool, humid cellar without this step is still carrying a soft, permeable skin into exactly the conditions that spoil it fastest.
There is a second, quieter benefit. During curing, some of the starch in the flesh continues converting toward sugar, which is part of why a properly cured squash often tastes sweeter and less starchy a month or two after harvest than it did the day it came off the vine. This is a slow process, not something that happens overnight, and it is one more reason rushing a squash into the fridge works against you.
A carving pumpkin is grown and handled for its shell, and the timeline around cutting, displaying, and disposing of it is a different subject with different concerns, covered on this site’s pumpkin pages. Winter squash, the type grown to eat through the cold months, is grown and handled for its flesh and its keeping ability, and curing is squarely a Winter Squash practice. Where a variety happens to sit in both camps, treat it by what you intend to do with it, not by its name.
One more thing worth being straight about: nothing in curing makes a squash safe to eat that has gone bad. Curing extends how long good squash stays good. It does not undo damage. A squash with a soft spot, a patch that weeps or feels slick, or a stem that has gone moldy has already told you the answer, no matter how sound the rest of it looks. That one goes in the compost, not on the counter.
In the garden
The actual process is short on steps and long on patience. Most of the work is leaving the squash alone in the right conditions for the right stretch of time, and most of the failures come from skipping a step because the squash “looks ready” already.
| Step | What to do | What goes wrong if you skip or rush it |
|---|---|---|
| Harvest with stem attached | Cut the fruit from the vine leaving a few inches of stem, rather than snapping it off or carrying it by the stem. | A torn or missing stem leaves an open wound at the widest point of entry for rot, and that squash typically fails first in storage. |
| Handle it gently | Set squash down rather than dropping or tossing it into a bin, and avoid stacking heavy fruit on top of it. | Bruises and hairline cracks from rough handling become the exact soft spots that turn moldy weeks later, even if nothing was visible at harvest. |
| Cure in warm, dry, airy conditions | Spread squash in a single layer somewhere warm and dry with some airflow, out of direct rain, for roughly one to two weeks depending on the type. | Curing in a cold or damp spot does not harden the skin properly, so the squash goes into storage no better protected than it was at harvest. |
| Check for problems before storing | Inspect every squash before moving it to storage; anything with a soft spot, weeping patch, or moldy stem gets removed and used or discarded, not stored. | One bad squash left among good ones can spread mold to whatever it touches, especially in a crowded bin or crate. |
| Move to cool storage | After curing, move squash to a cool, moderately dry, dark spot, spaced so air moves around each one. | Squash left in a warm room after curing keeps ripening and softening, shortening its useful storage life even though it cured correctly. |
The type most gardeners get wrong is the thin-skinned family, the acorn type and its close relatives. Unlike hard-shelled types such as hubbard or the dense, thick-rinded storage squash, thin-skinned types don’t benefit much from a long warm cure. Their skin stays comparatively soft no matter how long they sit in a warm room, and pushing them through a full curing period mostly just uses up their limited storage window before they even reach the pantry. The general guidance from extension horticulturists is to use these soon after harvest and to move them to cool storage fairly promptly rather than treating them like a hard-shelled type. Ask your state’s cooperative extension service which types locally grown squash fall into, since naming can vary and the trialed varieties differ by region.
What it depends on where you are
How well curing works, and how long a squash keeps afterward, has as much to do with the season it grew in as with anything you do after harvest. A summer with long, dry heat produces squash with tougher skin heading into curing. A summer that stayed cool or wet, or a fall that turned rainy right at harvest time, produces squash that starts curing already behind, with softer skin and more surface moisture to deal with.
Season length matters too. In regions where the growing season runs long and warm, squash has more time on the vine to mature fully before harvest, which sets it up for a better cure. Where the season is shorter, gardeners sometimes harvest before the squash has fully hardened its skin on the vine, and that squash needs a more careful, sometimes longer, cure to catch up. Humidity during the curing window itself is another regional variable: a dry back porch works differently in an arid climate than the same setup does somewhere humid.
None of this is something a national guide can pin down with a single number, because it genuinely changes by region and even by year. What’s consistent is the mechanism described above, warm and dry heals and hardens, cool and dark slows spoilage after that. What is not consistent is how many days that takes, what indoor spot is dry enough, or how long storage realistically lasts before quality drops. For those specifics, the state pages on this site and your local cooperative extension office are the better source, since they track conditions and trialed varieties for your actual region rather than the country as a whole.
The mistake that costs the most
The single costliest mistake is treating an intact-looking squash as one that’s ready for the cellar the same day it comes off the vine. It looks fine. It feels solid. There’s no obvious reason to wait. And that’s exactly the trap, because the surface damage that matters, the hairline crack from being carried by the stem, the bruise from being set down a little too hard, the soft rind at the spot that rested on damp soil, is often invisible at harvest and only becomes a problem two or three weeks into storage, by which point it can spread to whatever squash is stacked nearby.
The fix costs nothing but time: give hard-shelled types their warm, dry rest before they go anywhere cool and dark, and give thin-skinned types the shorter, more prompt path to cool storage they actually need instead of forcing them through the same routine. Skipping that window doesn’t just risk one squash. In a shared storage space, a bin, a crate, a shelf, it risks the batch, because rot on one fruit spreads fastest to whatever it’s touching.
If there’s a habit worth building, it’s this: harvest with the stem on, handle every squash like it bruises easily (because it does), and resist the urge to shortcut the warm rest just because the squash looks ready ahead of schedule. The squash that looks perfect at harvest is not the squash you’ll be judging in January. The one that’s still firm, unblemished, and free of soft spots after a full curing period and weeks of cool storage is the one that earned its place through winter.