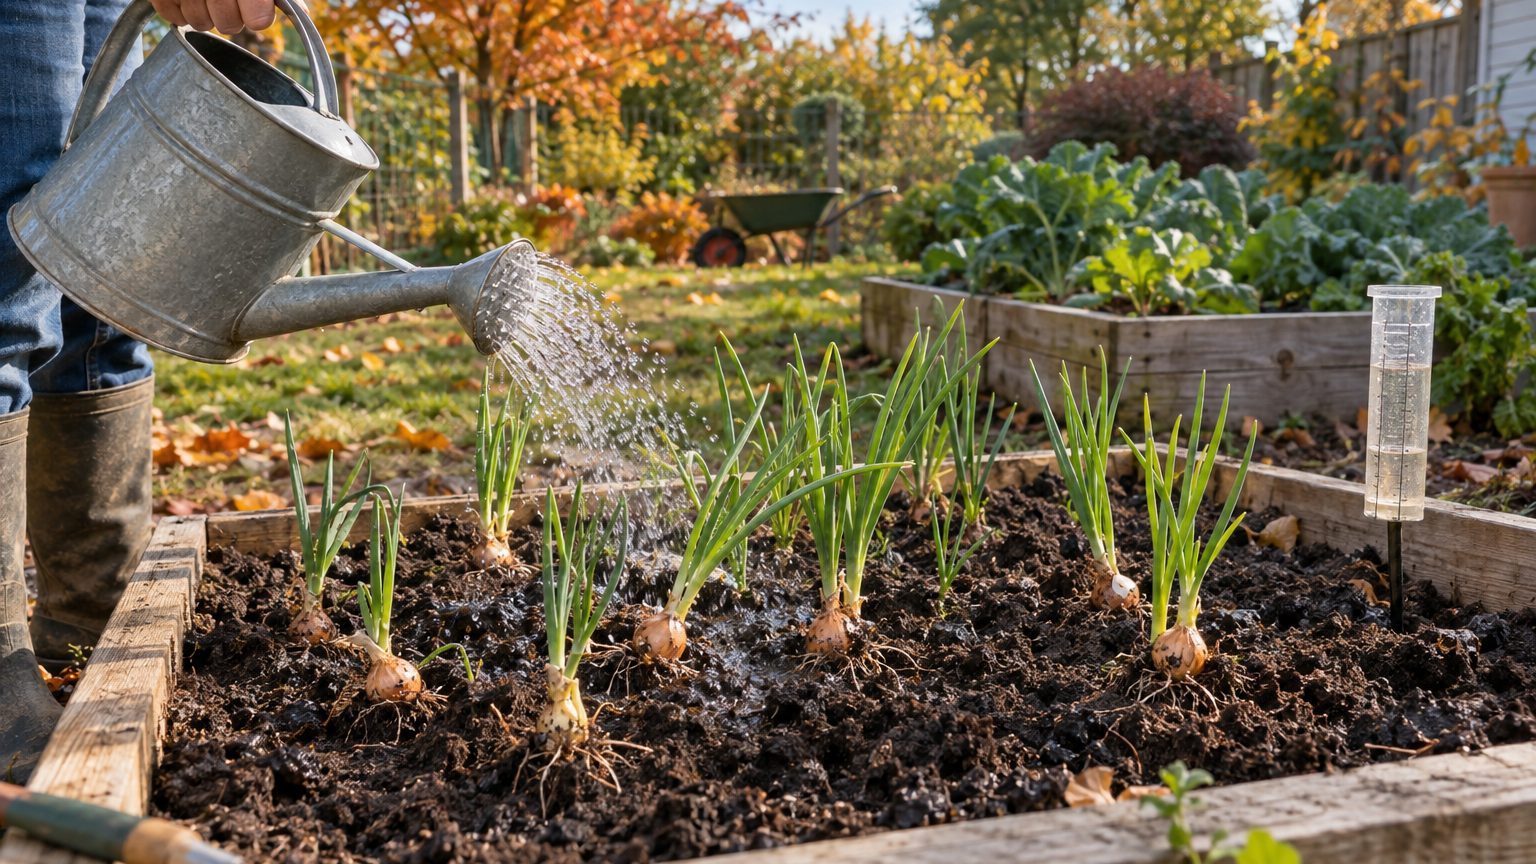

Shallots want about 1 inch of water per week, from the time green shoots are a few inches tall until the bulbs finish swelling. Then you stop. Once the tops yellow and begin to flop over, usually two to four weeks before you plan to pull them, the hose gets put away. Everything else in this article is about reading your own soil and weather well enough to hit those two marks.
The stopping part is where most home gardeners slip. Shallots are one of the few vegetables where cutting off water is part of the job, not a sign of neglect. A bulb that finishes its growth in dry soil cures hard, stores for months, and keeps its papery skin. One that finishes in soggy ground tends to rot at the base before it ever reaches the pantry.
How much water shallots actually need
Shallots have shallow, sparse roots compared with most garden crops. Most of the feeding happens in the top several inches of soil, which means the plants cannot reach down for moisture the way a tomato or squash can. When the surface dries out, the shallot feels it fast.
The usual target is 1 inch per week, counting rain. A cheap rain gauge or even a straight-sided tuna can set in the bed tells you what the sky delivered. One inch of water over a 4-by-8-foot bed is roughly 20 gallons, which gives you a feel for how much a sprinkler or soaker hose has to run. Many gardeners find that figure startling, since a quick pass with a watering can barely makes a dent.
Frequency matters as much as volume. One deep soaking weekly beats three light sprinklings, because shallow watering keeps moisture only in the first inch or so and encourages even shallower rooting. In hot, windy stretches, or in fast-draining sandy soil, split the weekly inch into two sessions. In heavy clay, one session is plenty, and sometimes more than plenty.
The finger test beats any schedule. Push a finger two inches down beside the plants. Cool and slightly damp means you wait. Dry and crumbly means water. Wet enough to leave a smear on your skin means you have already watered too much, or the bed drains poorly.
Timing by growth stage
Water needs change over the season, and a flat routine from planting to harvest wastes effort and risks the crop.
Planting through early growth
Newly planted sets or cloves need steady moisture to root. Water them in after planting, then keep the top couple of inches evenly damp, not wet. In spring planting, this phase is often handled by rainfall in much of the Northeast and Midwest. In fall planting (common in the South and the milder parts of the West, roughly zones 7 to 10), the soil is still warm and the sets root quickly if they are not allowed to dry out. Once roots form and the shoots reach a few inches, you can ease into the weekly inch.
Bulb swelling
This is the stretch when consistent water pays off most. Bulbing is triggered by day length and temperature, not by water, but the size the bulbs reach depends on how well the plant can feed itself while the days lengthen. Erratic watering, with long dry spells followed by heavy soaking, can stress the plants and lead to uneven, sometimes split bulbs. A steady rhythm is better than a perfect one.
Ripening
When the bulbs have sized up and the foliage starts to yellow from the tips, the plant is shifting its energy from leaves to the bulb. Water at this point does nothing useful. It keeps the neck soft, feeds fungal problems, and delays the drying that sets up good storage.
Reading your soil, mulch, and region
The 1-inch rule is a starting point. Soil type changes it more than most people expect. Sandy loam can lose its surface moisture within a day or two in July, so the weekly inch may need splitting. Clay holds water for days, and in a wet spring it can stay saturated long enough to drown roots. If you garden on clay, raised beds or a few inches of added compost improve drainage and make the weekly guideline far safer to follow.
Mulch changes the math too. A thin layer of straw or shredded leaves, about 2 inches deep, slows evaporation and keeps the soil temperature steadier. Keep it pulled back an inch or so from the bulb necks. Mulch piled against the plants holds moisture right where you least want it, and it gives slugs a hiding place. Once you decide to stop watering, some gardeners also rake the mulch away from the bulbs so the soil surface dries faster.
Region matters a great deal. Along the Pacific Northwest coast, from western Washington to western Oregon, summers are reliably dry from July on. Shallots planted in spring there often need supplemental water through June, and then the dry season takes care of the ripening phase on its own. Across the Southeast, from Georgia to the Carolinas, the problem is flipped. Late-spring storms and humidity can keep beds wet right when bulbs are maturing, so drainage and airflow become the main concerns, and rain, not you, decides when watering stops. In the Southwest, including Arizona and much of Texas, fall planting lets shallots grow through the cooler, wetter months and finish before summer heat arrives, so irrigation is often needed only in dry winters.
Containers need their own plan. Pots and grow bags drain fast and heat up, so a 12-inch pot in full sun may need water every day or two in midsummer. They also have no way to shed excess rain unless the drainage holes work. Check moisture with your finger rather than a calendar, and lift the pot out of the rain or tip it once the tops start to fall.
When to stop watering, and how to tell
The signal to look for is the foliage. As shallots near maturity, the green tops begin to yellow, soften, and bend over. A few plants flopping early is normal. When a good share of the bed has gone this way, the bulbs are close to done.
Most guidance puts the last watering about two to four weeks before harvest. If you are not sure, the earlier end of that range is the safer one in humid regions, and the later end suits dry, sandy beds where the bulbs might otherwise shrivel. Shallots grown from sets usually mature roughly 90 to 120 days after planting, though variety, climate, and planting date shift that window, so use the tops as your guide rather than the calendar.
A reasonable routine looks like this:
- Keep the weekly inch going while leaves are green and upright.
- Taper off as the first tops start to yellow, watering only if the plants look truly stressed.
- Stop completely once about half the tops have fallen over.
- Pull the bulbs on a dry day, and cure them in a shaded, airy spot.
Rain complicates things. If a wet spell rolls in after you have stopped watering, there is little you can do about the beds themselves. You can, however, speed up the dry-down by loosening the soil around the bulbs with a garden fork, which lets some water drain and air reach the roots. If rain persists for more than a week as the tops fall, harvesting a little early and finishing the drying indoors often saves more bulbs than leaving them in wet ground.
Curing finishes the job the dry-down started. Spread the harvested shallots in a single layer, or hang them in small bundles, in a warm, shaded, well-ventilated place such as a porch, garage, or covered shed. Two to four weeks later, the necks should be tight and the outer skins papery and rustling. Then trim the roots and tops and store them somewhere cool, dry, and dark.
Signs of too much water, and too little
Overwatered shallots do not always look thirsty or drowned in the way a houseplant does. They look off in quiet ways: yellowing leaves well before the bulbs have sized, a soft or watery feel at the base, and a sour smell when you pull a plant. Fungal diseases such as basal rot and downy mildew thrive in persistently wet conditions, and bulbs that start rotting in the ground rarely recover. If you see early yellowing while the soil is still wet two inches down, cut back on watering and improve airflow around the plants before assuming the problem is nutrients.
Underwatered shallots send clearer signals. Leaf tips turn brown and crispy while the rest stays green, growth stalls, and the bulbs stay small and sometimes hot-tasting. Dry soil during bulbing is the usual culprit. The fix is simple (deep, regular watering and mulch), though a bulb that missed its growth window will not catch up completely.
Another point worth separating from water problems: shallots that throw up a flower stalk are usually reacting to temperature swings or stress earlier in the season, not to how much you watered. If you see seed stalks forming, the guide to Shallots That Send Up a Flower Stem covers what causes it and what to do with those bulbs.
Fitting watering into the bigger growing plan
Water habits work best alongside the rest of your shallot routine. Beds that drain well, get weeded by hand to protect the shallow roots, and are planted where alliums have not grown recently stay healthier with less intervention. Soil-borne diseases linger, and wet years make them worse, so crop rotation is a quiet partner to good watering. The article on Rotating Shallots With the Other Alliums explains how long to keep shallots, onions, garlic, and leeks out of the same ground.
For a wider look at planting, spacing, feeding, and harvest, start with Growing Shallots: One Bulb In, a Handful Out, which covers the full season this page fits into.
One last detail for drip irrigation fans: a line run along the row delivers water to the root zone without wetting the foliage, which cuts down on leaf diseases, and it makes the stop date easy to enforce. Turning off one valve beats remembering not to sprinkle, and it keeps the last two weeks of the season truly dry.