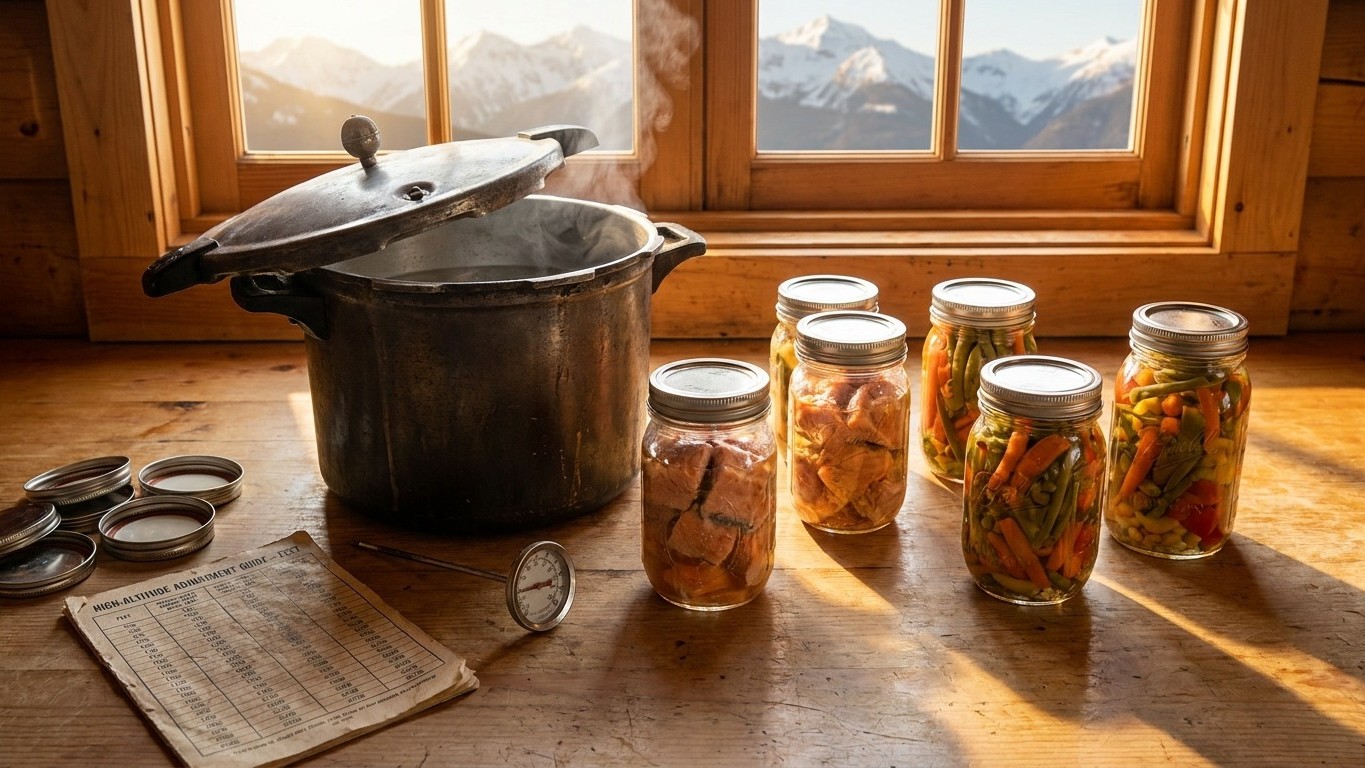

Anchorage sits at 102 feet above sea level, and water there boils somewhere between 208°F and 212°F. That’s close enough to sea level that standard tested processing times apply as written. But Anchorage isn’t Alaska. The state stretches from tidewater towns to mountain passes thousands of feet higher, and the number that matters for your canner is the one under your own kitchen, not the one under Anchorage’s.
The short answer

Anchorage, used here as Alaska’s reference city, sits at 102 feet in elevation. At that height, water in an open pot boils somewhere in the 208°F to 212°F range, according to the USDA Complete Guide to Home Canning. That band puts Anchorage inside the lowest altitude tier canning guides recognize: 0 to 2,000 feet. Inside that band, no adjustment is needed. You process at the times and pressures printed on a tested recipe, full stop.
That’s the key thing to understand before anything else: 102 feet is Anchorage’s number, not Alaska’s. A state this size doesn’t have a single elevation any more than it has a single climate. Coastal fishing towns and Aleutian villages sit at or near sea level. The Matanuska-Susitna Valley climbs into the hundreds and low thousands of feet in places. Mountain communities and homesteads tucked into foothills can sit considerably higher still. Someone canning salmon in a bayfront kitchen in Southeast Alaska is working at essentially the same boiling point as someone in Boston. Someone canning moose or vegetables from a cabin at higher elevation inland is not, and the difference isn’t cosmetic.
Why the 2,000-foot line matters
Canning guidance breaks the country into altitude bands because boiling water canners and pressure canners respond differently as elevation climbs. Below 1,000 feet, standard sea-level processing works as written. From 1,001 feet up, boiling-water canning needs added time, and pressure canning needs added pressure, with the adjustment growing in steps as elevation increases. Anchorage’s 102 feet falls comfortably under that first threshold, so if you live in or near Anchorage, this is one less thing to worry about. If you live inland, at higher elevation, or up a mountain road, it’s the first thing to check before you can anything.
None of this is about taste, texture, or how vigorously your pot is bubbling. It’s about whether the temperature inside your jars gets high enough, for long enough, to make food safe to store on a shelf for months. That’s the mechanism worth understanding next.
Why a lower boil is a weaker process
Water boils when it reaches the temperature at which its vapor pressure matches the surrounding air pressure. At sea level, that’s 212°F. Air gets thinner as elevation increases, which means there’s less atmospheric pressure pushing down on the water’s surface, so it takes less heat to make it boil. At 10,000 feet, water boils at roughly 194°F. It’s still boiling, still rolling, still throwing off steam. It’s just doing it at a lower temperature.
That’s the entire mechanism behind altitude adjustments in canning: a cooler boil delivers less heat to the food inside the jar over the same amount of time. Canning times are built around a target: enough heat, held long enough, to destroy the organisms and spores that would otherwise spoil the food or make it dangerous. The most serious concern is Clostridium botulinum, a spore-forming bacterium that thrives in the low-oxygen, low-acid environment inside a sealed jar. Its spores are heat-resistant, and killing them (or in the case of boiling-water canning of acidic foods, controlling growth) depends on hitting a specific heat threshold for a specific duration. Water that boils at 194°F simply isn’t delivering the same thermal punch as water boiling at 212°F, even if both look identical in the pot.
Here’s the detail that trips people up: cranking up the burner doesn’t fix this. Once water is boiling, adding more heat doesn’t make it hotter. It just makes it boil faster and more violently, wasting energy and possibly wasting water from the canner. Boiling water at a given elevation has a ceiling, and no amount of extra flame pushes past it. That’s why the fix for altitude isn’t a hotter boil. It’s a longer or stronger process.
For boiling-water canning, that means extending the processing time so the food spends more minutes at whatever temperature the boil actually reaches. For pressure canning, it means the opposite kind of fix: rather than stretching time, you raise the pressure inside the canner, which raises the temperature the steam reaches well above what an open pot could ever hit, compensating for the thinner air outside. Both approaches solve the same problem from different angles, and both come from tested guidelines rather than guesswork.
Finding your own elevation
Since Anchorage’s 102 feet tells you nothing about your own kitchen, the next step is nailing down the number that actually applies to you.
- Check whether you already have a reliable elevation figure. Property surveys, county records, or a home’s original building documents sometimes list ground elevation, and that’s often accurate enough for canning purposes.
- Use a mapping tool or GPS device that reports elevation. Many smartphone map apps, dedicated GPS units, and topographic map services will give a reading for any address or coordinate.
- Search a topographic map of your area. The U.S. Geological Survey publishes topographic maps that show elevation contour lines, letting you pinpoint your location between marked lines.
- Visit the National Center for Home Food Preservation’s “Find Your Elevation” page, built specifically to help home canners identify the number they need before choosing a processing time or pressure.
- Round up, not down, if your reading falls between two figures or two altitude bands. When in doubt, treat yourself as being in the higher band; a slightly longer process or slightly higher pressure never hurts safety, while underestimating your elevation can.
- Write the number down somewhere you’ll actually see it again, whether that’s a sticky note inside a cupboard or a line in the notebook where you keep your canning recipes.
Once you have that number, it plugs directly into any tested recipe’s altitude adjustment chart. No further math, no conversions. You just find your band and read across.
What goes wrong
- An under-processed jar that looks perfectly normal. A jar canned at sea-level times, but actually processed at a higher, unaccounted-for elevation, seals fine, stores fine, and can still harbor Clostridium botulinum spores that survived the weaker heat. The fix is knowing your real elevation before you start and using the corresponding adjusted time or pressure from the start, not adjusting after the fact.
- A recipe pulled from a sea-level source with no altitude notes at all. Older family recipes, informal blog instructions, and some general cookbooks assume sea-level conditions and never mention elevation. If a recipe doesn’t address altitude, treat that as a red flag rather than a green light, and cross-check the food and jar size against a tested source that does.
- A pressure gauge read as though elevation doesn’t exist. Weighted-gauge and dial-gauge pressure canners both require altitude-based adjustments, but the adjustment amount and the way it’s applied differ between the two gauge types. Reading a dial gauge without accounting for elevation, or assuming a weighted gauge needs no change at all, both lead to under-processing.
- Guessing at “close enough” when moving between homes. Someone who’s canned safely for years at one address, then moves to a cabin or property at meaningfully different elevation, can carry old habits into a new setting where they no longer apply. Every new location warrants a fresh elevation check, not an assumption that past practice still fits.
Where the exact adjustment comes from
This page won’t hand you a processing time or a pressure setting, and that’s intentional. The right adjustment depends on the specific food, the jar size, the way it’s packed, and your elevation together, and that combination has already been tested by food scientists for the specific tested recipes published by the National Center for Home Food Preservation. Guessing at an adjustment, or borrowing one from a different food, undoes the value of using a tested recipe in the first place.
The stakes are worth naming plainly. Botulinum toxin has no taste and no smell. A jar that’s under-processed because the altitude adjustment was skipped or estimated can look, smell, and taste completely normal while still being dangerous. That’s precisely why the adjustment has to come from a tested source matched to your elevation and your food, rather than from a general rule of thumb applied on faith.
Common questions
Does Anchorage’s low elevation mean all of Alaska canners are safe without adjustments?
No. Anchorage’s 102 feet is a reference point for one city, not a statewide figure. Canners inland or at higher elevation anywhere in Alaska need their own elevation reading and the adjustment that matches it.
Is boiling-water canning or pressure canning more sensitive to altitude?
Both require adjustments above 1,000 feet, but they respond differently: boiling-water canning needs longer processing time, while pressure canning needs higher pressure rather than more time.
Can I just process everything longer to be safe, regardless of elevation?
Extending time without knowing your actual elevation risks either under-processing, if you guess too low, or overcooking texture and quality, if you guess too high. Finding your real elevation and using the matching tested adjustment is the only reliable approach.
Does altitude affect canning acidic foods like jams the same way it affects low-acid vegetables?
Altitude adjustments apply to both, but the underlying tested times differ by food type and acidity level. Always match your elevation adjustment to the specific tested recipe for that food, not a general rule borrowed from a different one.