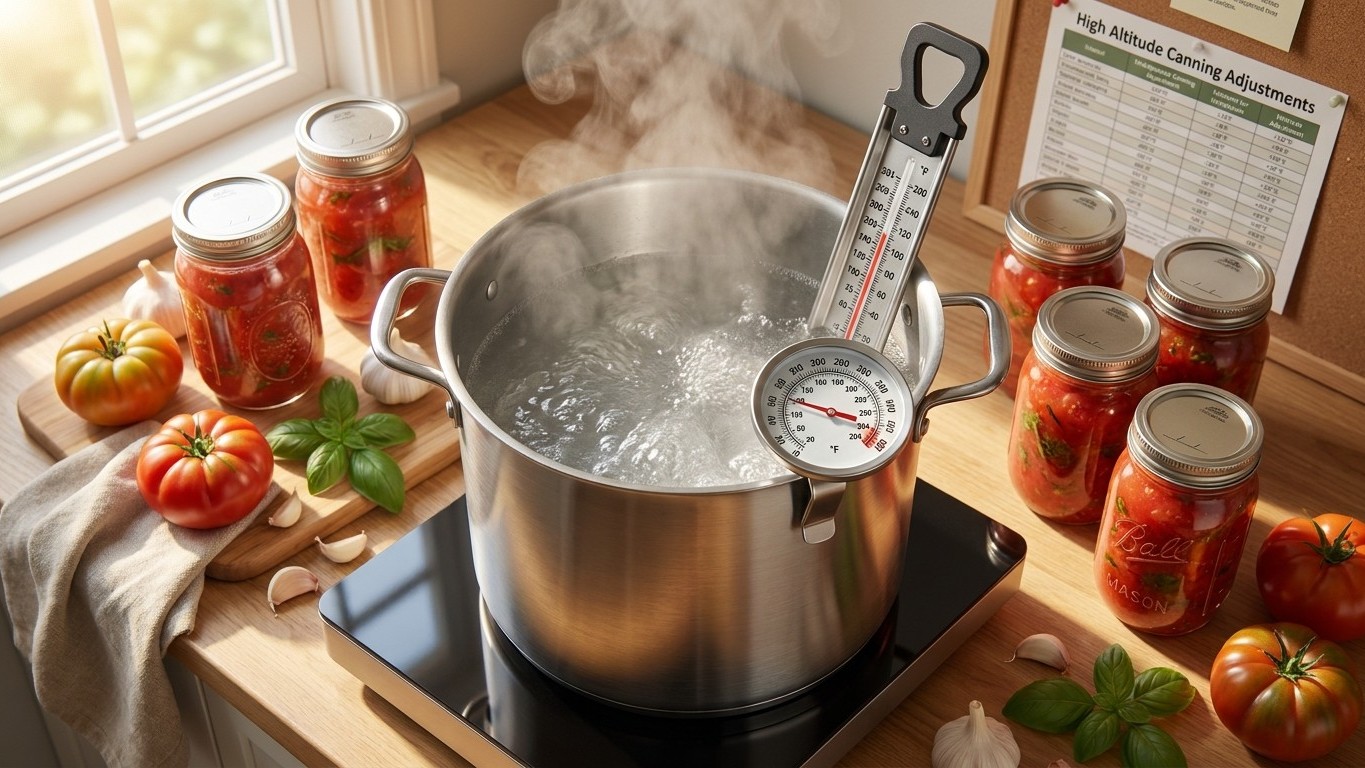

Denver sits at 5,279 feet, where water boils somewhere between 201°F and 204°F instead of the 212°F most recipes assume. That’s squarely inside the 4,000-6,000 foot band where every boiling-water and pressure canning process has to change. If your own kitchen sits near sea level, none of this applies to you. If it sits anywhere close to Denver’s elevation, or higher, it applies to every jar you seal.
The short answer

Denver, Colorado’s best-known reference point, sits at 5,279 feet above sea level. At that height, water reaches its boiling point somewhere between 201°F and 204°F, not the 212°F you’d get at sea level. That gap of eight to eleven degrees sounds small until you remember that canning safety depends on heat penetrating food long enough to destroy the organisms that cause spoilage and, in low-acid foods, the bacterium that produces botulinum toxin.
That 5,279-foot figure describes Denver specifically, not Colorado as a whole. A state this size covers almost everything: river valleys, high plains, foothill towns, and mountain communities that sit thousands of feet above Denver itself. Two households thirty miles apart can face completely different boiling points. The number that governs your jars is the one measured at your own address, and Denver’s figure is only useful as a landmark for understanding why the adjustment exists at all.
Why the band matters more than the single number
Canning guidance groups elevations into bands rather than treating every foot as its own case, because the correction needed at 4,100 feet and the correction needed at 5,900 feet are close enough to share the same instructions. Denver’s 5,279 feet falls inside the 4,000 to 6,000 foot band, which is one of several bands used across published canning charts. A cabin at 4,200 feet and a house in a Denver suburb at 5,800 feet both fall into that same band, even though they’re separated by more than a thousand feet of elevation.
What this means practically: you don’t need to know your elevation down to the foot. You need to know which band you fall into, because the tested recipe you’re using will list an adjustment for that band specifically. Get the band wrong, low instead of the one you actually live in, and the jar looks fine on the shelf while carrying a process that never reached the temperature it needed.
Why a lower boil is a weaker process
Here’s the mechanism in full: as elevation rises, atmospheric pressure drops, and water needs less energy to turn to vapor. That means it boils at a lower temperature. At sea level, water boils at 212°F. At 10,000 feet, it boils at 194°F. Every foot of elevation between those two points trims a little more off the boiling point, which is exactly why Denver’s 5,279 feet produces a boil in the 201°F to 204°F range instead of the full 212°F.
A cooler boil kills less. That’s the entire problem, stated plainly. The heat-resistant spores and bacteria that home canning is designed to destroy respond to how hot the water actually gets and for how long, not to how vigorously it’s bubbling. This is where a lot of good instincts lead canners astray: turning up the burner so the water “boils harder” does nothing for the temperature. Once water is boiling, it has reached its maximum temperature for that elevation and that pressure. Cranking the heat higher just makes it boil faster and boil off sooner. It does not add a single degree.
Since you can’t push the water hotter, the only two levers left are time and pressure. In a boiling-water canner, used for high-acid foods like most fruits, jams, and pickles, the fix is to leave jars in the boiling water longer than a sea-level recipe calls for, giving the cooler boil more time to do the work a hotter boil would have done faster. In a pressure canner, used for low-acid foods like vegetables, meats, and most soups, the fix works differently: increasing the pressure inside the sealed canner raises the temperature the steam reaches, compensating for the elevation directly rather than by extending time. Both adjustments exist for the same reason, they push the *effective* processing temperature back up to where a tested recipe expects it to be, even though the water itself can’t get any hotter than local physics allows.
Finding your own elevation
Denver’s number is a reference point, nothing more. Before you touch a canning chart, you need the elevation of the kitchen where the jars will actually be processed.
- Start with your county extension office or a topographic reference for your specific address, since elevation can shift meaningfully even within a single town.
- Check whether your municipality or county publishes a known elevation for its town center, which is often close enough for canning purposes even if it isn’t your exact backyard.
- Use the National Center for Home Food Preservation’s own “Find Your Elevation” page, built specifically so home canners can look up a number without guessing.
- Round to the band your elevation falls into rather than chasing an exact foot count. What matters is whether you’re under 1,000 feet, in the 1,000 to 3,000 range, the 3,000 to 6,000 range, or higher.
- Write that band down somewhere you’ll see it every canning season. Elevation doesn’t change year to year, but memory does, and re-checking a chart from scratch each August wastes time you could spend on the actual processing.
What goes wrong
- An under-processed jar that looks perfect. A jar sealed after a sea-level processing time at a mountain elevation can seal, cool, and sit on a shelf for months looking completely normal, because a weak seal and a weak process aren’t the same failure. The remedy is upstream: use the elevation-adjusted time or pressure from the start, since there’s no way to inspect a jar after the fact and know whether it received enough heat.
- A recipe pulled from a sea-level source. Family recipes, older cookbooks, and recipes shared from friends in low-lying states often carry processing times that were never meant for anywhere near 5,000 feet. The remedy is to match the recipe’s food type, jar size, and pack style to a currently tested chart from the National Center for Home Food Preservation or the USDA guide, then apply the elevation adjustment listed for your band, rather than trusting a number printed for a different climate entirely.
- A pressure gauge read as if elevation didn’t exist. Both dial-gauge and weighted-gauge pressure canners need elevation-specific pressure settings, and a canner running at a sea-level pressure setting in a mountain town simply isn’t reaching the temperature the recipe assumes. The remedy is to check the gauge’s accuracy yearly (many extension offices offer this as a free service) and to apply the pressure listed for your band, not a default number carried over from somewhere else.
- Guessing instead of checking, season after season. Elevation math tends to get treated as a one-time hurdle, then forgotten when a new food or a new jar size enters the rotation. The remedy is simple repetition: check the adjustment for every recipe and every canner type, every time, rather than assuming last year’s fix still applies.
Where the exact adjustment comes from
This page won’t give you a processing time or a canner pressure, and that’s deliberate. The right adjustment depends on the specific food, the jar size, the pack style, and the canner type, and it belongs to a tested recipe, not to a general explanation of altitude. The National Center for Home Food Preservation, based at the University of Georgia, publishes those tested adjustments food by food, and that’s the resource to consult once you know your elevation band.
The reason this matters as much as it does: botulinum toxin, the danger an under-processed low-acid food can harbor, has no taste and no smell. A jar can look, smell, and taste completely normal and still be unsafe. There’s no shortcut around that, and no way to detect it by inspection. The tested adjustment exists precisely because guesswork isn’t a safety margin.
Common questions
Does a higher elevation always mean a longer processing time?
Not necessarily longer for every method. Boiling-water canning generally needs more time at higher elevation, since the water itself can’t get hotter. Pressure canning generally needs more pressure rather than more time, since raising the pressure raises the temperature the steam reaches inside the canner.
Do I need to adjust for altitude if I live in a Colorado valley near a river?
It depends entirely on that valley’s actual elevation, not on the fact that it’s low relative to nearby peaks. A valley floor at 4,500 feet still falls inside the same 4,000-6,000 foot band as much of the Denver metro area and needs the same category of adjustment.
Can I just add extra time “to be safe” without checking a chart?
Adding time without a tested figure isn’t a safety strategy, it’s a guess in the other direction. Overprocessing can degrade texture and quality without any guarantee that it matches what the food actually needed. The tested chart exists so you don’t have to estimate in either direction.
Does altitude affect water-bath canning and pressure canning the same way?
The underlying cause is identical, water boiling cooler as elevation rises, but the fix differs by method. Boiling-water canners compensate with additional time. Pressure canners compensate with additional pressure, which is why the two methods list separate elevation adjustment tables rather than sharing one.