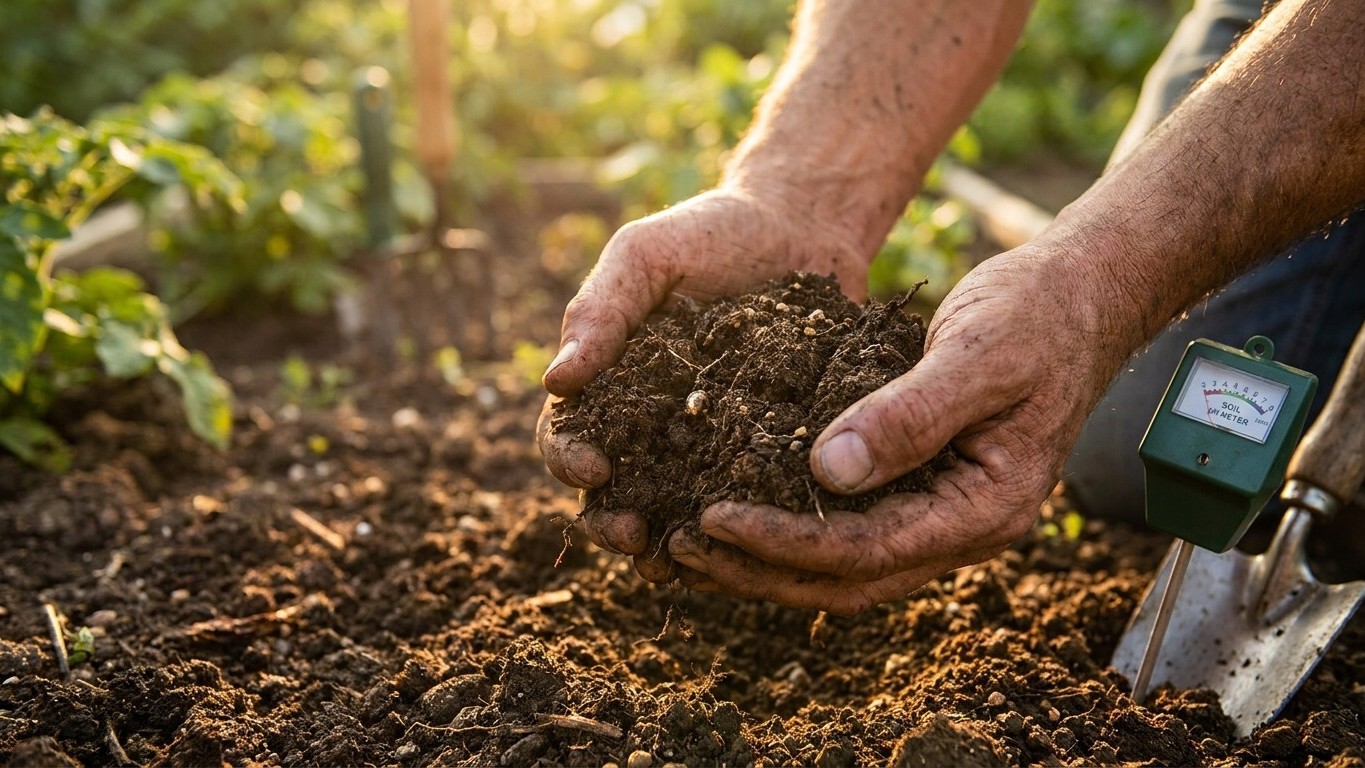

Wisconsin’s official state soil is the Antigo series, a loam-to-silt ground that runs slightly acid and holds nutrients better than it drains water fast. That’s the baseline. Your own yard, especially if it sits on fill dirt or a river bottom, may tell a completely different story, and the only way to know for sure is to test it.
What is under your garden

Wisconsin’s state soil, chosen by state law in 1983 through the USDA NRCS State Soils programme, is the Antigo series. It’s an Alfisol, a forest soil of moderate fertility that holds onto nutrients reasonably well instead of letting them wash straight through. That’s a decent hand to be dealt if you garden on it, though it’s not a guarantee of anything in your specific plot.
The numbers, straight from USDA NRCS Soil Data Access, describe the surface horizon of the series’ major components: a pH around 5.5, meaning slightly acid, and a texture that’s 20 percent sand, 10 percent clay, and 70 percent silt, which puts it in loam-to-silt territory. Organic matter sits around 3.0 percent, and drainage is classed as well drained. Here’s that data at a glance:
| Reading | Value |
|---|---|
| Surface pH | about 5.5 (slightly acid) |
| Sand | 20 percent |
| Clay | 10 percent |
| Silt | 70 percent |
| Organic matter | about 3.0 percent |
| Drainage class | well drained |
Now the honest part. This is the soil chosen to represent Wisconsin as a whole, not a measurement of your backyard. The state contains hundreds of mapped soil series, and a lot of ground has been reshaped by human hands anyway. A subdivision lot where a builder scraped off the topsoil and graded in whatever fill was cheapest that week has nothing in common with a mapped Antigo profile. River bottoms trend sandier and wetter. Hill country trends thinner and rockier. Treat the Antigo numbers as a regional tendency, a hint about what ground in this part of the country generally does, not a substitute for checking your own dirt.
Reading your own soil in five minutes
Two quick checks tell you more than staring at the ground ever will. First, the ribbon test: wet a small handful of soil until it’s like putty, then squeeze it between thumb and forefinger to form a ribbon. Sandy soil won’t hold a ribbon at all and feels gritty. Clay-heavy soil forms a long, slick ribbon over 2 inches. Loam falls somewhere in between, holding a short ribbon before breaking.
Second, the jar test. Fill a clear jar about a third full of soil, add water most of the way to the top, shake hard, and let it sit overnight. Sand settles first at the bottom within minutes, silt forms a middle layer over an hour or two, and clay stays suspended longest, settling last as a fine layer on top. The relative thickness of those layers tells you, in rough terms, whether your ground leans sandy, silty, or clay-heavy. Once you’ve done both tests, you can say out loud what you’re actually digging into, instead of guessing based on what the state soil supposedly says.
Testing before you amend
Eyeballing dirt and dumping lime or sulfur on it is how gardeners waste a season and sometimes waste a whole bed. A real soil test measures things your eyes can’t: exact pH, phosphorus and potassium levels, sometimes micronutrients. Without that number, you’re amending blind.
Because the Antigo series runs around pH 5.5, you can reasonably expect a lot of Wisconsin ground to trend slightly acid too. But expecting isn’t knowing. Fill left by a contractor, limestone gravel used as a base layer, decades of wood ash dumped in one corner of a yard, any of that can push your actual number well away from the regional tendency.
Taking a sample the right way matters as much as sending it in. Here’s the process:
- Pick 6 to 8 spots scattered across the bed or lawn area you’re testing, avoiding unusual spots like old burn piles or next to a foundation.
- At each spot, dig a small core about 6 to 8 inches deep, the zone where most vegetable and lawn roots actually live.
- Drop all the cores into a clean bucket and mix them together thoroughly. This is your composite sample, and it matters more than any single core.
- Let the mixed soil air-dry on a tray or newspaper for a day if it’s wet, since labs generally want a dry sample.
- Scoop out the amount your lab requests (usually a pint or two) into the provided bag or a clean container, and label it with the bed name or location.
- Send it in with the intake form, noting what you plan to grow there, since recommendations differ for vegetables versus lawn versus shrubs.
When results come back, focus on pH first, then the phosphorus and potassium ratings, which usually get sorted into categories like low, optimum, or high rather than raw numbers alone. That’s your actual starting point, not the state average.
Amending it
Correcting soil in Wisconsin generally means working with a mildly acid, silt-heavy starting point, though your test result is what decides the real plan. Here’s how the fixes break down by what’s actually wrong.
Lime for acid ground
If your test comes back below roughly pH 5.5, lime is the tool, not sulfur. Acid soil locks up phosphorus, making it unavailable to roots even when plenty is present, and it stresses brassicas like cabbage and broccoli, which prefer a more neutral range. Ground limestone is the standard fix, worked into the top several inches. The catch is patience: lime reacts slowly with soil, and a meaningful pH shift takes a full season or more, not weeks. Retest the following year before adding more.
Sulfur for alkaline ground
If your number reads above roughly 7.3, the rule flips completely, and lime must never go anywhere near that ground. Elemental sulfur, added gradually and worked into the topsoil, along with steady additions of organic matter, is the slow honest route down. High pH also locks iron out of reach for plants, which is exactly what’s behind the classic symptom of yellow leaves with dark green veins, called iron chlorosis, showing up on shrubs and acid-loving plants like blueberries or rhododendrons.
Organic matter for texture problems
Given the Antigo series’ 10 percent clay and 20 percent sand, most Wisconsin ground isn’t extreme in either direction, but plenty of individual yards are. Heavy clay needs organic matter worked in season after season, and it needs to be left alone entirely when wet, since working wet clay wrecks its structure for years. Never add sand to clay hoping to lighten it; that combination tends toward something closer to concrete. Sandy soil needs organic matter too, plus shorter, more frequent watering, since nutrients and moisture both slide straight through loose sand instead of sticking around.
The honest timeline: pH corrections and texture corrections both take multiple seasons to show real results. Organic matter additions show some benefit the first year but keep compounding for three years or more. Nobody fixes a soil in one weekend, whatever the bag at the garden center implies.
Drainage and compaction
The Antigo series carries a well-drained rating, which in plain terms means water moves through it at a reasonable pace instead of pooling on the surface or vanishing instantly. Whether your particular yard behaves that way is worth checking directly rather than assuming.
Run a percolation test yourself: dig a hole about a foot deep and a foot wide, fill it completely with water, and let it drain once. Then fill it a second time and time how long it takes to drop, measuring in inches per hour. A rate of 1 to 3 inches per hour is generally considered good drainage for most garden plants. Faster than that, and water and nutrients may be moving through too quickly. Slower than about half an inch per hour, and you’re looking at a drainage problem serious enough to affect root health.
Compaction is a separate issue from drainage class, and it shows up from foot traffic, wheelbarrows, and heavy equipment packing soil particles tightly together, squeezing out the air pockets roots and water both need. Double digging, once the standard fix, has fallen out of favor because it disturbs soil biology and structure more than it helps, and the benefit rarely outlasts a season. On soil that drains slowly and compacts easily, building a raised bed is often the smarter call than spending three years amending ground that fights you the whole time.
What that drainage class means in practice:
- Do: work compost into the top several inches yearly to maintain structure and air space.
- Do: stay off garden beds when the soil is wet enough to stick to your boots.
- Avoid: heavy foot traffic or parking equipment on the same path repeatedly.
- Consider elsewhere: plants that demand constantly moist, boggy conditions may do better in a low spot or container than fighting a well-drained bed.
Local help
Soil testing across Wisconsin runs through University of Wisconsin-Madison Division of Extension, the state’s land-grant extension service. County offices coordinate sample drop-off and can walk you through reading your results once the lab report comes back, matching recommendations to whatever you’re planning to grow.
Common questions
Is all Wisconsin soil like the Antigo series?
No. Antigo is the state soil chosen to represent Wisconsin broadly, but the state has hundreds of mapped series. River bottoms, hill country, and any lot altered by construction fill can differ completely from those figures.
How often should I retest my soil?
Every 2 to 3 years for an established garden is typical, though retest sooner after a major amendment like a heavy lime or sulfur application to check whether it’s working.
Can I use the same amendment plan every year without testing?
Not reliably. pH and nutrient levels shift over time with rainfall, fertilizer use, and what you’ve grown, so a plan based on last year’s number, or worse, on the state average, can miss what’s actually happening now.
What if my yard is mostly fill dirt from construction?
Fill dirt often bears no resemblance to the native mapped soil series for the area, sometimes including construction debris, subsoil, or imported material with a very different pH and texture. A test is the only way to know what you’re actually working with.