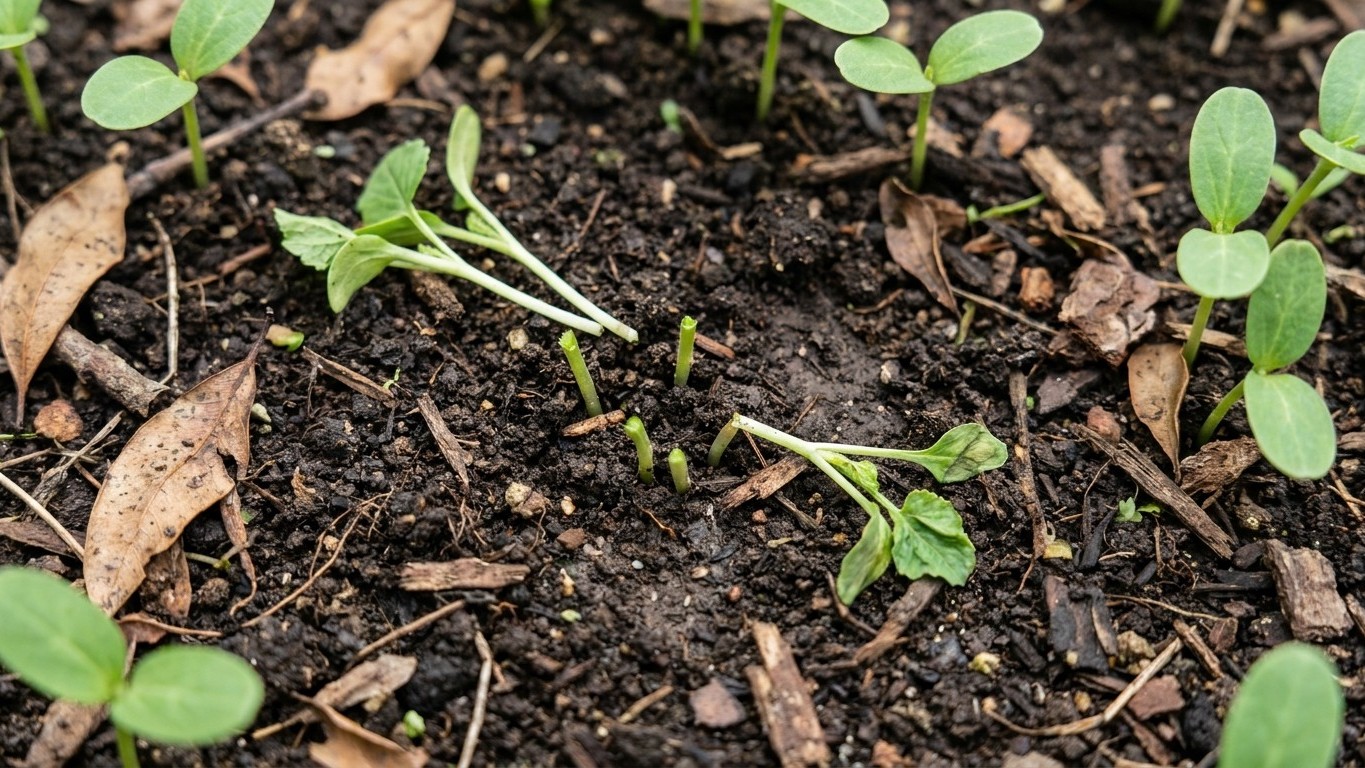

Cutworm larvae become active in Yukon gardens once soil temperatures climb past roughly 50°F, which typically lands between mid-May and early June depending on elevation and how far north you are in the territory. The larvae feed at night, chewing seedlings off at the soil line, and the damage usually peaks during the first few weeks after transplanting, right when Yukon’s short growing season leaves the least room for error. Row covers, stem collars, and a fall tilling routine that exposes overwintering larvae to birds and hard frost are what reliably knock populations back.
The Cutworm Timeline in Yukon’s Short Growing Season

Whitehorse averages somewhere around 80 to 95 frost-free days a year, and much of the territory outside the southern lakes region gets even less. That compressed window shapes everything about how cutworms behave here. Eggs laid by adult moths in late summer hatch before winter, and the young larvae burrow into soil or leaf litter to overwinter, usually in a partially grown stage rather than as eggs or pupae.
When spring finally arrives, those overwintered larvae don’t wait around. They resume feeding almost as soon as soil temperature clears that 50°F mark, which in a Yukon spring can happen within a two-week burst rather than the slow ramp gardeners further south are used to. That’s why cutworm damage in the territory often feels sudden, plants that looked fine on a Friday show stems chewed clean through by Monday. The compressed thaw means larvae reach their most destructive size (roughly three-quarters of an inch to an inch and a half) right around the time most Yukoners are setting out transplants of cabbage, broccoli, and other cold-hardy starts.
Which Cutworm Species Show Up in Yukon Gardens
The redbacked cutworm (Euxoa ochrogaster) is the species most consistently documented as an agricultural pest across the boreal and subarctic zones of Western Canada, including areas that stretch into the Yukon. It’s a generalist feeder, going after cereal seedlings, canola, and garden vegetables alike, and its larvae are recognizable by the dark reddish band running down the back.
Variegated cutworms and a handful of other Noctuidae species turn up less predictably, often blown in or carried as moths on prevailing wind patterns during warmer summer stretches. All of them share the same basic biology: the larvae are the destructive stage, the adult moths are strong nighttime fliers that don’t damage plants directly, and both stages are most active after dark. If you shine a flashlight into a damaged bed at night, you’ll likely spot the larvae curled into a tight C-shape, a defensive posture that’s one of the easiest ways to confirm you’re dealing with cutworms rather than slugs or wireworms.
How Yukon’s Winters Affect Cutworm Survival
Cold alone doesn’t wipe out cutworm populations the way you might expect. Snow cover acts as insulation, and larvae tucked a few inches into soil under a foot of snowpack rarely experience the full brunt of a minus-30°F air temperature. The real bottleneck is exposure. Bare, compacted, or tilled soil left without snow cover through a cold snap kills a much higher percentage of overwintering larvae than soil left undisturbed under natural insulation.
That’s a useful, slightly counterintuitive fact for anyone managing a Yukon vegetable plot: a fall tilling pass that turns larvae up to the surface right before a hard freeze, rather than right before snowfall, does more damage to the population than tilling done too early in autumn. Permafrost-influenced soils in parts of the territory add another wrinkle, since a shallow, poorly drained active layer can leave overwintering insects sitting closer to the frost line than they would in deeper, better-drained ground further south.
What Actually Stops Cutworms in the North
Timing and Physical Barriers
Because Yukon’s damage window is so tightly compressed, timing does more work here than in milder climates. Holding transplants back by even a week, until soil is reliably above 55°F, lets seedlings develop sturdier stems that survive minor feeding. Simple paper or cardboard collars pushed an inch into the soil around each stem block the larvae from reaching the base, and they cost next to nothing to make from household materials.
A ring of diatomaceous earth around vulnerable seedlings works as an additional physical deterrent, though it needs reapplying after rain and loses effectiveness once it gets wet, which is a real limitation during a wet Yukon spring.
Biological Controls Worth Using
Bacillus thuringiensis var. kurstaki, sold under various brand names as Btk, targets young larvae effectively but does much less against the larger, more damaging stage that shows up after the spring thaw. Applying it early, right as soil temperatures cross that 50°F threshold, gives it the best shot at working before larvae grow past the size where it’s effective.
Beneficial nematodes in the Steinernema genus, watered into soil while it’s still cool and moist, attack cutworm larvae directly and tend to persist reasonably well in Yukon’s cooler soil profile compared to warmer climates where they die off faster. Ground beetles and robins are the other major check on populations, and both benefit from leaving some undisturbed ground cover nearby and avoiding broad-spectrum insecticides that kill off the predators along with the pest.
Garden Habits That Make the Biggest Difference
Weeds left to grow in early spring give egg-laying moths somewhere to land before crops even emerge, so keeping beds weed-free through that early window removes an attractive egg-laying site. Nighttime hand-picking, using a flashlight during the first few weeks after transplanting, sounds tedious but works well precisely because cutworm damage in Yukon concentrates into such a short calendar window. A few evenings of checking stems can cover most of the vulnerable period.
One detail that trips up a lot of first-time Yukon gardeners: cutworm damage often gets blamed on cold snaps or transplant shock, since a plant that was fine yesterday and severed at the base today looks a lot like frost damage at a glance. Checking for the telltale clean, angled cut right at soil level, rather than wilted or blackened tissue, is the fastest way to tell the difference before reaching for the wrong fix.
Related guides
- Cutworms in British Columbia: When It Shows Up and What Stops It
- Cutworms in Northwest Territories: When It Shows Up and What Stops It
- Cutworms in Alaska: When It Shows Up and What Stops It
- Cutworms in Connecticut: When It Shows Up and What Stops It
- Cutworms in Idaho: When It Shows Up and What Stops It