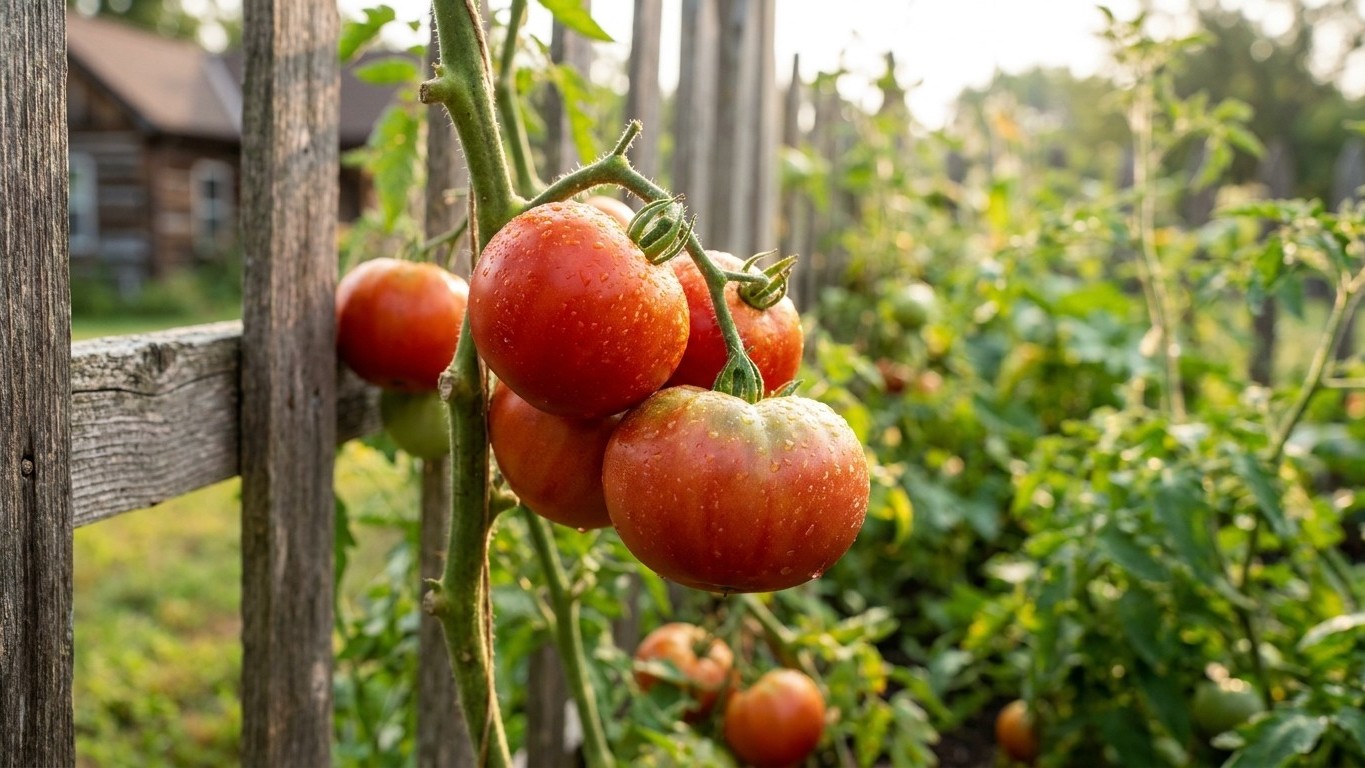

A Minneapolis frost in early May can take out a full flat of tomato transplants overnight, and the gardener who set them out on a warm April weekend rarely sees it coming until the leaves blacken. That’s the real cost of guessing at this date: not a delayed harvest, but starting over from seed with half the season gone. Minnesota’s last-frost window shifts by region, and the six-to-eight-week head start indoors only pays off if it’s timed against the right one.
When to plant Tomatoes in Minnesota

Tomatoes are a warm-season crop that cannot go in the ground until the danger of frost has passed, and in Minnesota that date moves with your location more than it does in flatter, more uniform states. NOAA’s NCEI 1991-2020 climate normals put the last spring freeze near Minneapolis at April 17 to April 30, a two-week window that itself reflects how unsettled a Twin Cities spring can be from one year to the next. That figure describes the Minneapolis area specifically. Northern Minnesota and higher elevations run two to three weeks tighter at both ends of the season, so a gardener near Duluth or International Falls should expect to transplant later in spring and to watch for frost earlier come fall than the numbers below suggest.
Starting seed indoors
Tomato seed needs roughly six to eight weeks of indoor growth before it is sturdy enough to go outside as a transplant. Counting back from the April 17-30 window near Minneapolis, and letting that six-to-eight-week range stretch on both ends, most Minneapolis-area gardeners land somewhere between late February and mid-March for sowing indoors. Use a heat mat to hold the soil near germination temperature, and move seedlings under strong light the moment they break the surface. A pale, stretched stem almost always means not enough light, not a bad seed packet. Gardeners farther north should slide this whole window later by the same two to three weeks that their frost dates run behind Minneapolis.
Hardening off
Seedlings raised indoors need seven to ten days outside in gradually increasing doses of sun and wind before they go into the ground for good. Start with an hour of dappled shade, add roughly an hour a day, and skip the process entirely on any day with hard wind or a cold rain, since a setback there undoes more progress than it builds. A seedling that skipped this step shows pale, bleached, or curled leaves within a day of transplanting, and it can take a full week to recover the growth it lost.
Transplanting outdoors
Move plants to the garden only once the local frost risk has passed and the soil itself has warmed, since a tomato set into cold soil sits and sulks instead of growing. Near Minneapolis, that generally means waiting until the tail end of the April 17-30 window has cleared, and plenty of gardeners give themselves another few days of cushion since the range already spans two weeks on its own. If you want to plant earlier than that, a floating row cover or a water-filled plant protector overnight, pulled back during the day, buys some margin. For frost-date context across the rest of the state, our Minnesota guides hub is a useful starting point before you commit a tray of seedlings to the ground.
Soil and site preparation
Sun and soil
Tomatoes want a minimum of six to eight hours of direct sun a day. Give them less and the plants stretch toward the light, set fewer flowers, and ripen fruit more slowly than the catalog days-to-maturity figure promises. Soil texture matters almost as much as sun: tomatoes want a well-drained loam that holds moisture without staying soggy, since waterlogged roots invite the same fungal problems that a cool, damp Minnesota spring already favors. Heavy clay that pools water after rain is worth amending with compost well before planting, not on transplant day, since fresh organic matter needs a few weeks to break down and integrate into the root zone.
Bed prep and spacing
Work two to four inches of finished compost into the bed several weeks ahead of transplanting rather than at planting time. Raised beds warm up faster in spring than ground-level rows, which matters in a state where the growing season is bookended by frost on both sides. A black plastic mulch laid a week or two before transplanting does the same job for a ground-level bed. Space indeterminate varieties 24 to 36 inches apart with three to four feet between rows, and tighten that up slightly for compact determinate types. Crowded plants shade each other’s lower leaves, and wet, still air between crowded rows is exactly what fungal disease needs to spread from one plant to the next.
Varieties that suit Minnesota
Matching days-to-maturity to the season
Minnesota’s growing season sits between that documented spring frost and a fall frost that arrives on its own schedule county by county. Since only the spring date is covered here, the safer approach is to lean toward shorter days-to-maturity where the crop allows, and to treat anything past about 75 days as a variety that needs a head start, a warm microclimate, or both to finish reliably. Catalog days-to-maturity figures are counted from the transplant date, not from seed, and they shift by a week or two depending on how warm the summer runs.
Minnesota’s cool, damp spring soil is also exactly the environment that favors soil-borne fungal disease, so disease resistance carries real weight here beyond just speed. Fusarium wilt and verticillium wilt both persist in soil for years, and a resistant variety shrugs off an infection that would stunt or kill a susceptible one.
| Variety | Days to maturity | Type | Notable resistance | Best use |
|---|---|---|---|---|
| Sakura | 55 | Indeterminate | Nematodes, Tomato Mosaic Virus, Fusarium 1 & 2 | Fast cherry for short seasons |
| Sun Gold | 57 | Indeterminate | Tobacco Mosaic Virus, Fusarium 1 | Sweet orange cherry |
| Jasper | 60 | Indeterminate | Late Blight, Early Blight | Cherry with strong blight defense |
| Supersweet 100 | 60 | Indeterminate | Verticillium, Fusarium 1 | High-volume cherry |
| Juliet | 60 | Indeterminate | Late Blight, Early Blight | Grape tomato for sauce or snacking |
| Amalfi | 68 | Determinate | Nematodes, Late Blight, Early Blight | Paste tomato, compact plant |
| Celebrity Plus | 78 | Determinate | Nematodes, Gray Leaf Spot, Tomato Mosaic Virus | All-purpose slicer, needs less staking |
| Big Beef Plus | 72 | Indeterminate | Nematodes, Gray Leaf Spot, Tomato Mosaic Virus | Large slicer |
| Granadero | 75 | Indeterminate | Nematodes, Verticillium, Tomato Mosaic Virus | Roma type for canning |
| Tiren | 75 | Indeterminate | Verticillium, Tomato Mosaic Virus, Fusarium 1 | Reliable mid-season slicer |
| Cherokee Purple | 72 | Indeterminate | None listed | Heirloom flavor, needs a warm spot |
| San Marzano II | 78 | Indeterminate | None listed | Classic sauce tomato |
| Brandywine | 78 | Indeterminate | None listed | Heirloom slicer, long season needed |
| Amish Paste | 85 | Indeterminate | None listed | Paste tomato for the patient gardener |
Sakura, Sun Gold, Jasper, Supersweet 100, and Juliet all reach maturity in 55 to 60 days, which gives them room to spare even in a shortened season and makes them a reasonable insurance policy if the spring runs cold. Celebrity Plus and Amalfi sit in the middle at 68 and 78 days, and both grow on a compact determinate frame that suits a raised bed. Brandywine, Cherokee Purple, and Amish Paste run 72 to 85 days and carry no listed disease resistance, so they ask more of the gardener: start them on the early side of the indoor-sowing window, and consider a black plastic mulch to warm the root zone faster. Gardeners in longer, hotter growing states like Missouri can grow these same 85-day heirlooms with far more room to spare; see our guide to growing tomatoes in Missouri for how that timeline compares.
What to plant alongside
Good neighbors
Some companion pairings hold up and some are mostly folklore. French marigolds have real trial evidence behind them: their root exudates suppress certain root-knot nematodes in the soil around them, which matters more if you are growing a variety without built-in nematode resistance. Borage and basil both draw pollinators and predatory insects into the bed, which helps fruit set and gives aphid predators a reason to stick around. Nasturtium works as a genuine trap crop, pulling aphids onto its own leaves and away from tomato foliage. The old claim that basil growing near tomatoes improves their flavor has never held up under controlled testing, though the pollinator traffic it draws is a real enough benefit on its own.
- Marigolds (French types) for nematode suppression
- Borage and basil for pollinators and beneficial insects
- Nasturtium as an aphid trap crop
- Carrots and onions as low-competition space fillers, not true partners
Keep away
Potatoes, peppers, and eggplant share the nightshade family with tomatoes, and that means they share the same susceptibility to early blight, late blight, and verticillium wilt living in the soil. Planting them in rotation through the same bed year after year, let alone side by side, builds up exactly the pathogen load a resistant variety is bred to fight off. Corn draws the same corn earworm that attacks tomato fruit under the name tomato fruitworm, so the two crops next to each other simply concentrate one pest’s food supply. Fennel is worth keeping well clear of the whole vegetable garden, tomatoes included, since its root exudates suppress the growth of many neighboring plants.
Watering, feeding and support
Watering rhythm
Water deeply and consistently rather than a little bit every day. A shallow daily sprinkle keeps roots near the surface where they dry out fast in a hot stretch, while a deep soak once or twice a week pushes roots down where the soil stays cooler and more even. Water at the soil line rather than overhead, since wet foliage overnight is an invitation to the same fungal diseases the resistant varieties above are bred to resist. Uneven watering is the single biggest driver of blossom end rot, more so than any actual shortage of calcium in the soil, so consistency matters more than volume.
Mulch and feeding
A two to three inch layer of straw or shredded leaves laid down once the soil has warmed holds moisture evenly and keeps soil-borne fungal spores from splashing up onto lower leaves during rain. Work compost into the bed at planting, then side-dress with a fertilizer lower in nitrogen and higher in phosphorus and potassium once flowering starts. Too much nitrogen at that stage produces a lush, dark green plant with plenty of leaves and disappointingly little fruit, since the plant is putting its energy into growth instead of flowering.
Staking, caging and pruning
Indeterminate varieties, which is most of the list above, keep growing and setting fruit until frost stops them, so they need a stake, a cage, or a string trellis tall enough to hold that growth off the ground all season. Determinate types like Celebrity Plus and Amalfi stay more compact and finish their fruit in a shorter window, so a standard tomato cage usually does the job without extra staking. Removing suckers, the small shoots that emerge in the crotch between the main stem and a leaf branch, on indeterminate plants below the first flower cluster directs more energy into the fruit that is already forming rather than into more foliage.
Common problems

Fruit and leaf symptoms
Blossom end rot shows up as a sunken, leathery, dark patch on the bottom of the fruit, and it comes from calcium failing to reach the fruit during a stretch of uneven watering rather than a true calcium shortage in the soil. Cracking, concentric rings splitting the shoulder of the fruit, follows the same root cause: a dry spell followed by a heavy rain or deep watering pushes water into the fruit faster than the skin can stretch. Leaf curl, where leaves roll upward along their length, usually points to heat and moisture stress rather than disease, and it is rarely fatal on its own. Poor fruit set, where flowers form but drop without setting fruit, tends to follow a run of nights that are either unusually hot or unusually cold for the plant’s comfort zone, or a plant that was fed too much nitrogen.
Wilt and pests
A plant that yellows and wilts up one side while the other stays green is showing a classic sign of fusarium or verticillium wilt living in the soil, which is exactly what the resistance codes in the variety table above are bred against. A wilt diagnosis after the fact means rotating that bed away from tomatoes and their nightshade relatives for at least a couple of seasons, since the fungus persists in soil long after the plant is gone. Late blight and early blight both thrive in warm, humid conditions and spread fastest in years with a wet summer, a bigger year-to-year risk in the more humid mid-Atlantic; growers dealing with Maryland’s tomato disease pressure will recognize the same leaf-spot and stem-lesion pattern described in our guide to growing tomatoes in Maryland.
- Tomato hornworm: a large green caterpillar with white stripes, easy to hand-pick once spotted
- Aphids: small soft-bodied insects clustering on new growth and the undersides of leaves
- Flea beetles: tiny black beetles that leave a scatter of small round holes in young leaves early in the season
Pests that actually show up in Minnesota
Minnesota’s extension service tracks ten insects on its yard and garden list, but most of them never touch a tomato plant. Squash vine borer, squash bug and striped cucumber beetle stay on squash and cucumber vines. Cabbage maggot and onion maggot work brassicas and onions. Swede midge, first found in the state in 2016, is still limited to Hennepin and Ramsey counties and feeds on cabbage family crops, not tomatoes. If you grow any of those crops alongside your tomatoes, University of Minnesota Extension’s yard and garden insects pages are worth bookmarking, but for tomatoes specifically only a handful of that list matters.
Japanese beetle is the one most gardeners notice first: leaves turn lacy and skeletonized between the veins, with only a web of ribs left standing. Adults emerge late June into early July and feed hardest through July and August. Hand-picking beetles into a jar of soapy water in the cool of the morning, when they are sluggish, controls a home garden planting better than most sprays.
Spotted wing drosophila shows up as fruit that looks fine on the outside but turns soft and collapses from the inside, sometimes with tiny maggots visible when you cut it open. The flies appear late June or early July and build to their worst pressure in August, right as tomatoes are coming ripe in volume. Picking fruit as soon as it colors, rather than letting it hang and overripen on the vine, is the single most effective way to keep this pest out of your harvest.
Colorado potato beetle and its smaller relative the three-lined potato beetle both attack tomato foliage since tomatoes share the nightshade family with potatoes. Look for chewed, ragged leaf edges and clusters of orange-yellow eggs on the undersides of leaves. Both beetles are large and slow enough to hand-pick, and checking the underside of a few leaves each week through midsummer catches an egg cluster before it turns into a stripped plant.
None of these four call for a routine spray program. Walking the rows every few days in July and August, when all four are active at once, does more good than any product on the shelf.
Harvest and end of season
Harvesting
Pick tomatoes once they’ve reached full color for the variety and give slightly under gentle pressure, then twist or snip the fruit off rather than pulling, which can tear the stem and open the plant to disease. Fruit left on the vine too long past ripe splits and attracts pests faster than it improves in flavor, so check plants every day or two once the first fruit starts to color. Ripe tomatoes hold their flavor and texture best stored at room temperature on a counter, not in the refrigerator, where cold temperatures break down the texture and dull the flavor within a day or two.
End of season
As nights start turning cold, check local forecasts closely rather than relying on a calendar date, since the fall frost date isn’t as uniform across Minnesota as the spring one and varies meaningfully by county. Green tomatoes still on the vine when frost threatens are worth picking rather than losing outright. Mature green fruit ripens indoors over one to three weeks on a counter, and tucking a ripe banana or apple into the same paper bag speeds that up with the ethylene gas it releases. Once the season is done, pull spent vines and dispose of any plant showing blight or wilt symptoms rather than composting it, since home compost piles rarely get hot enough to kill off those fungal spores before next spring.
Local help
County-level frost dates, soil testing, and disease identification are worth getting from a source closer to home than a statewide guide can offer. UMN Extension, the University of Minnesota’s land-grant extension service, publishes exactly that kind of local detail at extension.umn.edu. Since the Minneapolis figures used throughout this guide don’t necessarily hold for Rochester, Duluth, or the Iron Range, a local soil test and county-specific frost data are worth the small cost before you commit a season’s worth of seedlings to the ground.
Where to Go From Here
Everything above comes down to timing, and Minnesota’s timing is unforgiving on both ends of the season. If you want the actual math behind when to start seeds indoors and when it’s safe to move plants outside, work through the tomato planting calendar, which counts backward and forward from Minneapolis’s frost dates instead of relying on a generic “after last frost” rule of thumb.
That same five-and-a-half to six-month window between freezes also decides which tomatoes are even worth planting here. Not every variety sold in stores or catalogs will finish ripening before the fall freeze shows up, so it’s worth checking the rundown of tomato varieties that ripen in time in Minnesota before you buy transplants or order seed.
And once plants are in the ground, the pest side of things is predictable enough to plan for. The same short list — cutworms, flea beetles, Colorado potato beetles, aphids, hornworms, fruitworms — turns up year after year, and the page on tomato pests in Minnesota walks through which ones actually show up here and when to watch for them.
Common questions
Is it too late to plant tomatoes in Minnesota if it’s already May?
No, early to mid May is well within the normal transplant window for most of the state, since NOAA’s Minneapolis-area frost data already runs into late April. It’s mainly late June transplanting that starts cutting it close for anything beyond the 55 to 60 day varieties.
Why are my seedlings turning purple before I transplant them?
Purple or reddish stems on young tomato seedlings usually point to a phosphorus deficiency or, more often, roots that are too cold to take up phosphorus even when it’s present in the soil. Raising the temperature around the roots, rather than adding fertilizer, is usually what fixes it.
Can I grow tomatoes in containers if I don’t have garden space?
Yes, and a compact determinate variety like Celebrity Plus or Amalfi handles container life better than a sprawling indeterminate does. Containers also warm up and cool down faster than garden soil, which is a real advantage in spring and a real liability if you forget to move them in ahead of an early fall cold snap.
Do I need to cover my tomatoes if frost threatens right after I transplant?
Yes, cover them. A floating row cover, an overturned bucket, or a water-filled plant protector left on overnight and removed the next morning will get seedlings through a light frost that arrives after you’ve already committed them to the ground.
How many tomato plants should I actually grow?
Two to four plants per person covers fresh eating plus some extra for cooking, and that number climbs fast if you’re planning to can sauce or paste, where a single Amish Paste or San Marzano II plant produces far less volume per square foot than people expect from an heirloom.